


Tip #1
I like to wrap a small amount of thread tape around my handle bars where the brake and clutch levers bolt on. This allows you to tighten up the bolts but still allows the levers to rotate up or down in a crash to prevent them from snapping off. It’s a good cheap alternative to those expensive backwards folding levers.
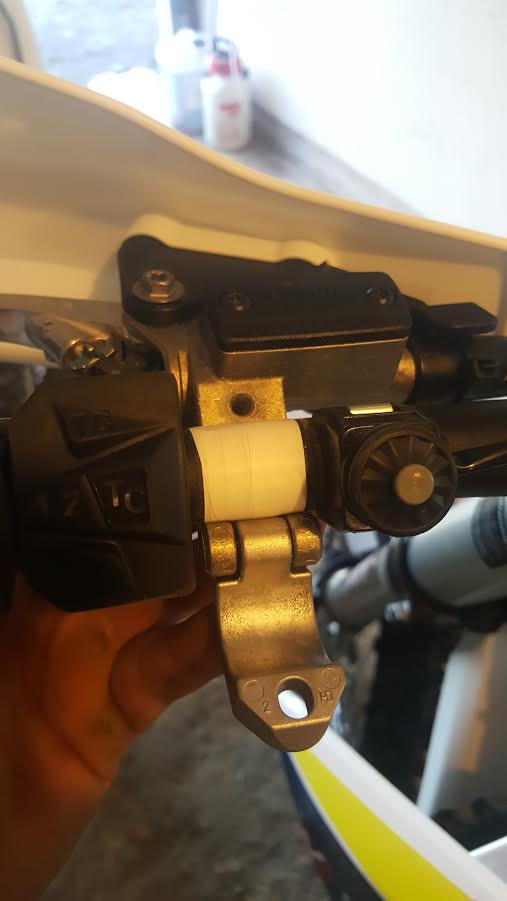
Tip #2
Bar/ lever position. Your handlebar and lever position is entirely personal preference but in saying that, 90% of people will be comfortable with the same set up. I like to run my levers just below level as opposed to the common position of 30-40 degrees below parallel to the ground. This is personal preference but I find the lower they are the more weight goes through your thumb as opposed to the palm of your hand. Having them too low can increase the risk of a thumb injury, especially when your arms pump up on a rough track. Make sure to keep your clutch and brake lever at the same height. Many riders have their clutch lower than the brake or vice versa, which sets your arms and shoulders at different angles and doesn’t promote a strong uniform upper body position.
Tip #3
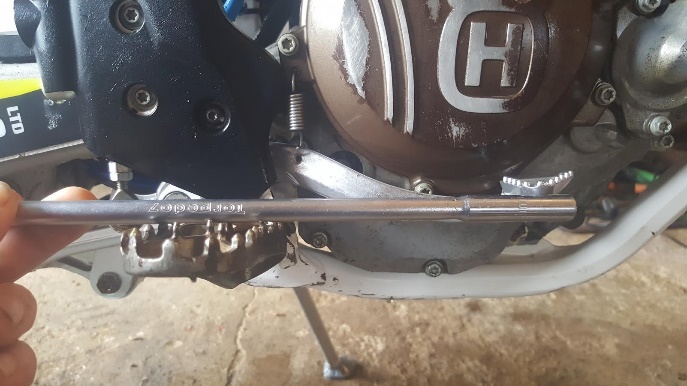
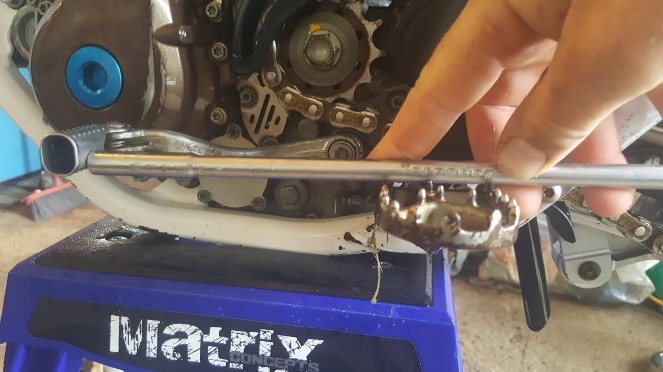
Rear brake and gear lever position. Again this is entirely personal preference but most people will be happy with the same set up. A good neutral set up is just above parallel to the ground for your brake and gear lever, check this by placing a t bar on the foot peg. In this position I can easily reach both rear brake and gear lever while sitting right at the back of the seat (fast open straight) and still reach it without taking my foot off the peg while sitting at the front of the seat (tipping into a low speed rut).
Tip #4
Run your chain joining link around the opposite way so the clip is on the inside of the chain facing the tyre as it’s less likely to catch on something out on the trail. Make sure you still mount the clip on the right way directionally so it can’t become unclipped when the bike is going forward.

Tip #5
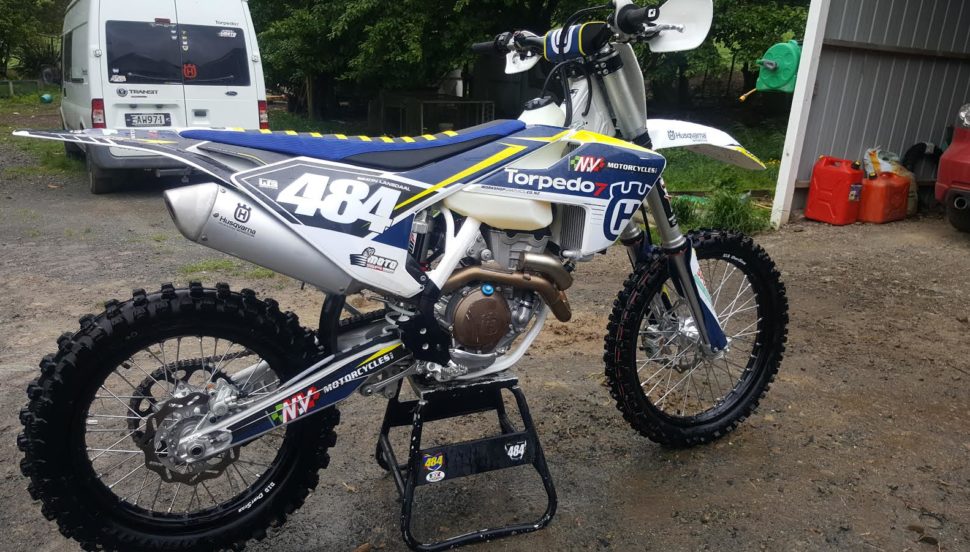
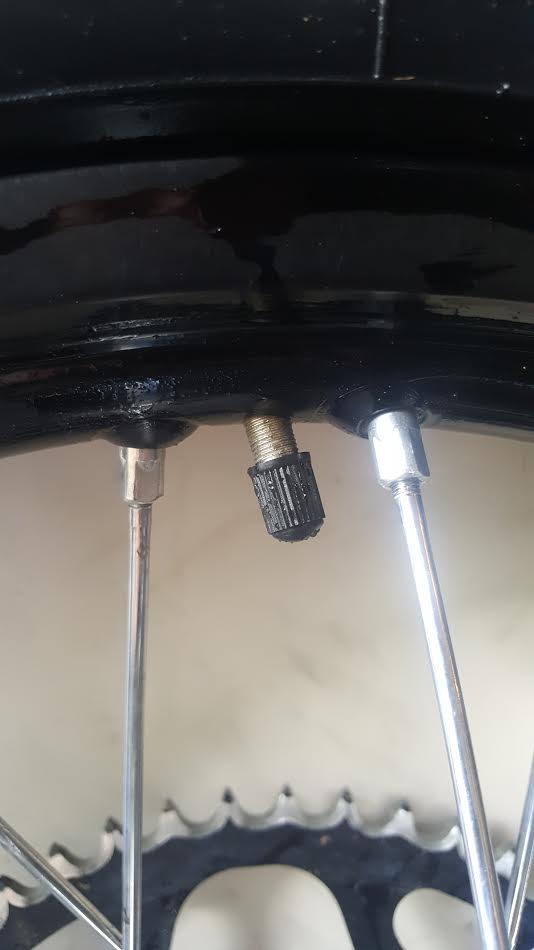
Check that your valve stem has not turned. This is a major reason for flat tyres and is an easy fix. If it has rotated, let all air out of the tyre, loosen rim lock, and use a soft hammer to break the tyre bead off the rim. Have someone hold the rear brake on and you will be able to turn the tyre while the rim stays still and your valve stem will come square again. I have been using a Nuetech TUbliss system for the last six months and love it. As long as you follow the instructions on how to fit it, it works really well and I won’t be going back to tubes or bib moose anytime soon. Check them out here.
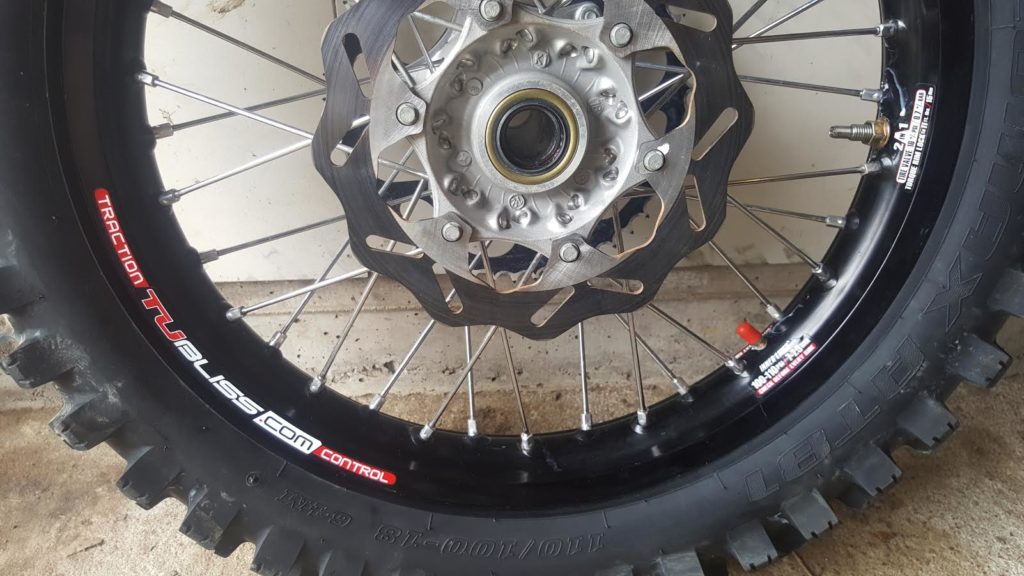
Below. Valve stem starting to rotate. If left like this it will become worse, eventually causing the tyre to go flat. Above. My wheel set up with Neutech TUbliss system.
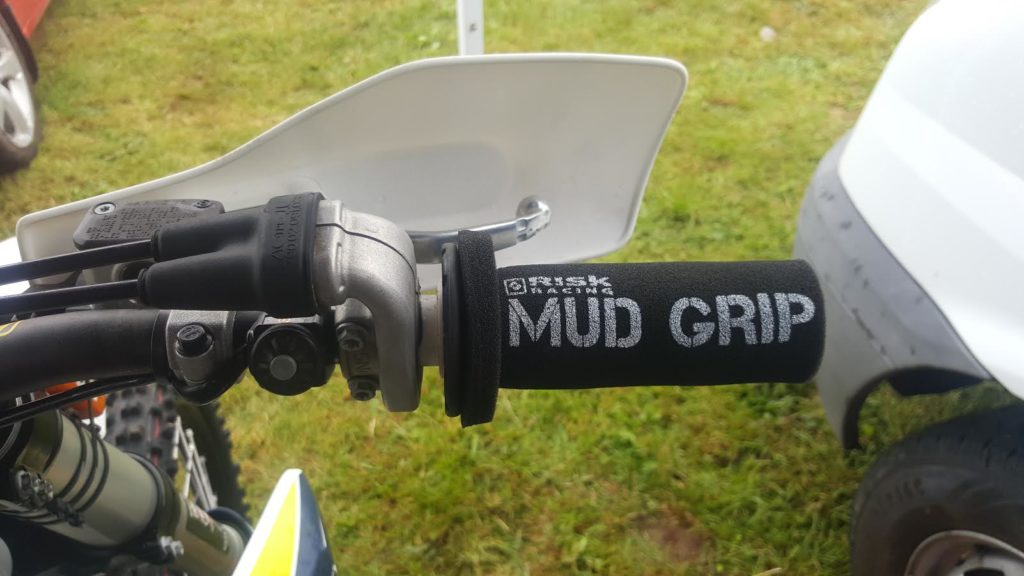
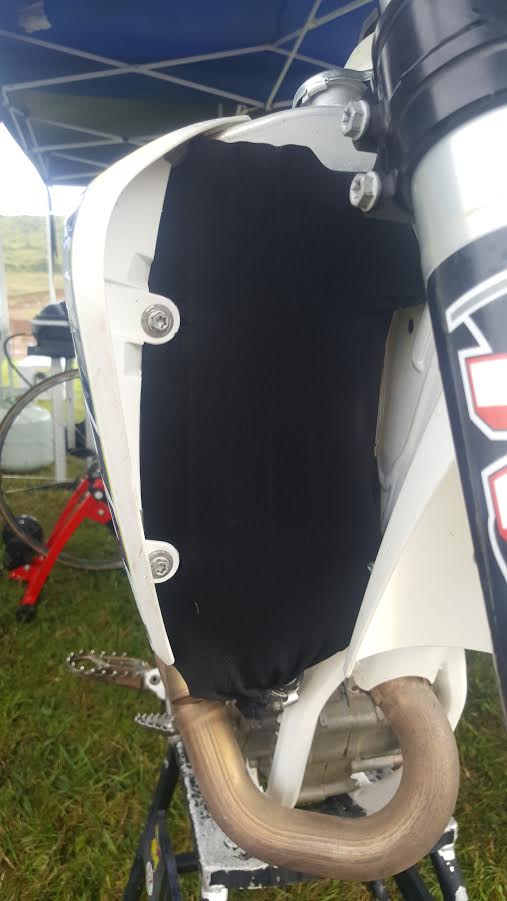
Tip #6
Be prepared for any conditions. In my gear bag I always have a set of these risk racing mud grips. I also always have a set of ordinary stockings on hand. These mud grips really do work and help you to grip the hand grips if your glove gets covered in mud. I use the stockings to cover my radiator fins as it prevents the mud from getting stuck in between the fins and prevents overheating. These two items are a must have in my book if the weather is looking nasty.
Tip #7
Keep an eye on your rear suspension sag. I usually check my sag every couple rides, as it can have a massive effect on how your bike behaves. Sag should be set at about one third of your bikes rear travel. Most full sized bikes have about 300-320mm rear travel so sag should be about 95-106mm. I like to run mine at 100mm. Check your manual to find out recommended sag for your bike and how to change it.
Tip #8
After a crash the front end of your bike can become twisted in the fork clamps. Hitting your tyre up against a tree to straighten it up is fine to get you back to your vehicle but you should always straighten it properly. Loosen your triple clamp bolts and front axle and roll your bike back and forward pulling in the front brake in and out. When you tighten everything back up again make sure to tighten your triple clamp bolts to the correct torque setting with a torque wrench. This will remove any binding in your front end and make your front suspension work better.
Written by Torpedo7 moto athlete: Simon Lansdaal