


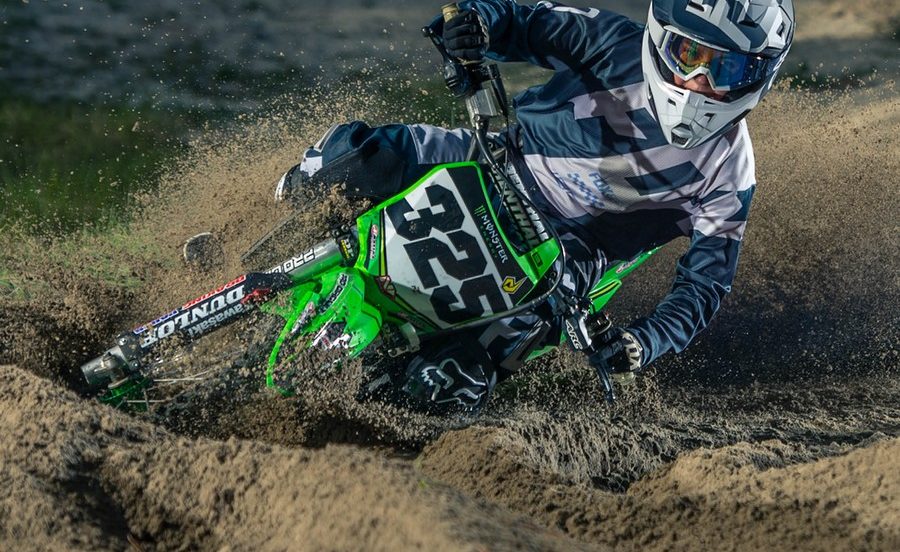
By now your bike will be loving you (see moto blog #1 and #2), fresh and clean with new oil and able to breathe again. Having a fast engine is wonderful, but as we all know there comes a point often sooner rather than later when you need to stop. Brake fluid and pads are easily overlooked, as most of the time they’re out of sight out of mind, however being able to stop comfortably is extremely important.
Nothing can make you panic more than coming into that first corner when you pull on the brakes and the lever hits the bar. Brake pads are quick and easy to check, just take a look into the caliper and you can check brake pad thickness. If they’re looking a little thin, take them out and check them over and if necessary, replace them. While most motocross brake pad changes are similar they can vary between manufacturer and model. It is recommended to follow your workshop manual when changing your brake pads. Once you’ve changed out your pads you’ll need to replace the brake fluid. It is recommended to change the fluid every twelve months depending on how often you ride. The condition of the existing fluid can be checked by the colour of the fluid and how “squishy” your brakes feel. You’ll want a firm responsive feel on the brakes at all times. Over time moisture can build up in the lines and fluid, which reduce the effectiveness of your brakes. When changing brake fluid it is recommended to do all bikes and lines as once the fluid container is opened it will gather moisture and won’t be usable for the next change.
- Place a spanner on the brake caliper nipple – generally an 8mm nut but may vary between models.
- Attach your brake bleeding kit to the nipple with the other end placed into a container for the old fluid to drain into.
- Remove the master cylinder reservoir cover.
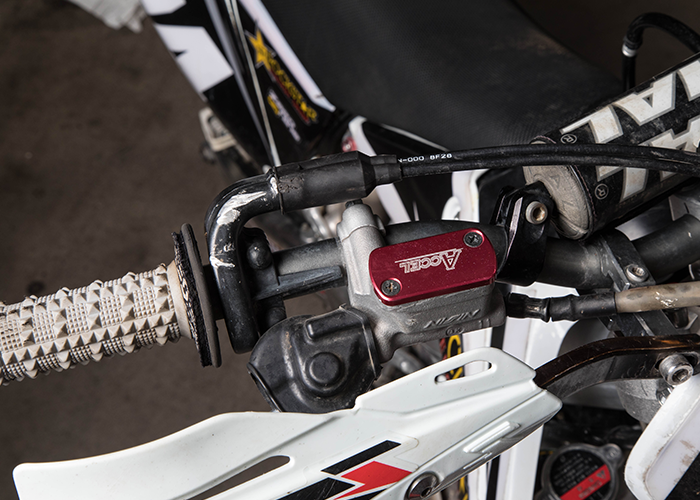
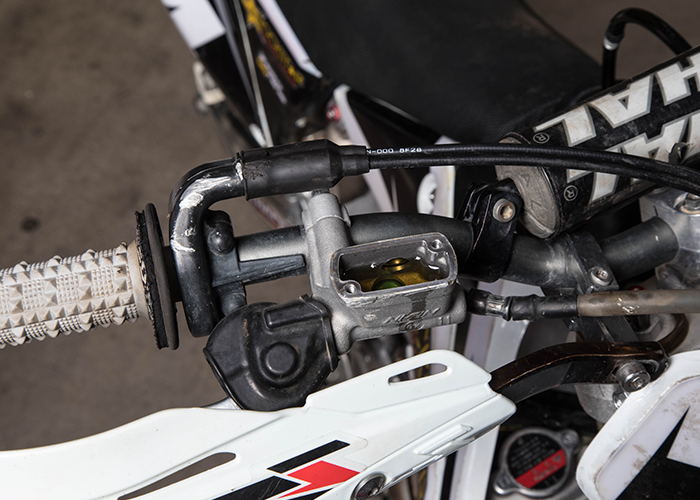
- With a blunt syringe remove excess fluid from the master cylinder reservoir.
- Fill the master cylinder with new fluid.
- Undo the nipple using the spanner placed there earlier.
- Now squeeze the brake lever – keeping an eye on the fluid level in the master cylinder. DO NOT let this completely drain as air will enter the lines and you need to remove all air from the lines. Refill the master cylinder as required.
- Continue until you notice clear (new) fluid in the bleeding kit hose.
- Tighten the nipple again.
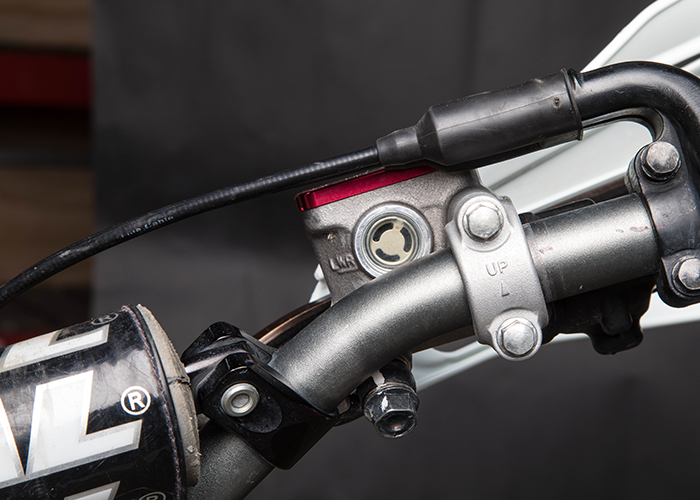
- Fill the master cylinder to the recommended level. A “Full” line will be displayed on the outside viewing window.
- Squeeze the brake lever until it becomes firm.
Tips and Tricks: Brake fluid is very potent and highly toxic. Ensure you keep fluid away from skin and other parts of your bike – it is recommended to wrap the master cylinder with a rag to stop spilled fluid dripping over your bike. If the brake lever does not become firm there may be air in the lines, repeat the above process until all air is removed. If all air is removed from the lines and you still do not have a firm feel you may need to replace the seals in the master cylinder. When replacing brake pads scrape the new pads against your road or footpath, this gives the pads a rougher surface and helps improve braking before they wear into the pattern of your discs wear pattern.
The gear you’ll need:
Bikemaster Sintered Brake Pads
*The bike pictured and worked on in this tutorial is a 2009 CRF250R, bolt locations, torque specifications and processes can alter between makes and models. The best addition for your workshop is a workshop manual, this best describes all processes and torque specifications relevant to your bike.
Author: Matthew Reilly – Torpedo7 Team Member