


We’re excited to partner up with the Otago Polytechnic Central Campus to bring you a range of bike tuning and repair tips and advice. With a number of topics covered over the coming weeks, be sure to check back soon!

Turn your passion for cycling into a career! Study the Certificate in Bicycle Mechanics (Level 3) and (Level 4) at Central Campus, in the heart of Central Otago.
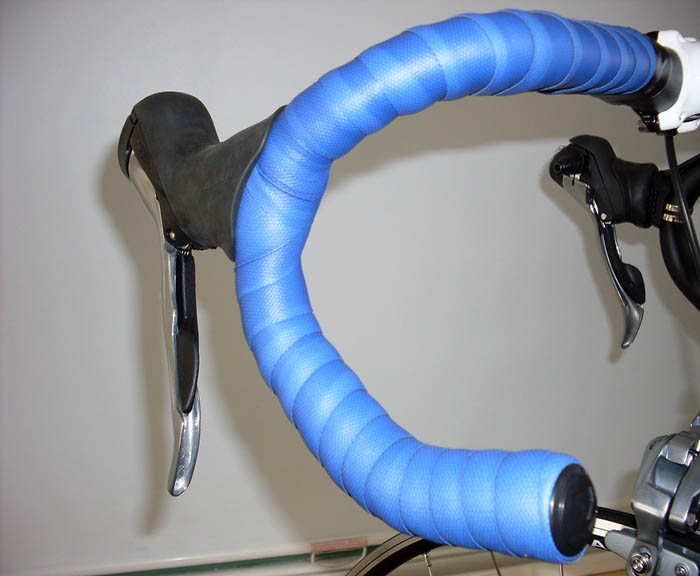
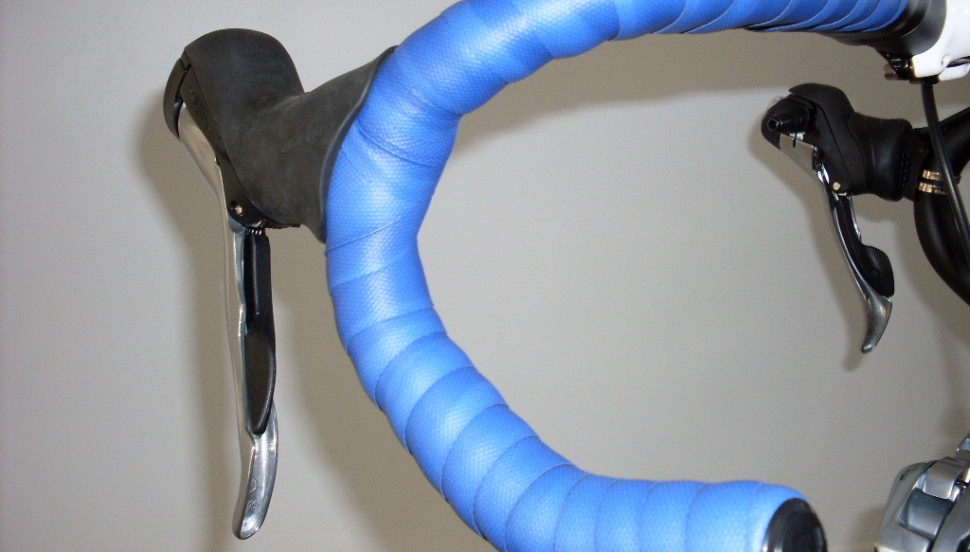
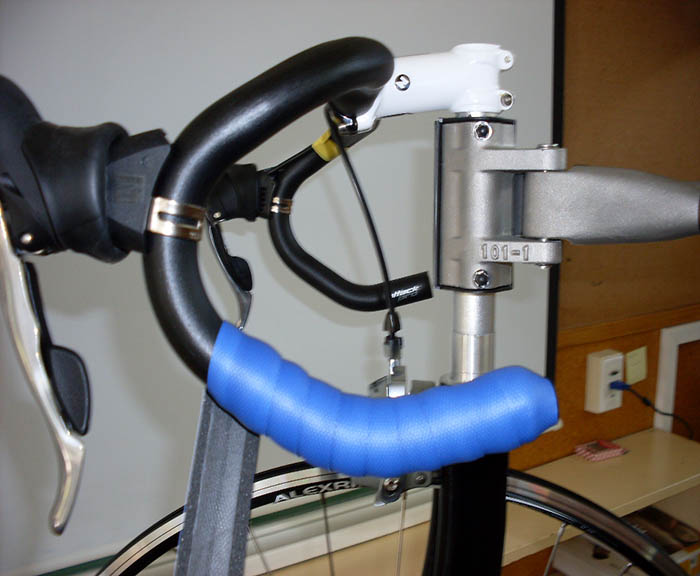
Installing Bar Tape – step by step
Learn how to wrap bar tape like a pro with these top tips from Otago Polytechnic Central Campus. Changing the handlebar tape on your road bike can be somewhat of an art, and we look at how to get it right.
1. Carefully roll back the rubber hoods on the shifter to expose the base of the shifter.
2. If bar tape is currently installed, remove the old bar tape.
3. Clean the bar surface.
4. Check the bar ends for sharp edges or spurs, and remove with a file if present.
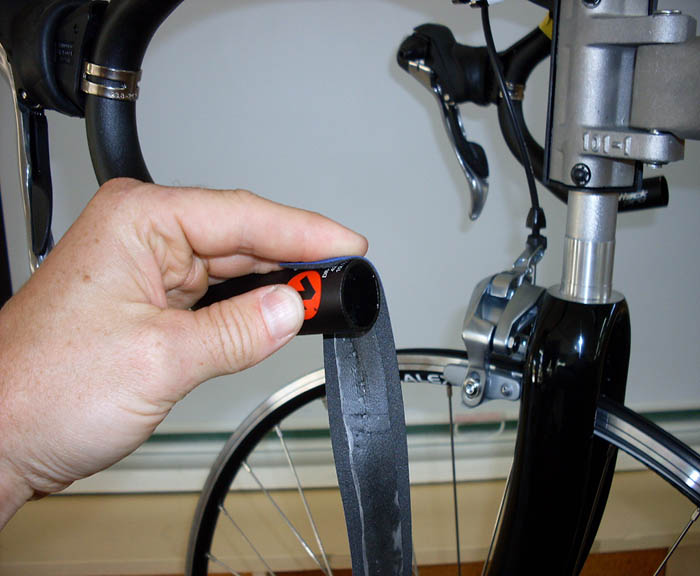
5. Test fit the bar plugs in the bar ends. Determine whether the fit is either ‘snug’ or ‘loose’.

NOTE: If you are using bar-end shifters, use the procedure for a ‘snug’ plug fit
6. Unless provided, cut a 75mm long strip from the end of your new bar tape.
7. Use it to cover the shifter-mounting strap.
8. Place the roll of tape at your wrapping start position. You should have the end of the tape on top of the bar with the remainder of the roll pointing inwards towards the frame.
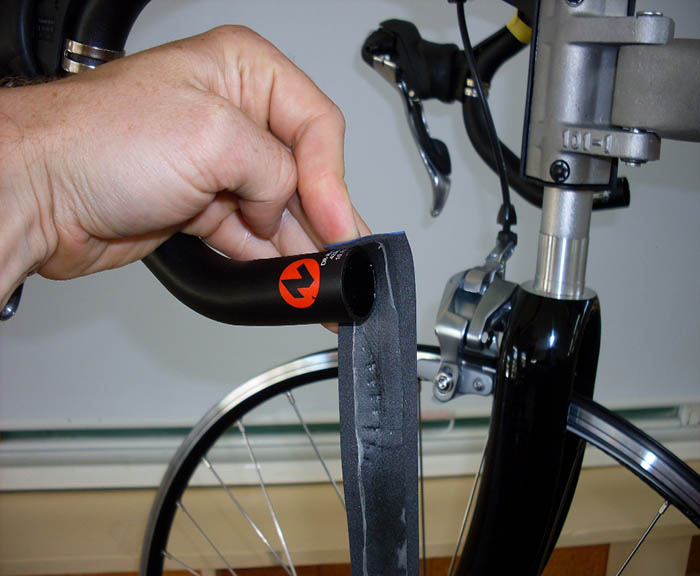
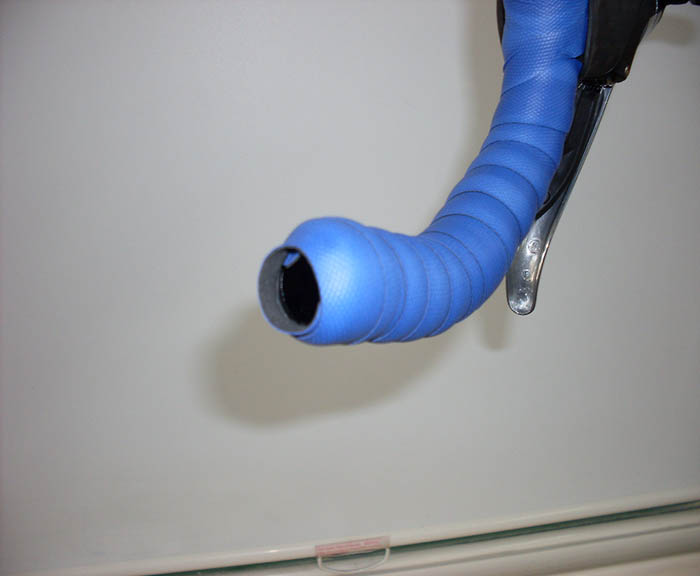
- If your bar plug fitting was ‘snug’ in step 5, align the end of your bar tape with the end of the bar.
- If your bar plug fitted ‘loose’ in step 5, align the end of your bar tape with a 10-15mm overlap over the bar end.
‘Snug’ fit start position
‘Loose’ fit start position
9. Complete a first wrap of the tape without advancing along the bar so that end of the tape is secured.
‘Snug’ fit first wrap

‘Loose’ fit first wrap
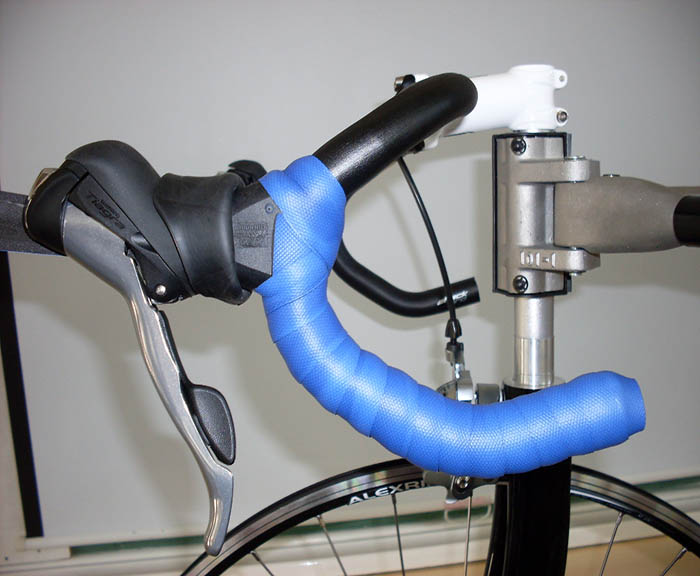
10. Continue wrapping whilst advancing up the bar.
- Use moderate pressure to retain tension in the tape at all times.
- Aim to overlap the previous wrap by about 1/3rd of the tape width with each further wrap.
11. When a bend in the bar is reached, continue wrapping ensuring a 1/3rd tape width overlap is maintained at the outside of the bar bend.
12. When you reach the lever ensure that:
- The last wrap from below overlaps the lever by 1/3rd of the tape width; and
- That the lower portion of the bar tape strip covering the mounting strap is secured.
13. Advance the next wrap to the top of the lever (as shown), ensuring:
- There is a 1/3rd tape width overlap of the lever; and
- That the upper portion of the bar tape strip is secured.
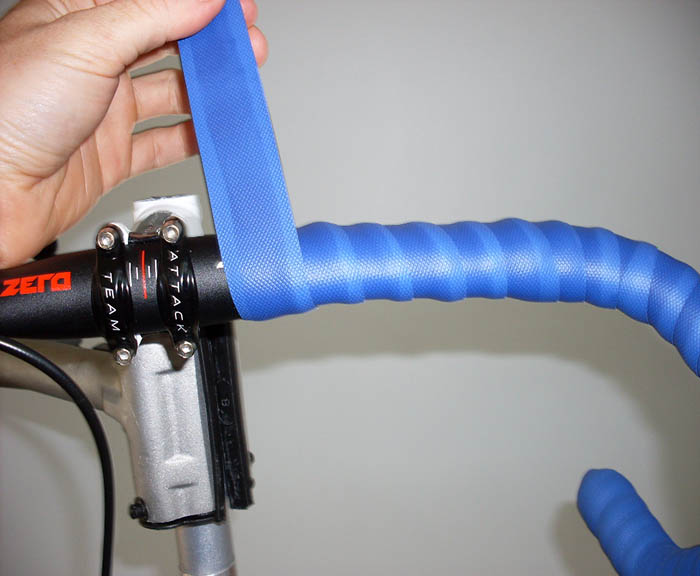
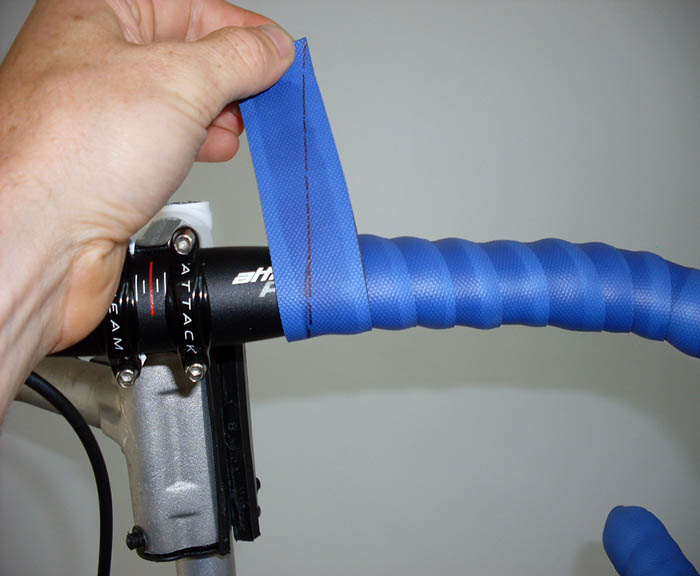
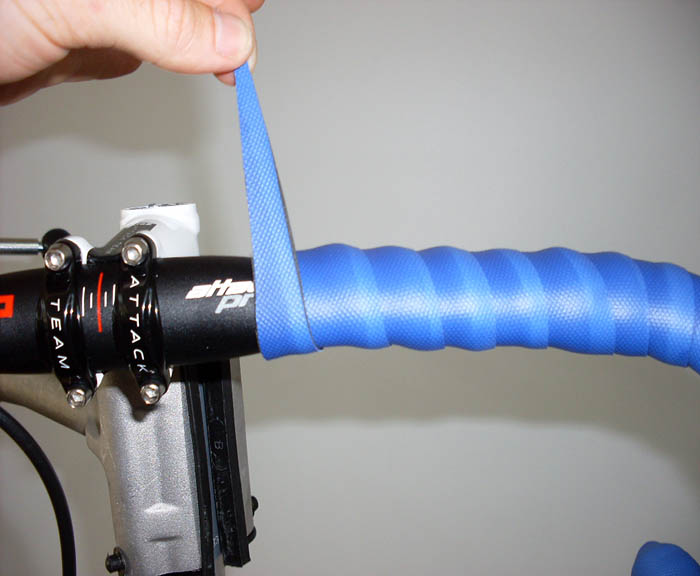
14. Continue wrapping until you are 30-50mm from the stem.
15. Follow the sequence below to trim the bar tape on an angle for a tidy finish.
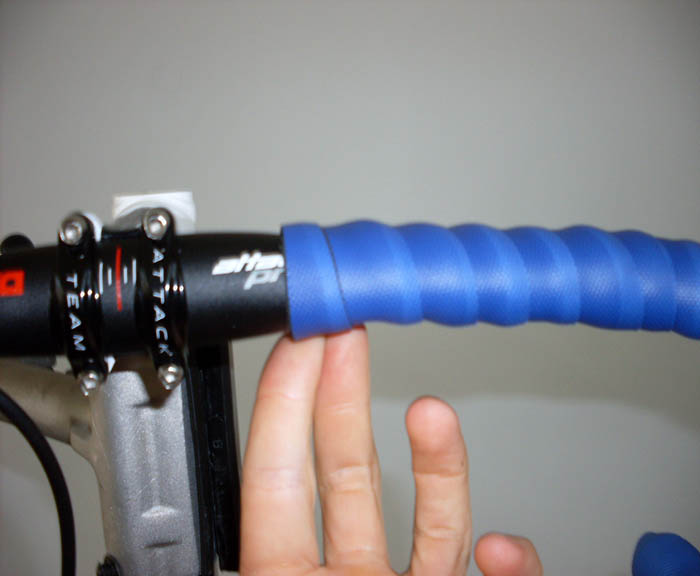
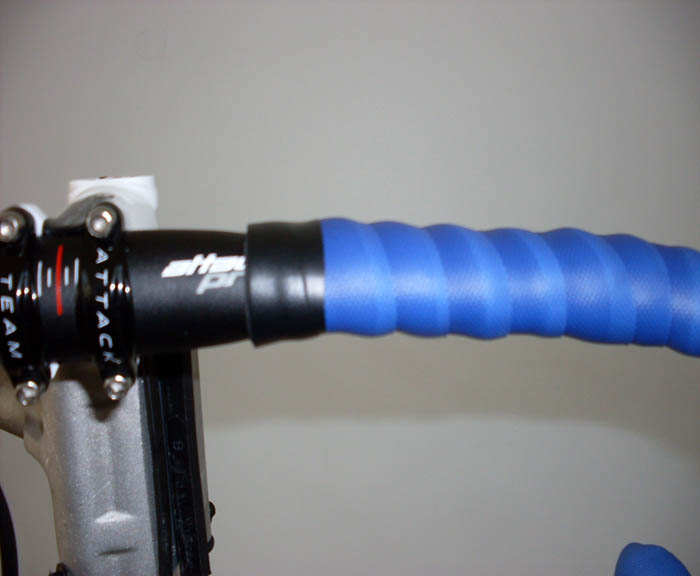
16. Secure bar tape with electrical tape or similar, ensuring you apply the securing tape in the direction of the bar tape wrap.
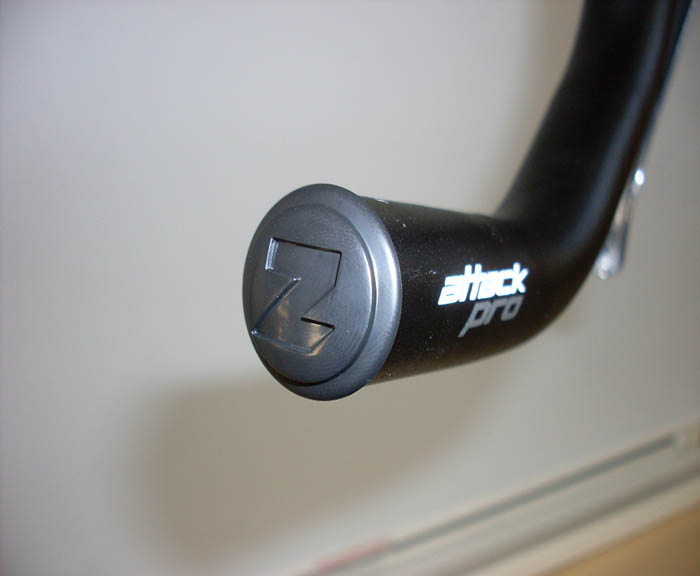
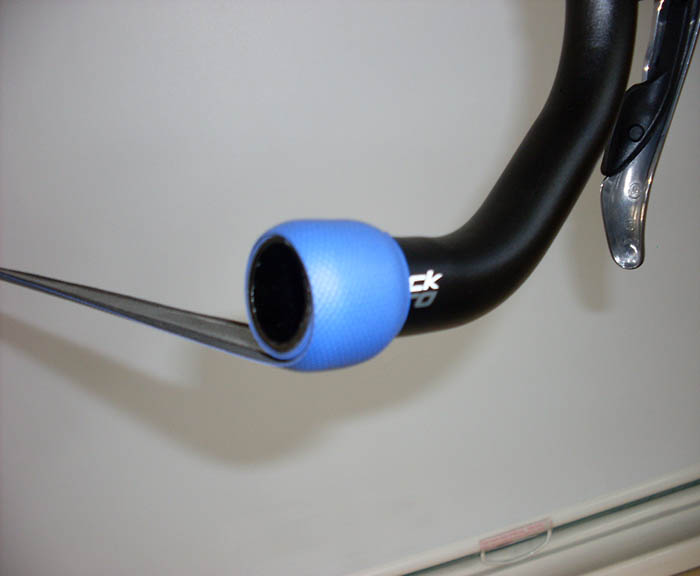
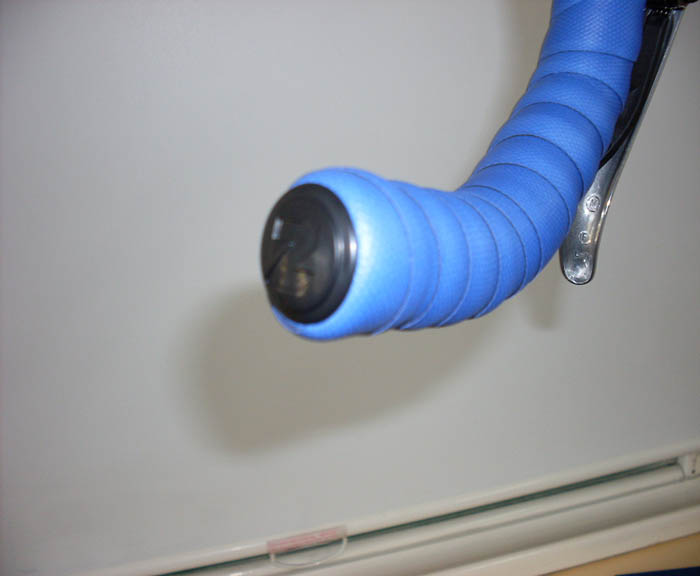
17. Install the bar plug in the bar end
- If your bar plug fitted ‘loose’ in step 5, tuck any overlapping material into the bar end before inserting the plug. This will give a tidy finish and ensure the ‘loose’ fitting bar plug does not work its way out.
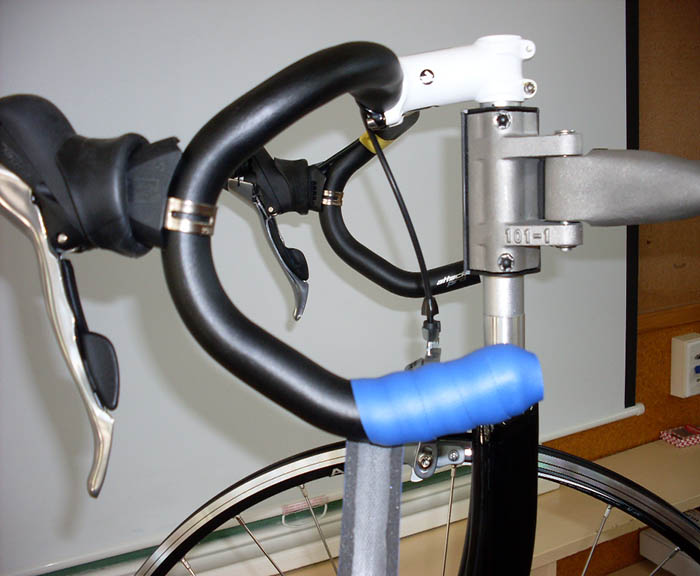
18. Finally, unroll the rubber hoods on the shifter to cover the base of the shifter.