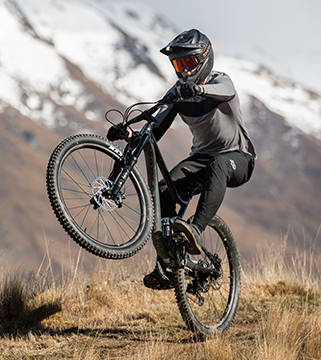


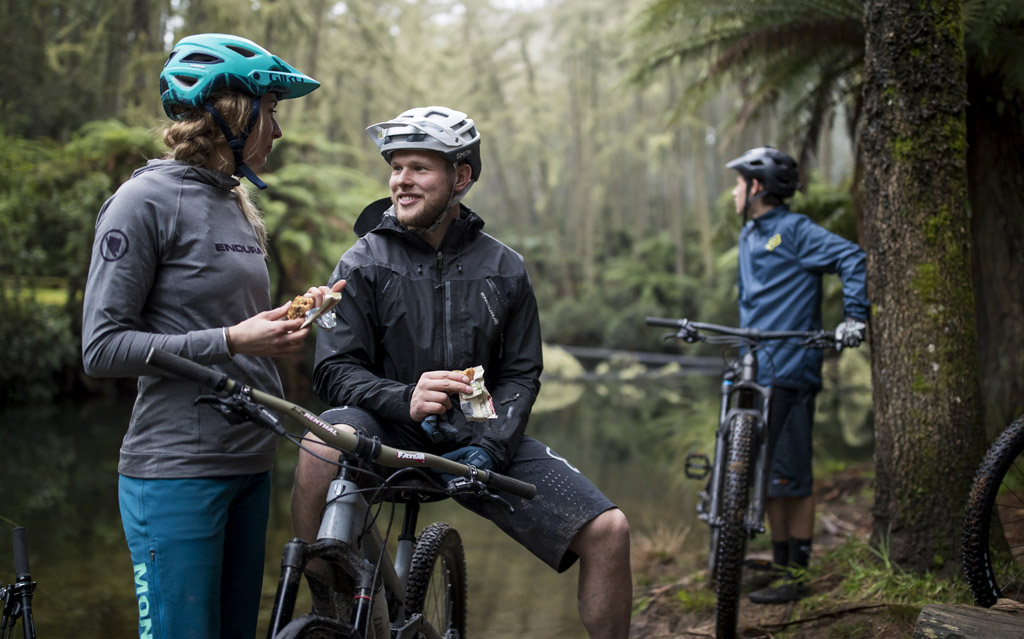
Getting into mountain biking could be the absolute best thing you ever do.
At least that's what our Torpedo7 Club members have told us after joining us on one of the 20 FREE beginner-friendly mountain bike trips we've been serving up nationwide alongside our events partner, Got To Get Out!
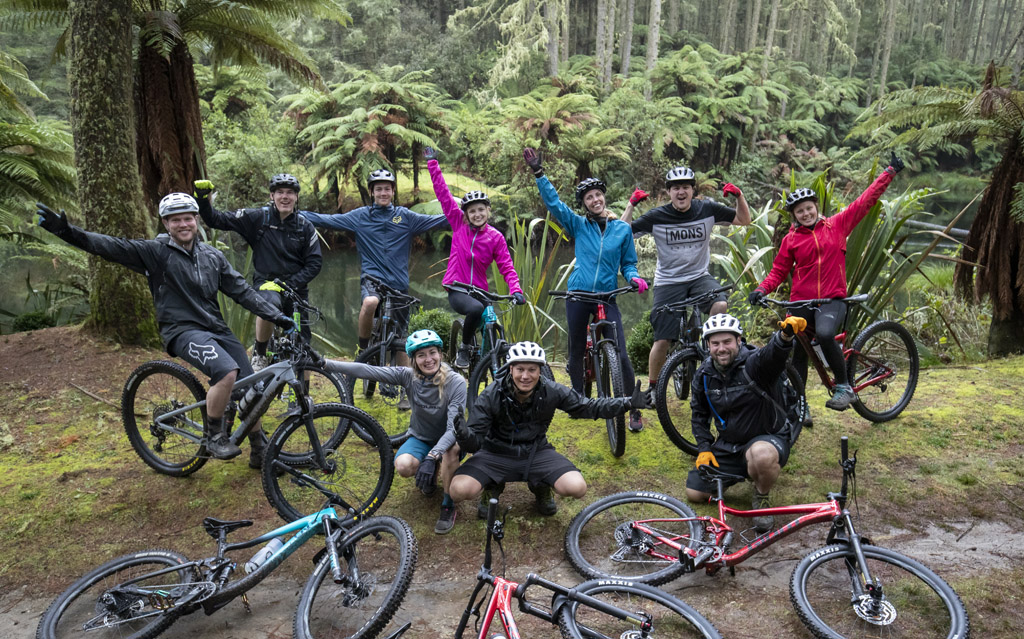
We sat down with GTGO Founder and Mountain Bike Ride Guide, Robert Bruce, to learn about his top 7 tips for beginner mountain bikers. Here's what he reckons!
1. Choose the right trail for you
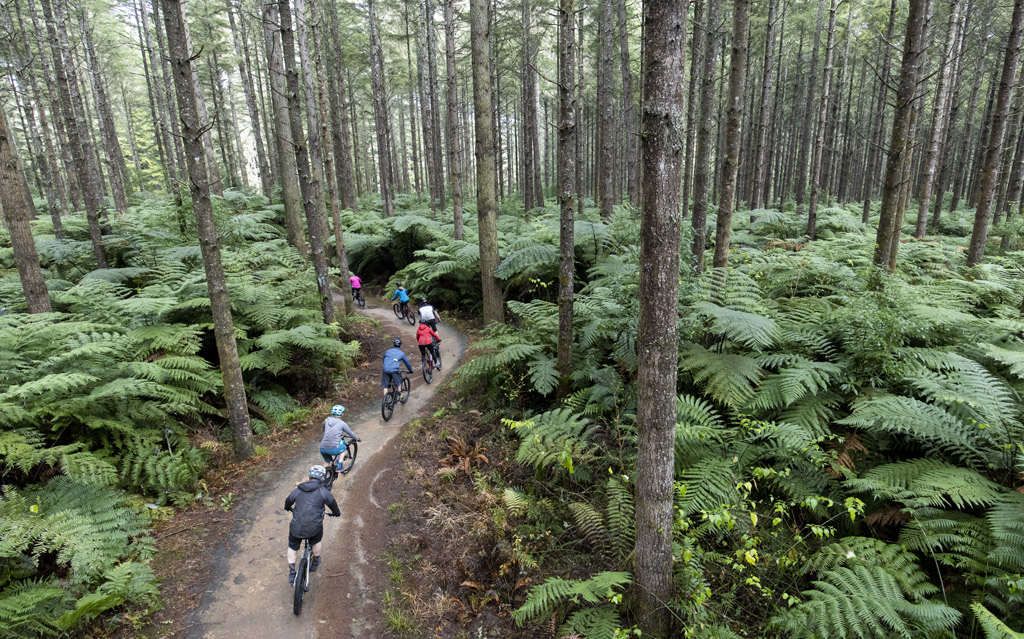
We're completely spoiled for choice in New Zealand, with an immense variety of trails for all levels of riding - right on our doorstep!
Research the park you're going to before arriving to check the trails are what you're ready for. Most parks have a colour-coding system to help riders identify track difficulty.
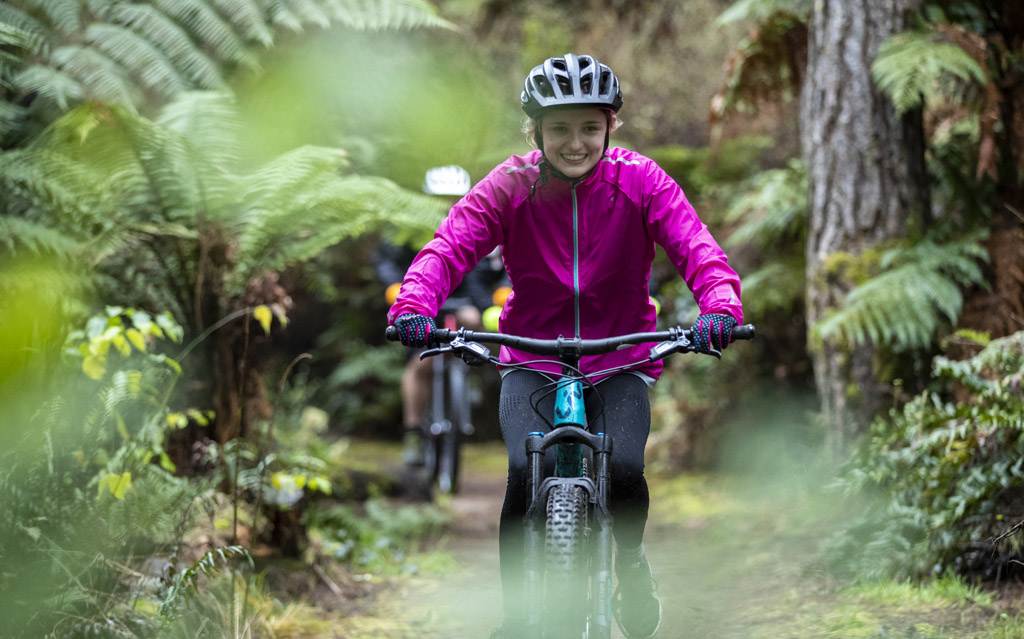
Green usually means grade 1 or 2 (beginner), blue represents grade 3 or 4 (intermediate), and black means grade 5 (advanced) or grade 6 (hard-core!). Grades take into account factors such as length, track surface, slope and tricky challenges. Make sure you identify where the up and down trails are located. You don't want to be pushing your bike up a downhill trail!
Free maps and information for trails can be found on an App called Trail Forks.
It's also not a bad idea to get your confidence up at a local School field or open space before hitting a park.
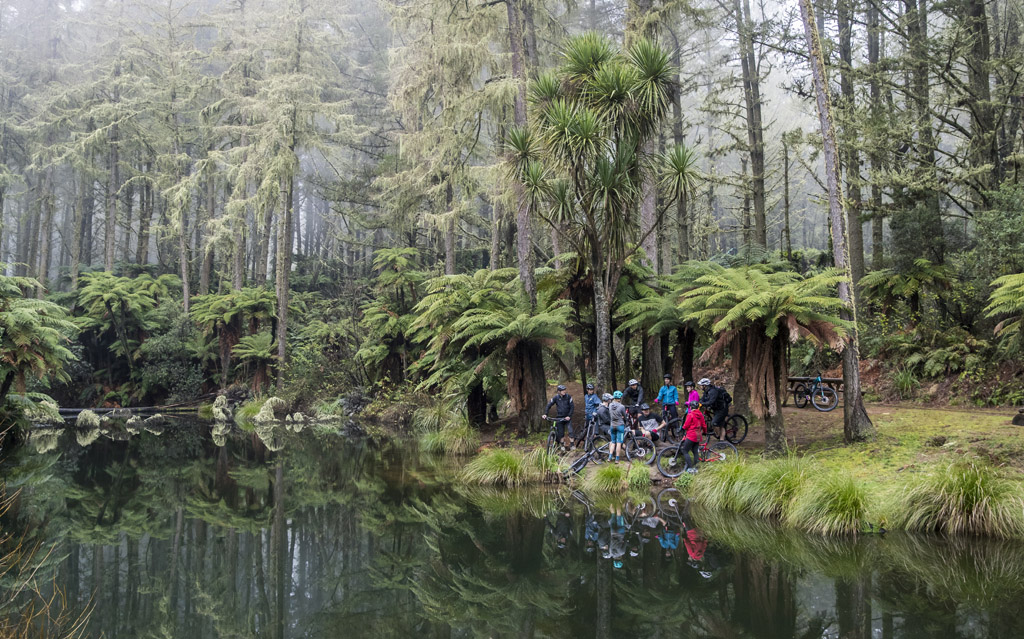
2. Find Somewhere to Ride
We've visited some of New Zealand's best mountain bike parks with the Torpedo7 Club! From Whakarewarewa (Redwoods) Rotorua, Craters of the Moon in Taupo, Makara Peak in Wellington, Signal Hill in Dunedin, Lake Mangamahoe in Taranaki, Woodhill MTB Park in Auckland, Cable Bay Adventure Park in Nelson and the Christchurch Adventure Park. Why these Parks? Ease of access, on-site facilities like toilets, cleaning stations and bike rental, trail conditions, maintenance of tracks, grades and of course - the views!
Signal Hill, Dunedin's number one Down Hill Park should get a special mention. You can drive to the top and then enjoy a seriously cool grade 2 downhill ride. Hint: take two vehicles and leave one at the bottom, saving your legs by shuttling all day long!
3. Choose the Right bike for You
When just starting out, it definitely helps to get the style of bike and the right size for your type of riding and level of comfort!
Choosing a mountain bike can seem like a pretty daunting, complicated decision with a number of different types of bikes, wheel sizes and frame options to select from. The friendly team at any Torpedo7 store can help you out with your selection and fitting, or otherwise here's a couple of old school basics.

Start by asking yourself a couple of simple questions: 'what parks am I riding now, and where do I want to be riding'?. Within this question you're also identifying 'what grade am I riding, and what grade do I want to progress to'? as well as 'where do my friends/family ride'?
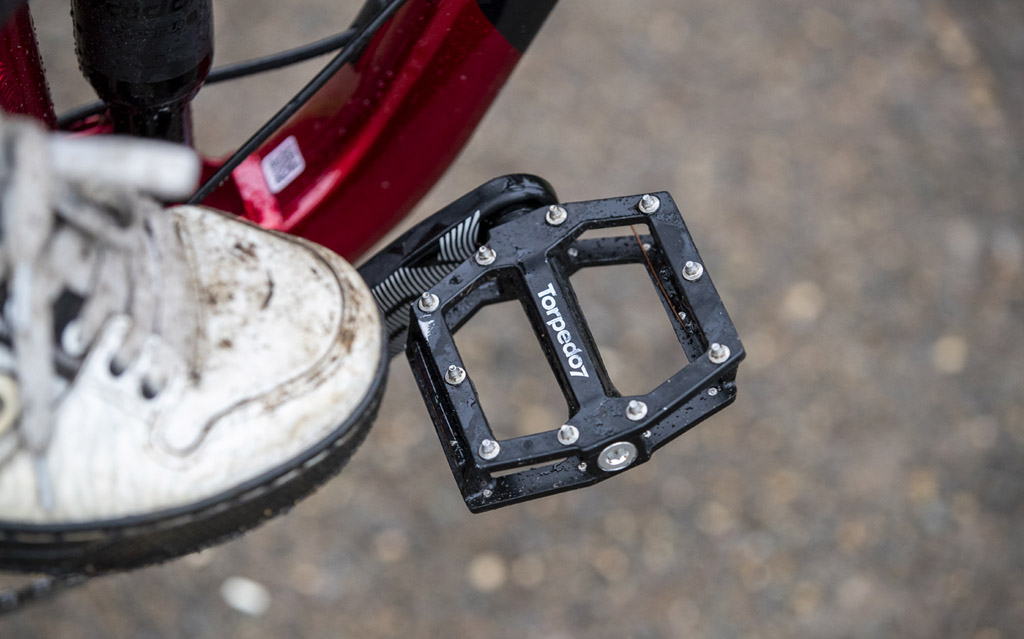
As a rule of thumb, if you're planning on riding grade 1 or 2 beginner trails (green) you might consider a hardtail mountain bike, without rear suspension. As you progress to grade three trails and higher, you?d want a full suspension and might want to start thinking about higher quality brakes, followed by wheel size, pedals - and the list goes on.
Finding the right frame size is the first step. When you step over the frame, your feet should be able to touch the ground. If you're sitting heavily on the top-tube of the frame, it's probably too big for you. If you have several inches of space between the frame and you (enough that you can easily pick the bike off the ground without it touching you) it's possibly too small.
Check your seat/saddle height. You want the seat to be high enough that your knee is almost straight when your foot is in the lowest position on the pedal. In this position, your foot should be comfortably flat and parallel to the ground.
Check your arms. They shouldn't be stretched out too far (could indicate the bike frame is too long) nor elbows overly bent when sitting on the saddle (frame too cramped.)
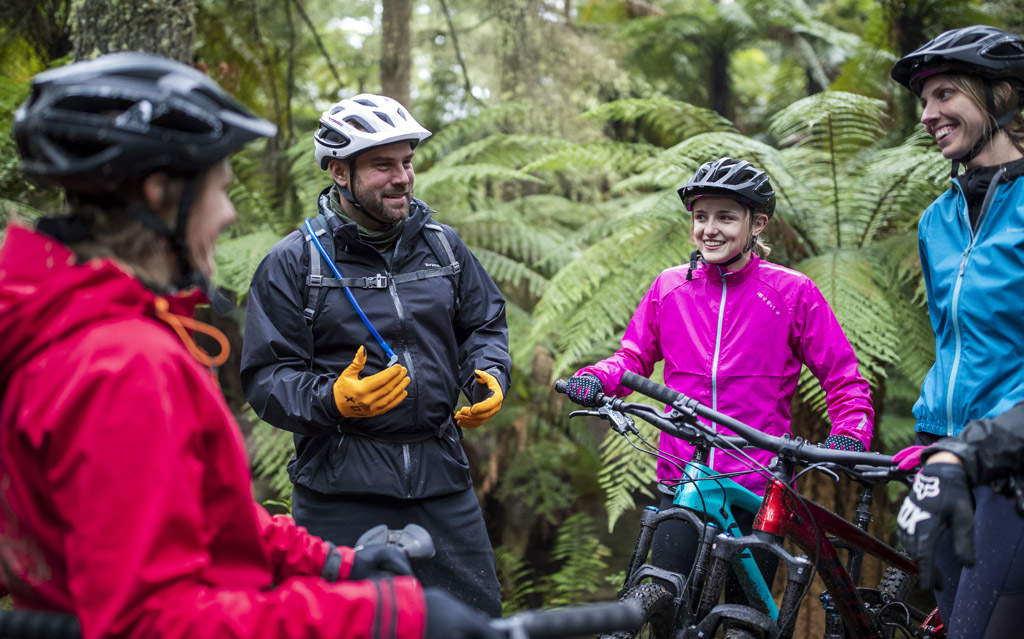
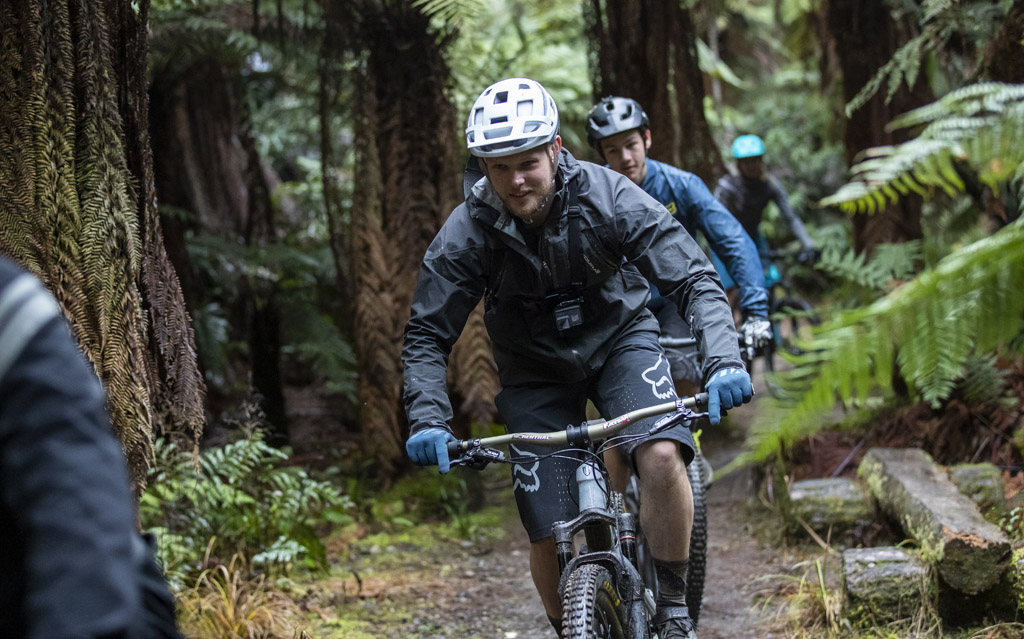
4. Protect Yourself!
Having good protection is number one - after selecting your bike. That ground is pretty hard!
A good fitting helmet is super important. Be sure it fits snugly to your head; when the harness in the helmet is done up, you should be able to tilt your head forward and give it a shake and the helmet will stay on. Most of all, it should be comfortable!
The chinstrap holds the helmet on if you do take a tumble. The strap should sit under your chin (not your throat), and you should be able to put 2 fingers between the strap and your skin. There are a few options out there such as full-face vs open face, and different materials and designs. A good helmet it critical for head and face protection in the event of a crash (off the bike, into another rider, or into an obstacle like a tree).
Keeping yourself comfortable on a bike is essential; padded shorts with a built in Chamois are really a must! You can wear these under another pair of your favourite shorts, on their own, or with a dedicated riding short. Pairing these with a Saddle that fits you well makes all the difference.
A key tip is that you do not have to live with the saddle that comes with a new bike. If you have been riding for a couple of weeks wearing padded cycling shorts and you still have a sore backside, call into a Torpedo7 store and they can show you a range of shapes and sizes of saddles that may better fit you.
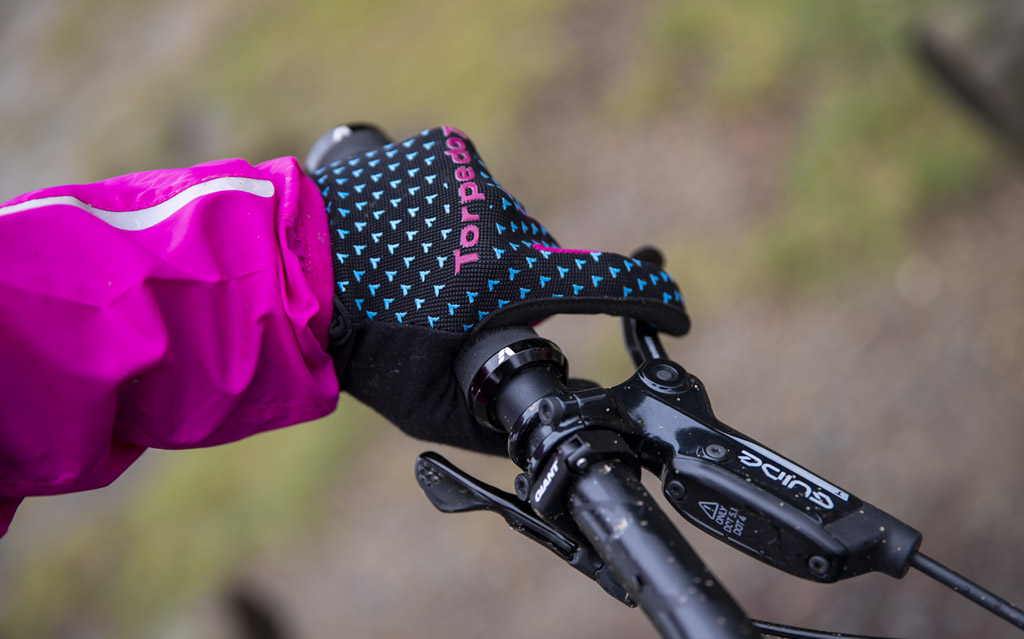
Riding gloves are also a great idea. Wearing partial or full finger gloves is one decision you can make based on your personal preference. Some full finger gloves have a fingertip silicone material that allows use of smartphones.
Modern MTB knee and elbow pads are distant relatives of the moto-cross industry. While it may seem excessive to wear padding head to toe, even low speed falls can give you painful cuts and grazes and the additional protection can give you extra confidence to push yourself further. Knee pads are worn by most riders these days.
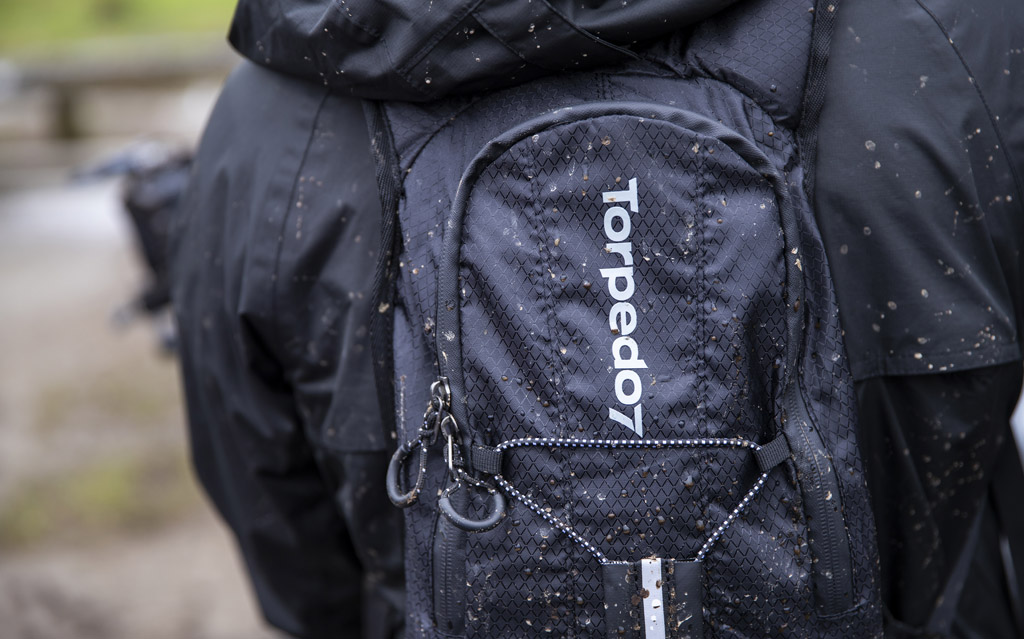
Then there's hydration. Protect yourself from muscle cramps and recover faster by staying hydrated on your ride. An insulated water bottle is great for shorter rides, but if you're planning on something longer, you may want to take a look into hydration pack options.
There is much more technology and gear including speedos and GPS devices, bike-specific shoes, night lights, tools, pumps, spare tubes, and puncture repair kits.
There's a reason people say biking is addictive! There's a near never ending supply of gear to enhance your ride.
5. Transport your bike safely
There's a whole bunch of systems you can look in to for transporting your precious cargo safely and securely. The best option for you depends on the type of vehicle you're driving, the number of bikes you want to carry, the weight of these bikes and your personal preferences.
The most common bike rack types are roof mounted, tow ball mounted, rear mounted and rear wheel mounted. You might also want to consider whether or not you want a locking mechanism to protect against theft, if you're transporting your bike with the wheel on or off, and how high you want to have to lift your bikes off your car.
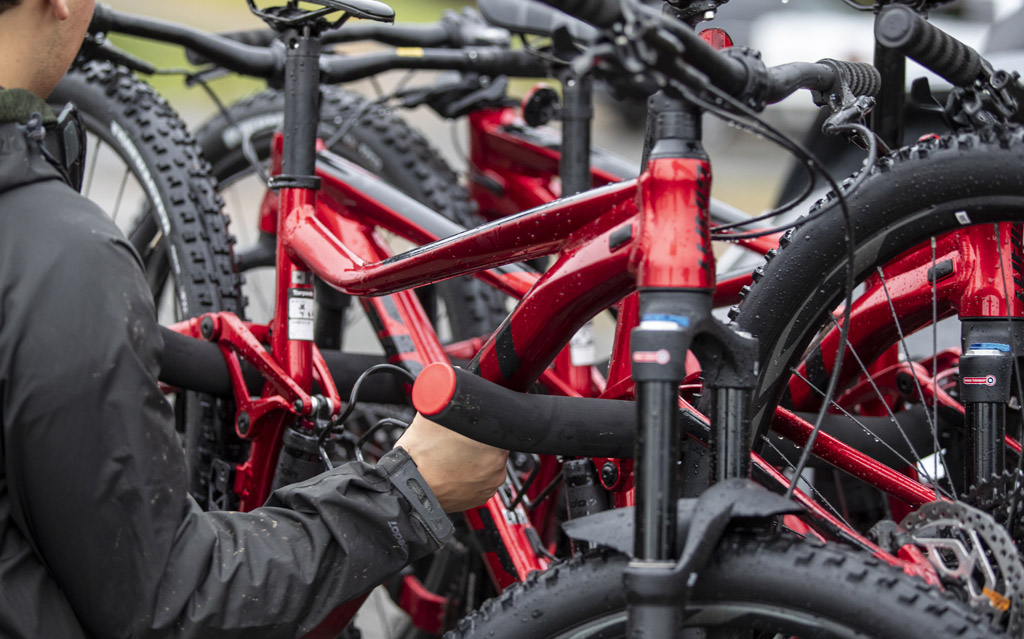
If you're transporting multiple bikes always remember to keep some space between bikes to avoid scratching and if using a roof rack, watch out before going into any garage or carport!
6. Clean your bike
The best maintenance is cleaning the bikes after every use to keep grime and grit off the moving parts of the bike.
Wash bikes down with water, then use a product like Krush Premium Bike Wash biodegradable cleaner, which can be either diluted into a bucket and applied with a brush, or sprayed directly onto the bikes and then left - depending on how dirty the bikes are.
If a bike is really dirty scrub with an assortment of brushes including special small brushes for the chain gears and hard to reach places like under the rear suspension and then rinse with water before finishing with Krush. Sometimes a degreaser is also needed if your chain or gears are really dirty.
Lastly dry off the bike, wipe it all down, then apply a new lube to the chain based on where you'll be riding next. A dry-lube for dry conditions (like Woodhill or Craters with very dry / sandy riding) or wet lube for rides like Makara where it?s often muddy and damp, or during Winter.
Give the bike a once-over and look for anything that is worn out, cracked, broken or just not working right. It's best to pop into your local Torpedo7 workshop for a green service every six months or so, to keep your bike running in tip top shape, and last longer!
7. Have fun!
If you're not enjoying it - you should be! Take the time to sort out your bike, protective gear and trails you're planning on hitting before getting out there to get the most out of your bike and ensure you're comfortable.
Have fun with us and join one of the Torpedo7 Club FREE mountain bike rides near you. Visit our Torpedo7 Facebook page & follow the prompts. Last tip: if the trip says 'SOLD OUT', 100% join the wait list - you never know, you might get lucky!