


We’re excited to partner up with the Otago Polytechnic Central Campus to bring you a range of bike tuning and repair tips and advice. With a number of topics covered over the coming weeks, be sure to check back soon!

Turn your passion for cycling into a career! Study the Certificate in Bicycle Mechanics (Level 3) and (Level 4) at Central Campus, in the heart of Central Otago.
Servicing a Loose Ball Bearing Hub – Step by Step
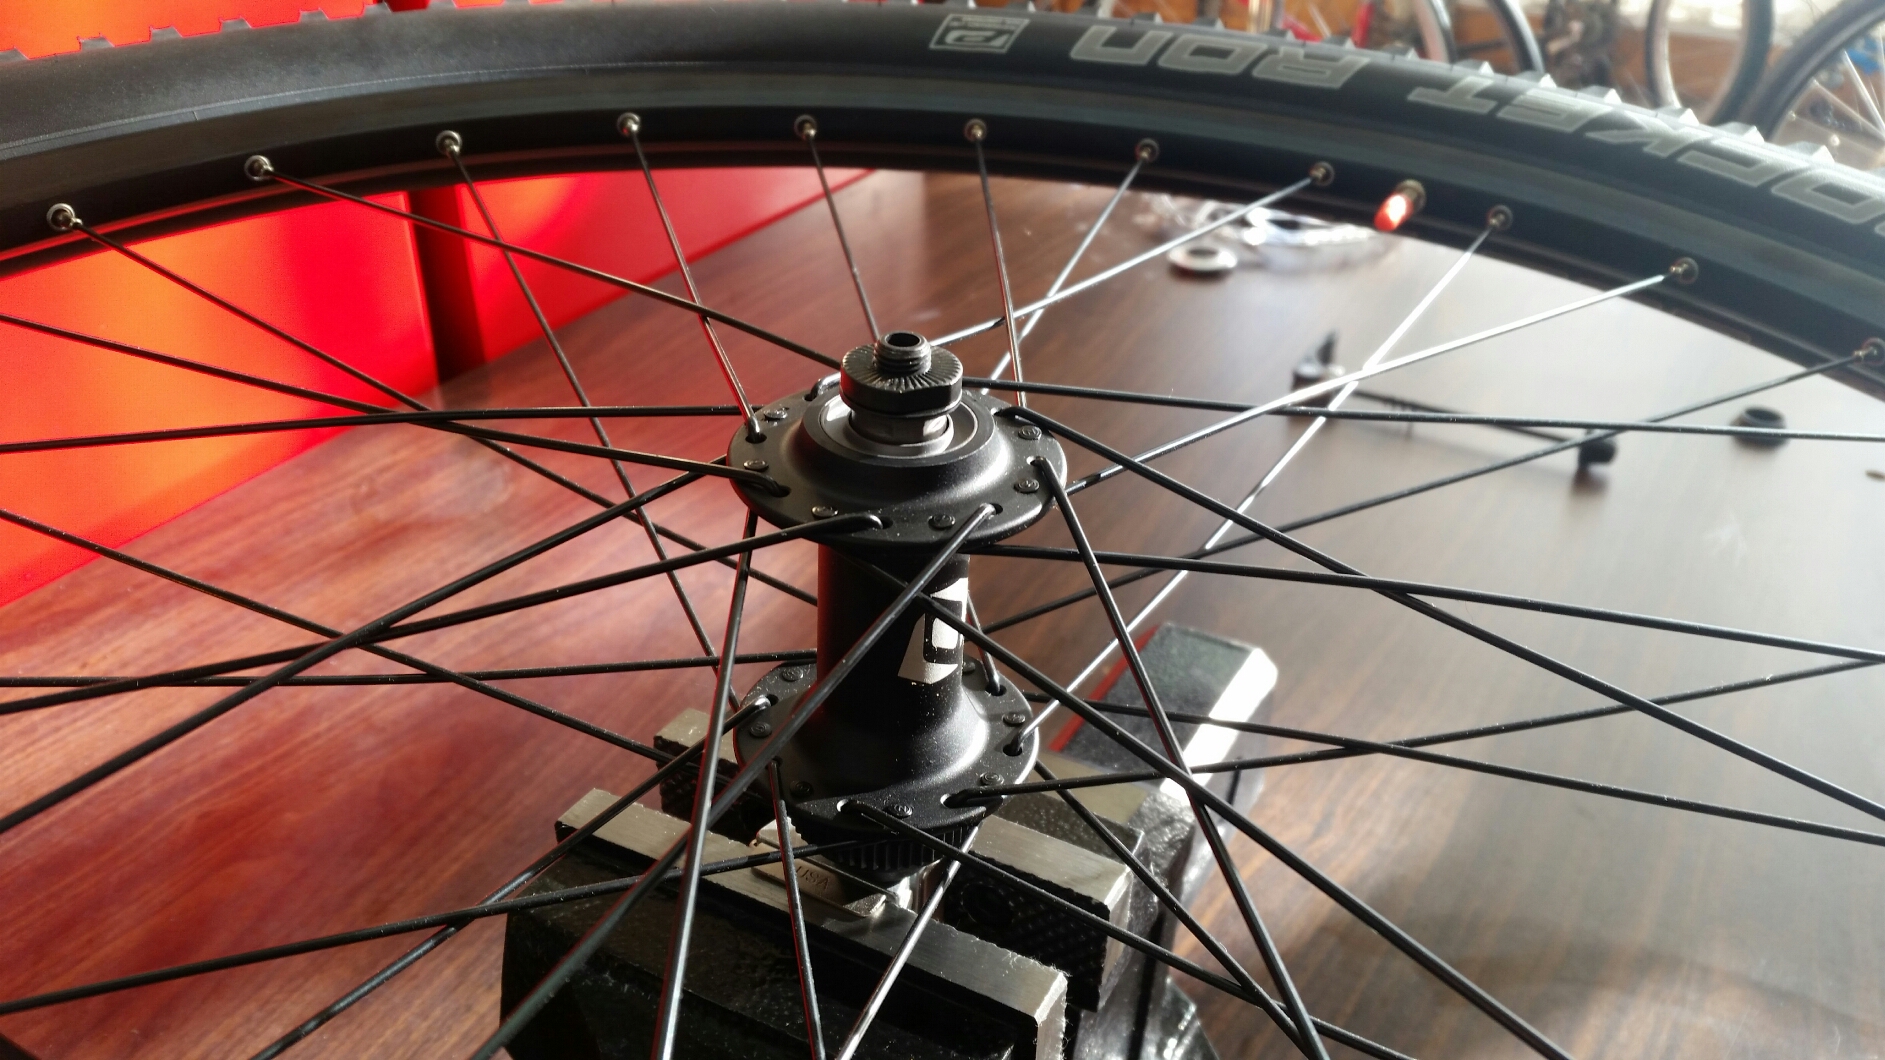
1. Remove the wheel whose hub you are servicing from the bike
2. Remove the quick release skewer (if the hub has a hollow axle), or the outer locknuts and washers (if the hub has a solid axle)
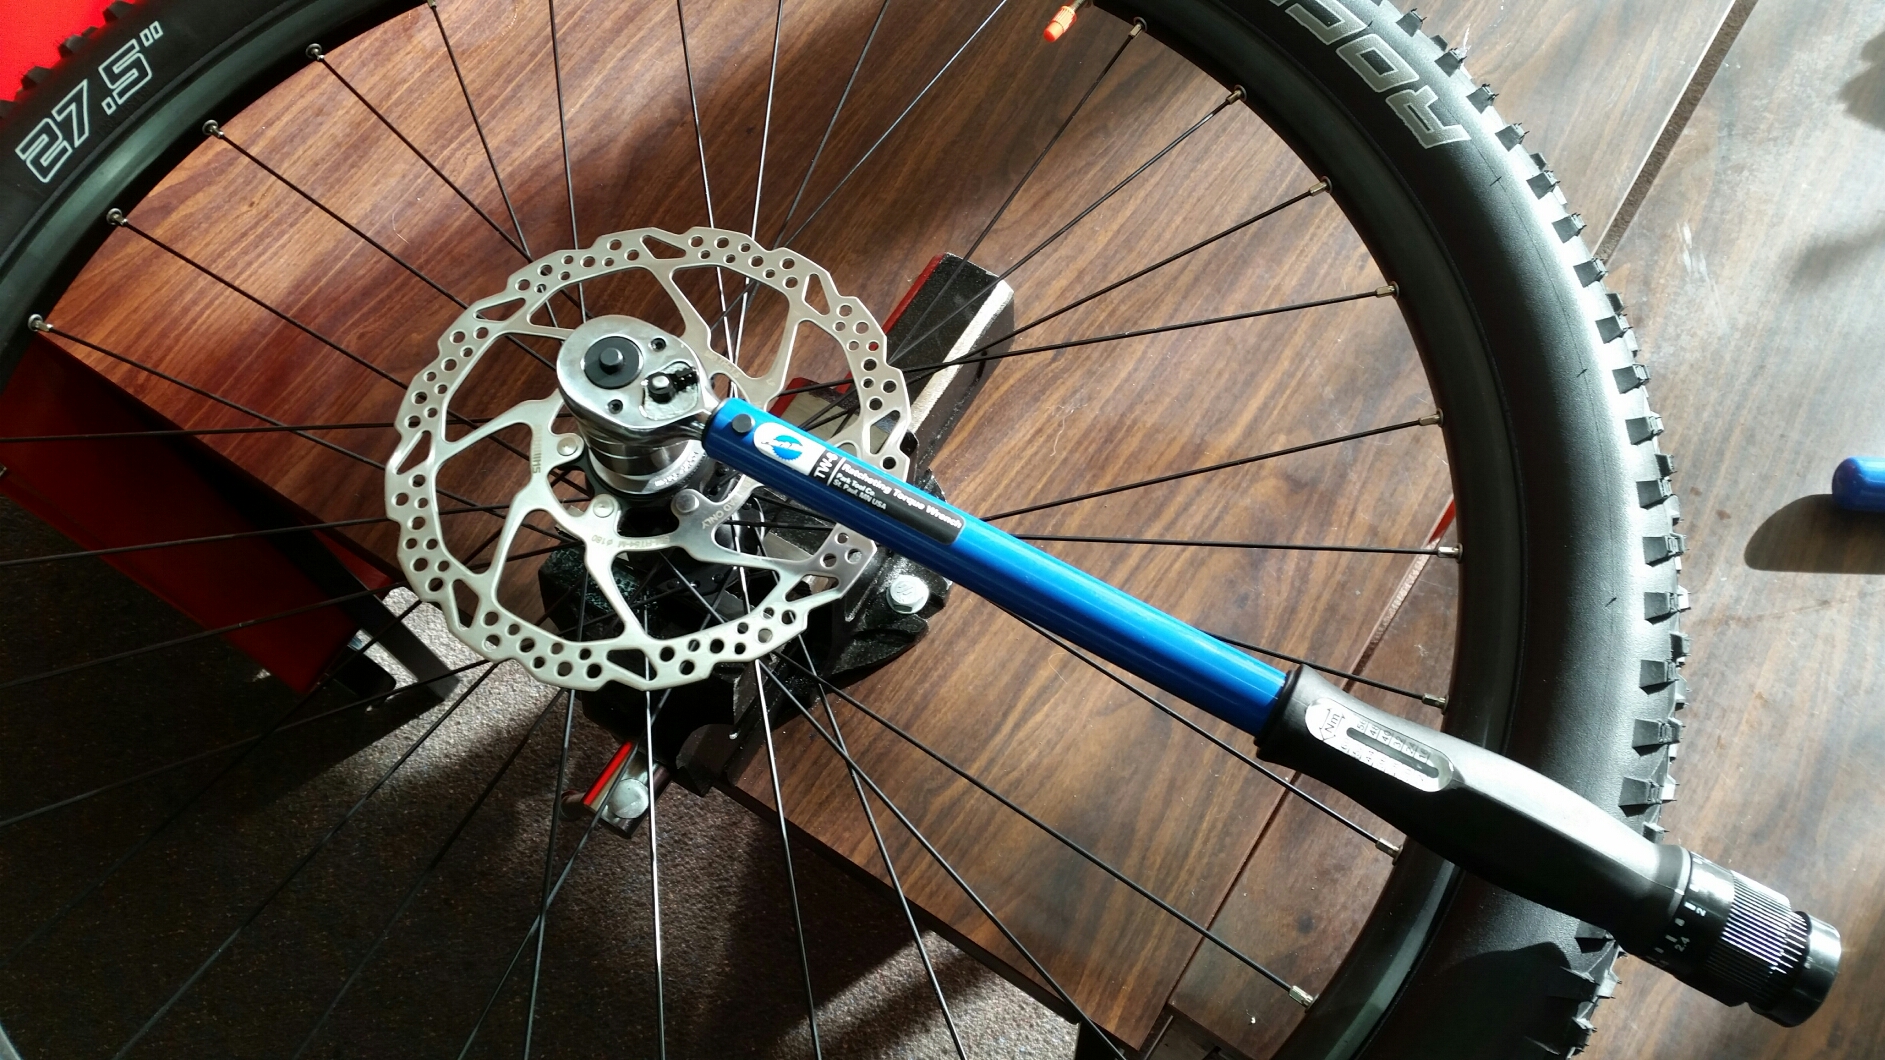
3. Remove the disc rotor (if applicable)
4. Using your hands only (i.e. without tools), remove any rubber seals (if applicable) covering the locknuts and/or cones
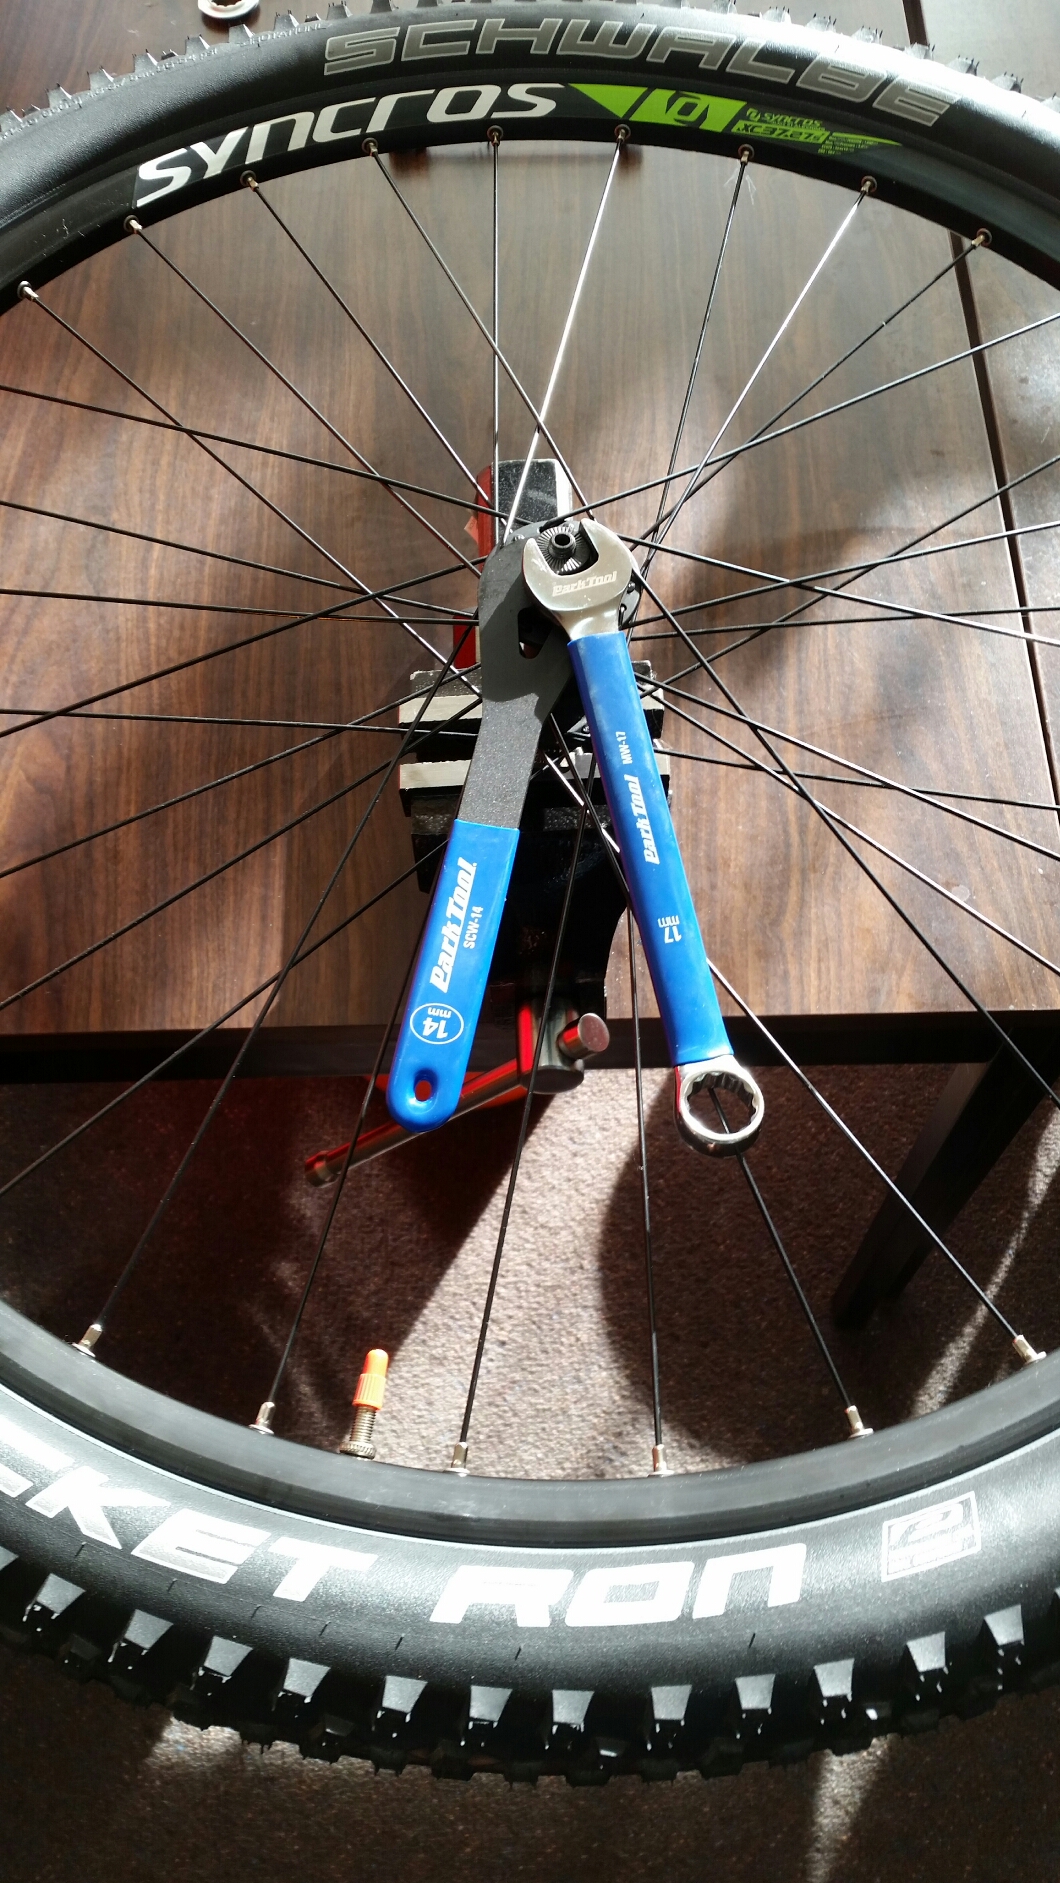
5. Identify a side of the axle that you can get tool access to both the locknut(s) and cone. For a rear wheel this will be the non-drive side
6. Clamp axle in an axle vice with the accessible side (side 1) facing upwards
7. Whilst holding the cone in place, loosen and then remove the locknut(s)
8. To make the reassembly as easy as possible, lay out the pieces you remove in order, noting their orientation, and grouping them by which side of the axle they were removed from
9. Remove the washer and spacer(s) (if applicable)
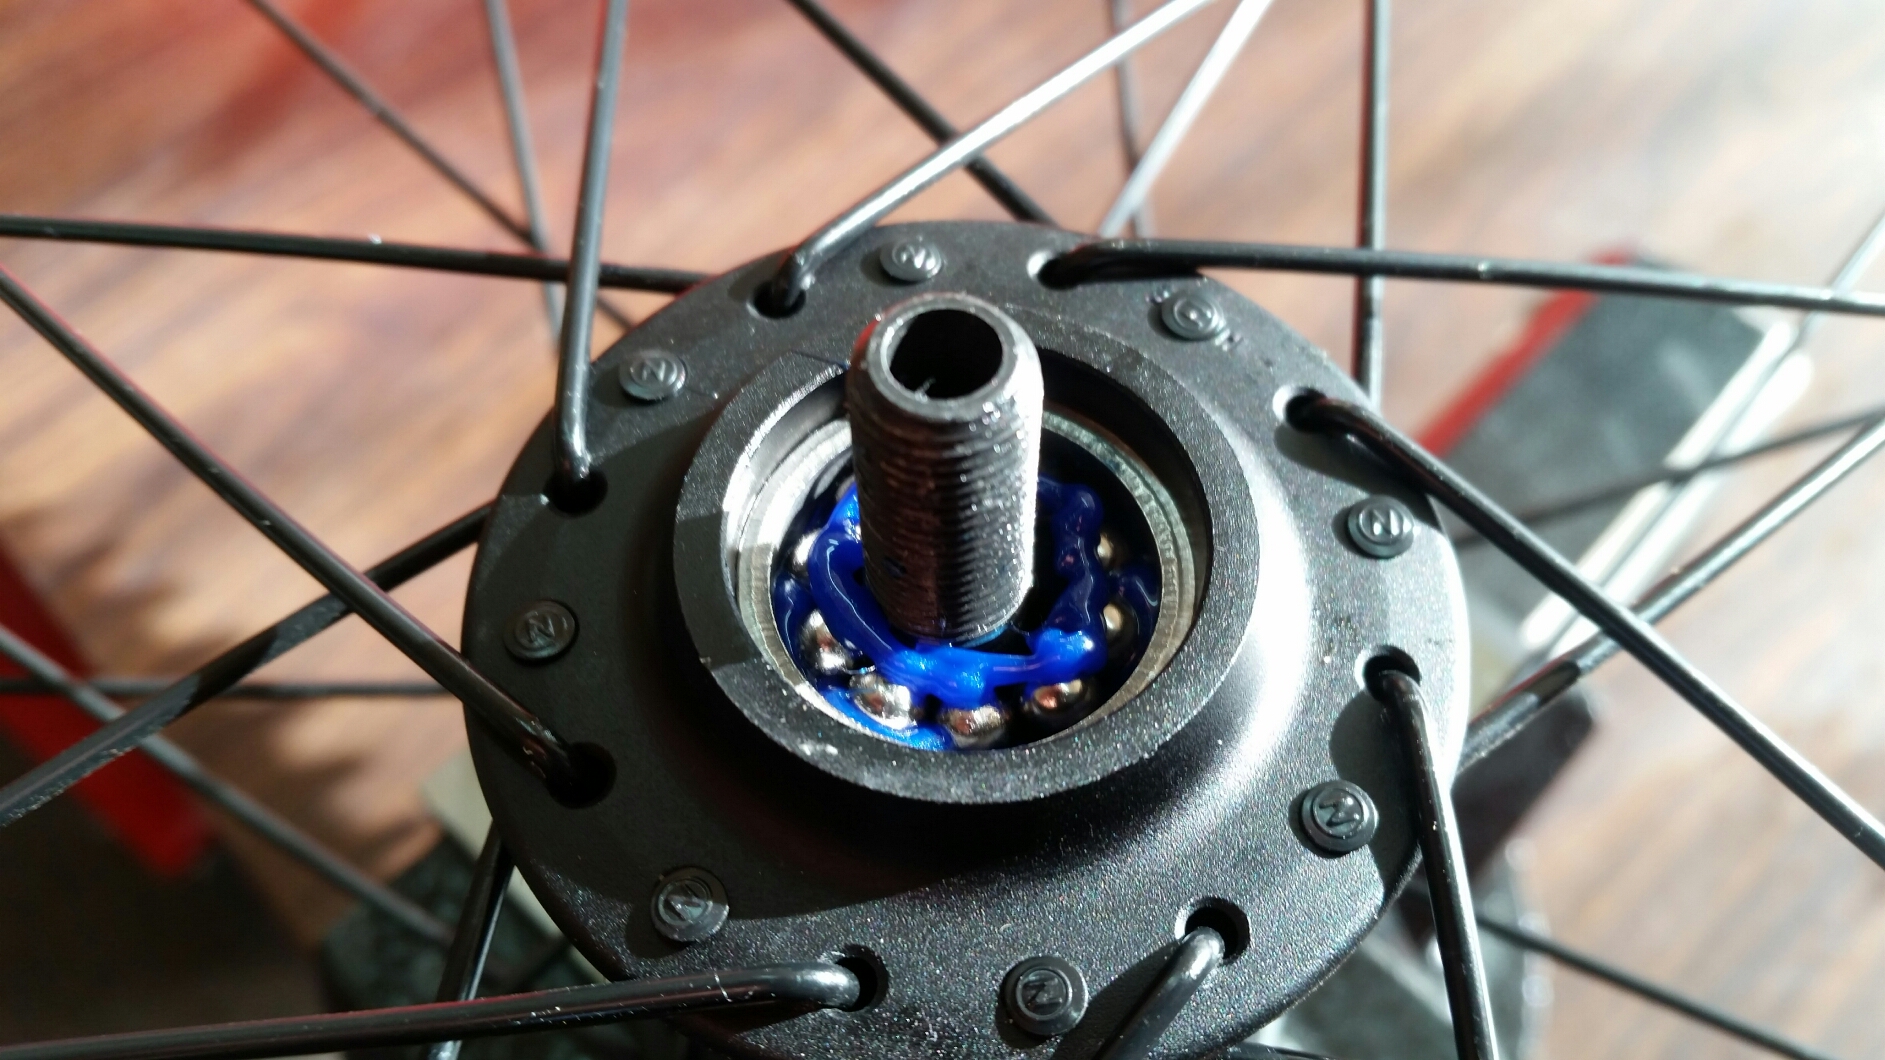
10. Remove the cone
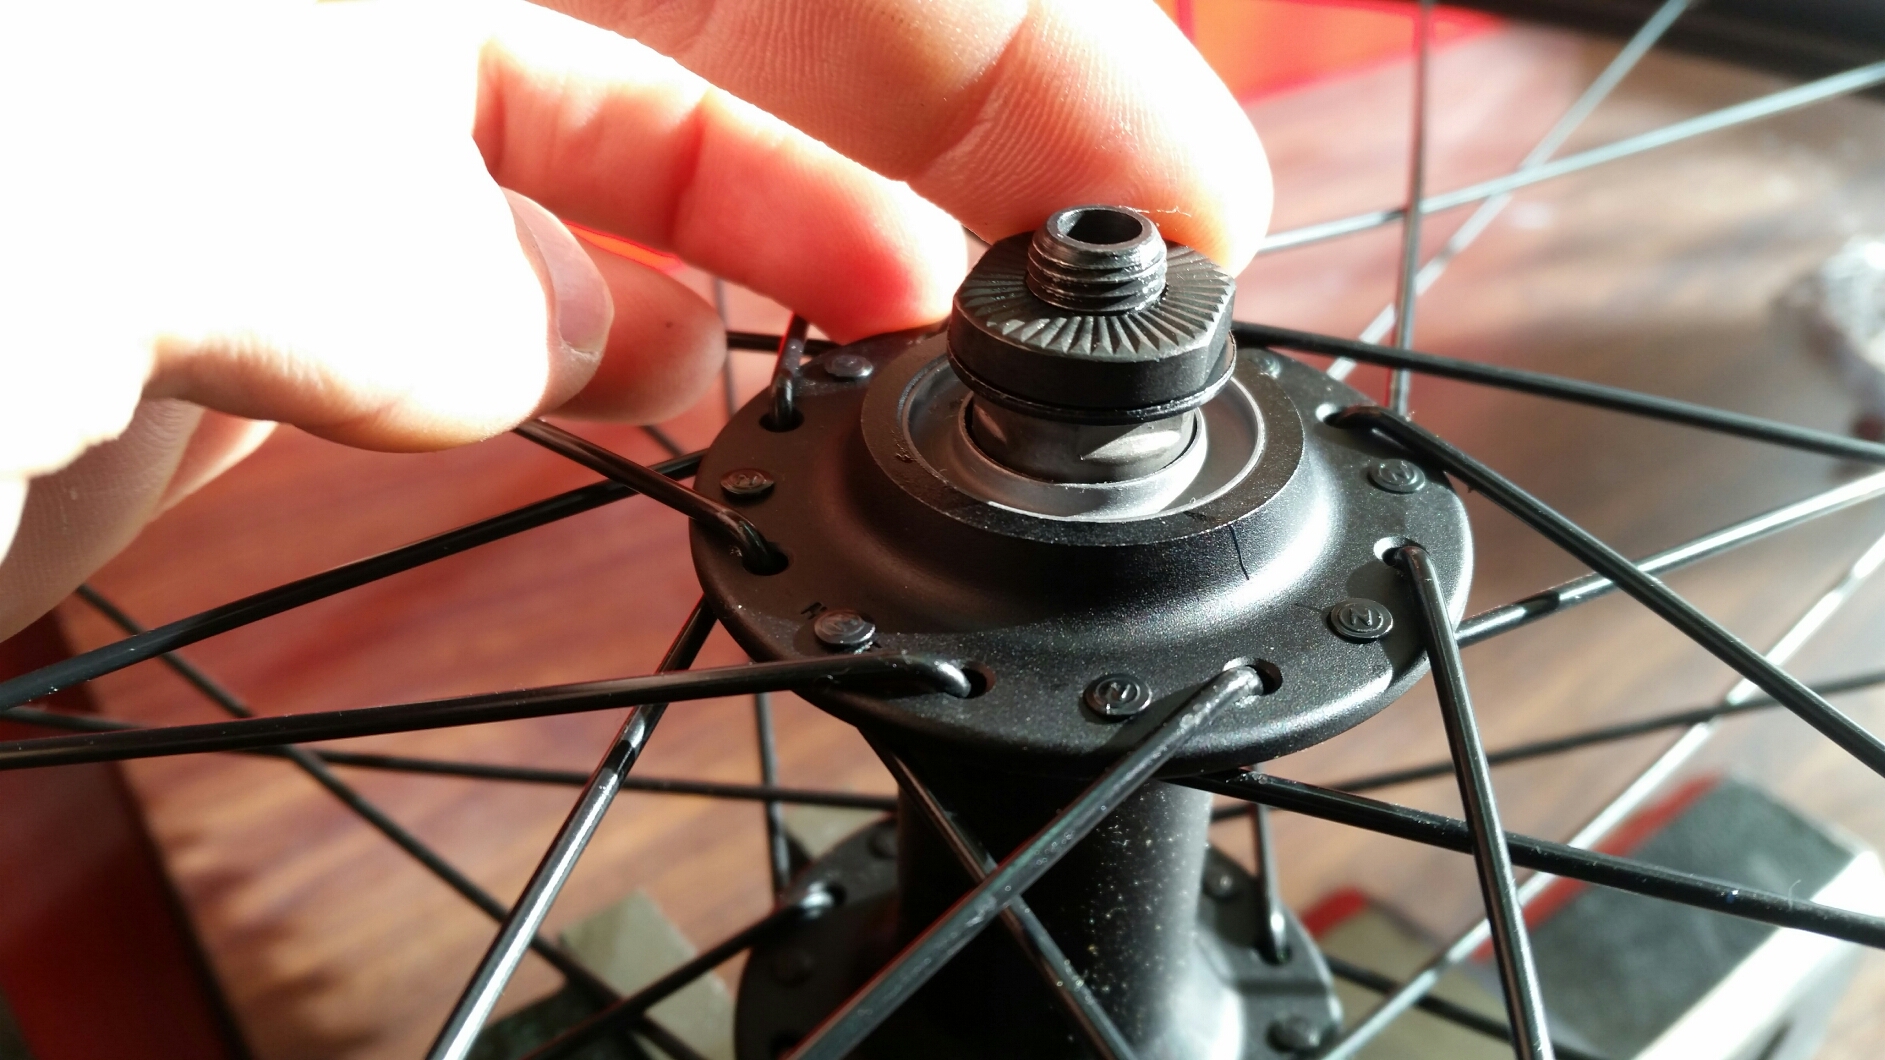
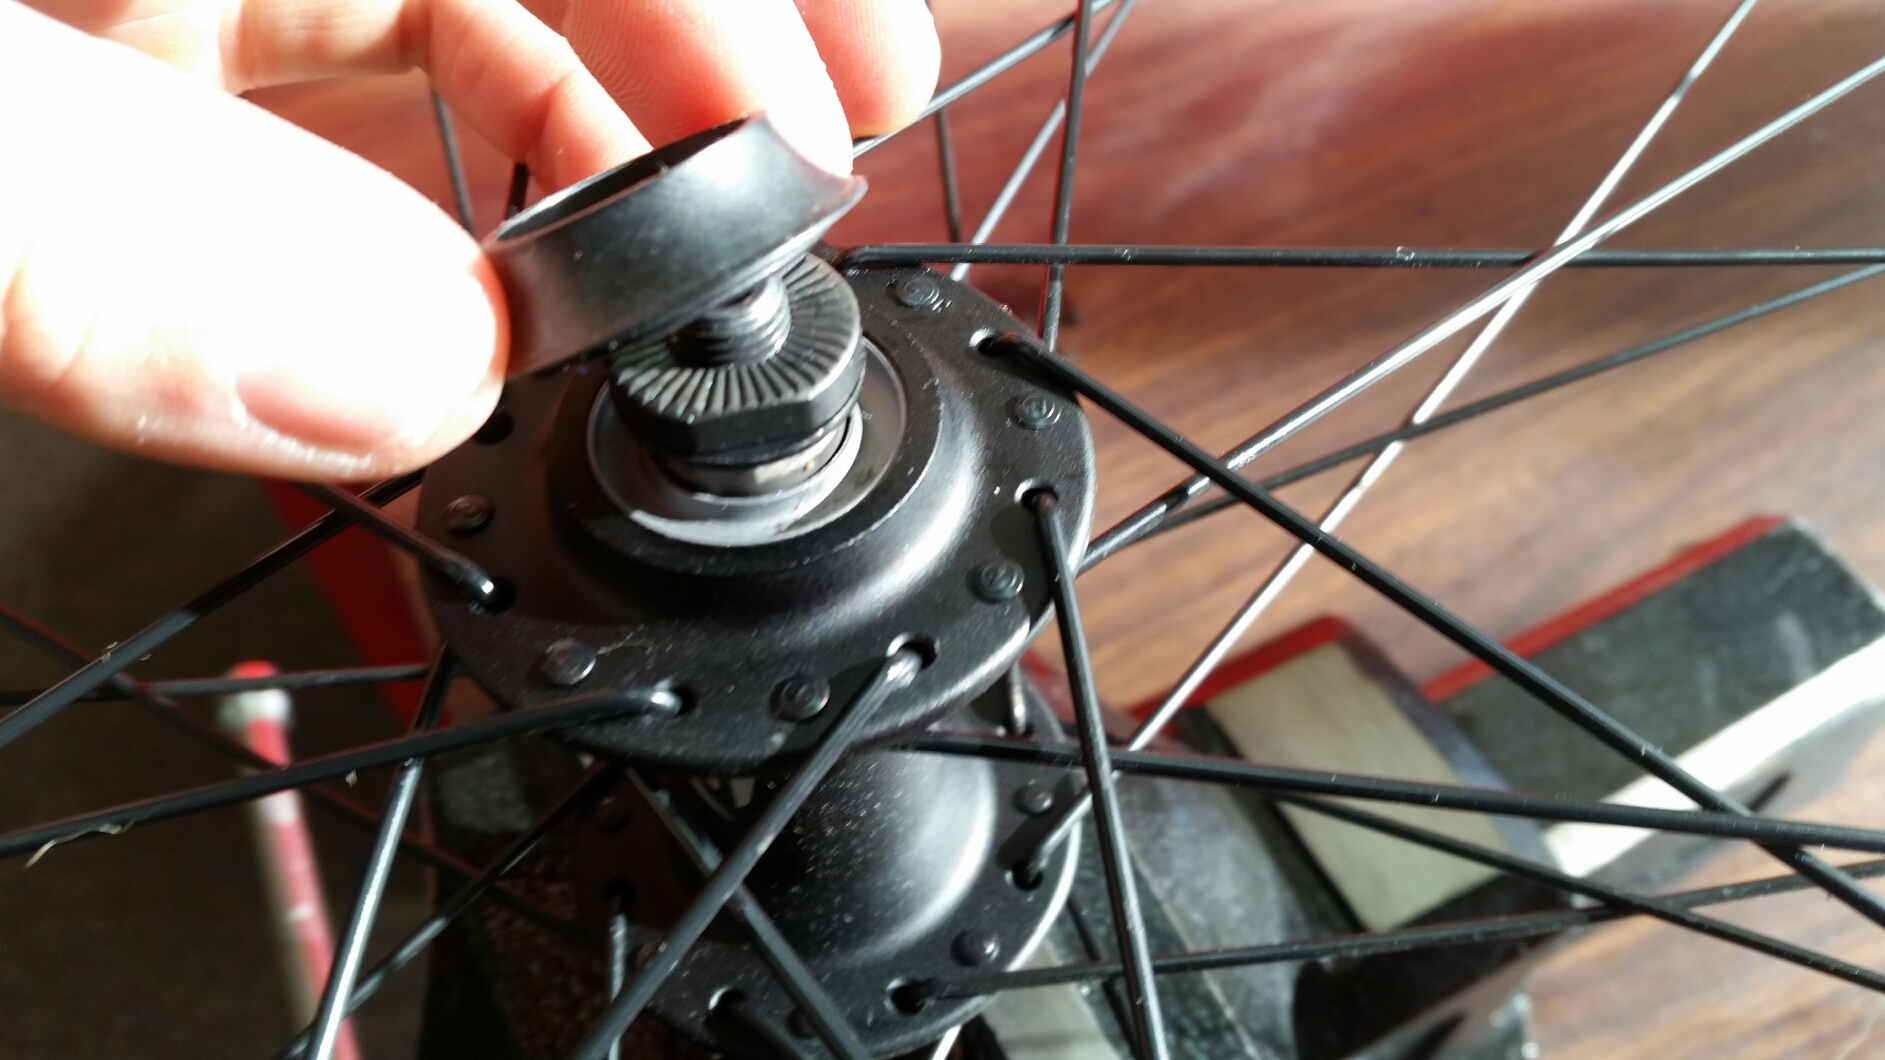
11. If you can do so without creating any damage, very carefully remove the dust cap (not essential)
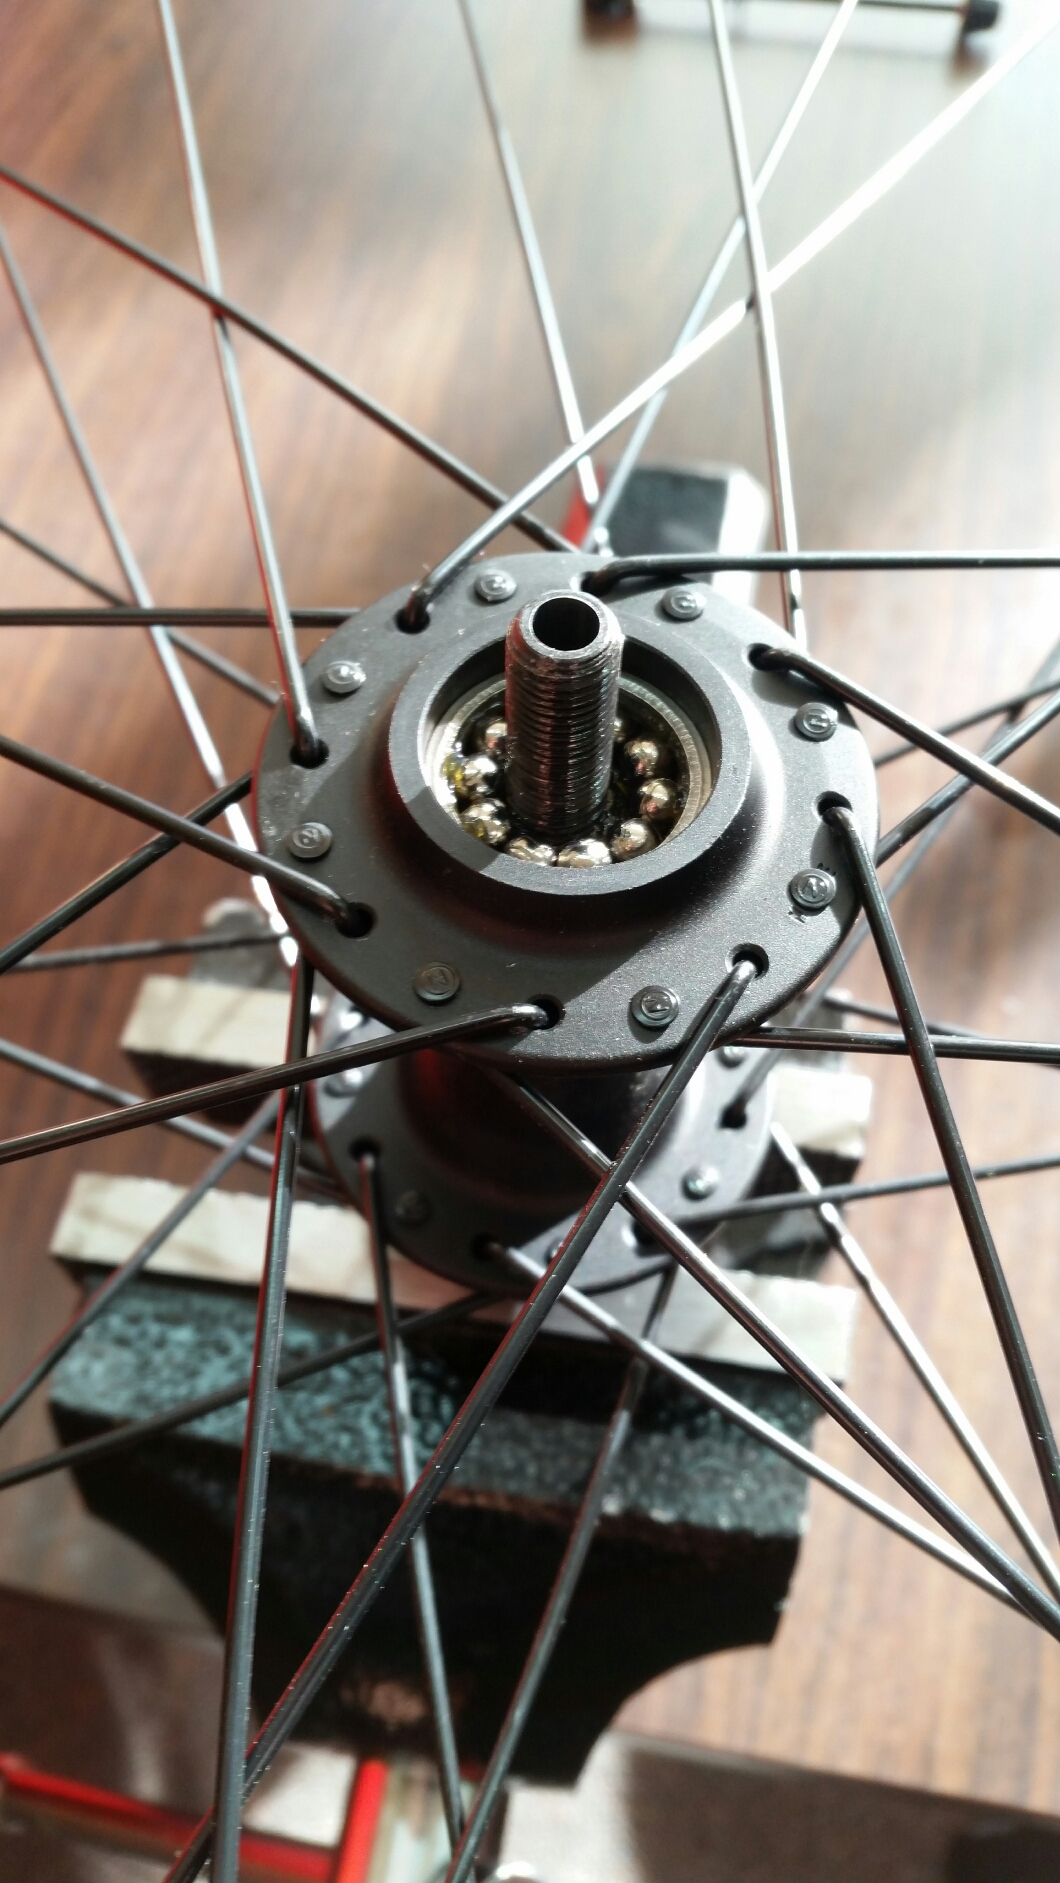
12. Remove the loose balls from the cup
13. Lift the wheel off the axle. Ensure you catch and/or keep a close eye on any balls that may escape from the downward side (side 2) cup whilst doing so
14. If you can do so without creating any damage, very carefully remove the dust cap from side 2 (not essential)
15. Turn the axle in the axle vice so side 2 is facing upwards
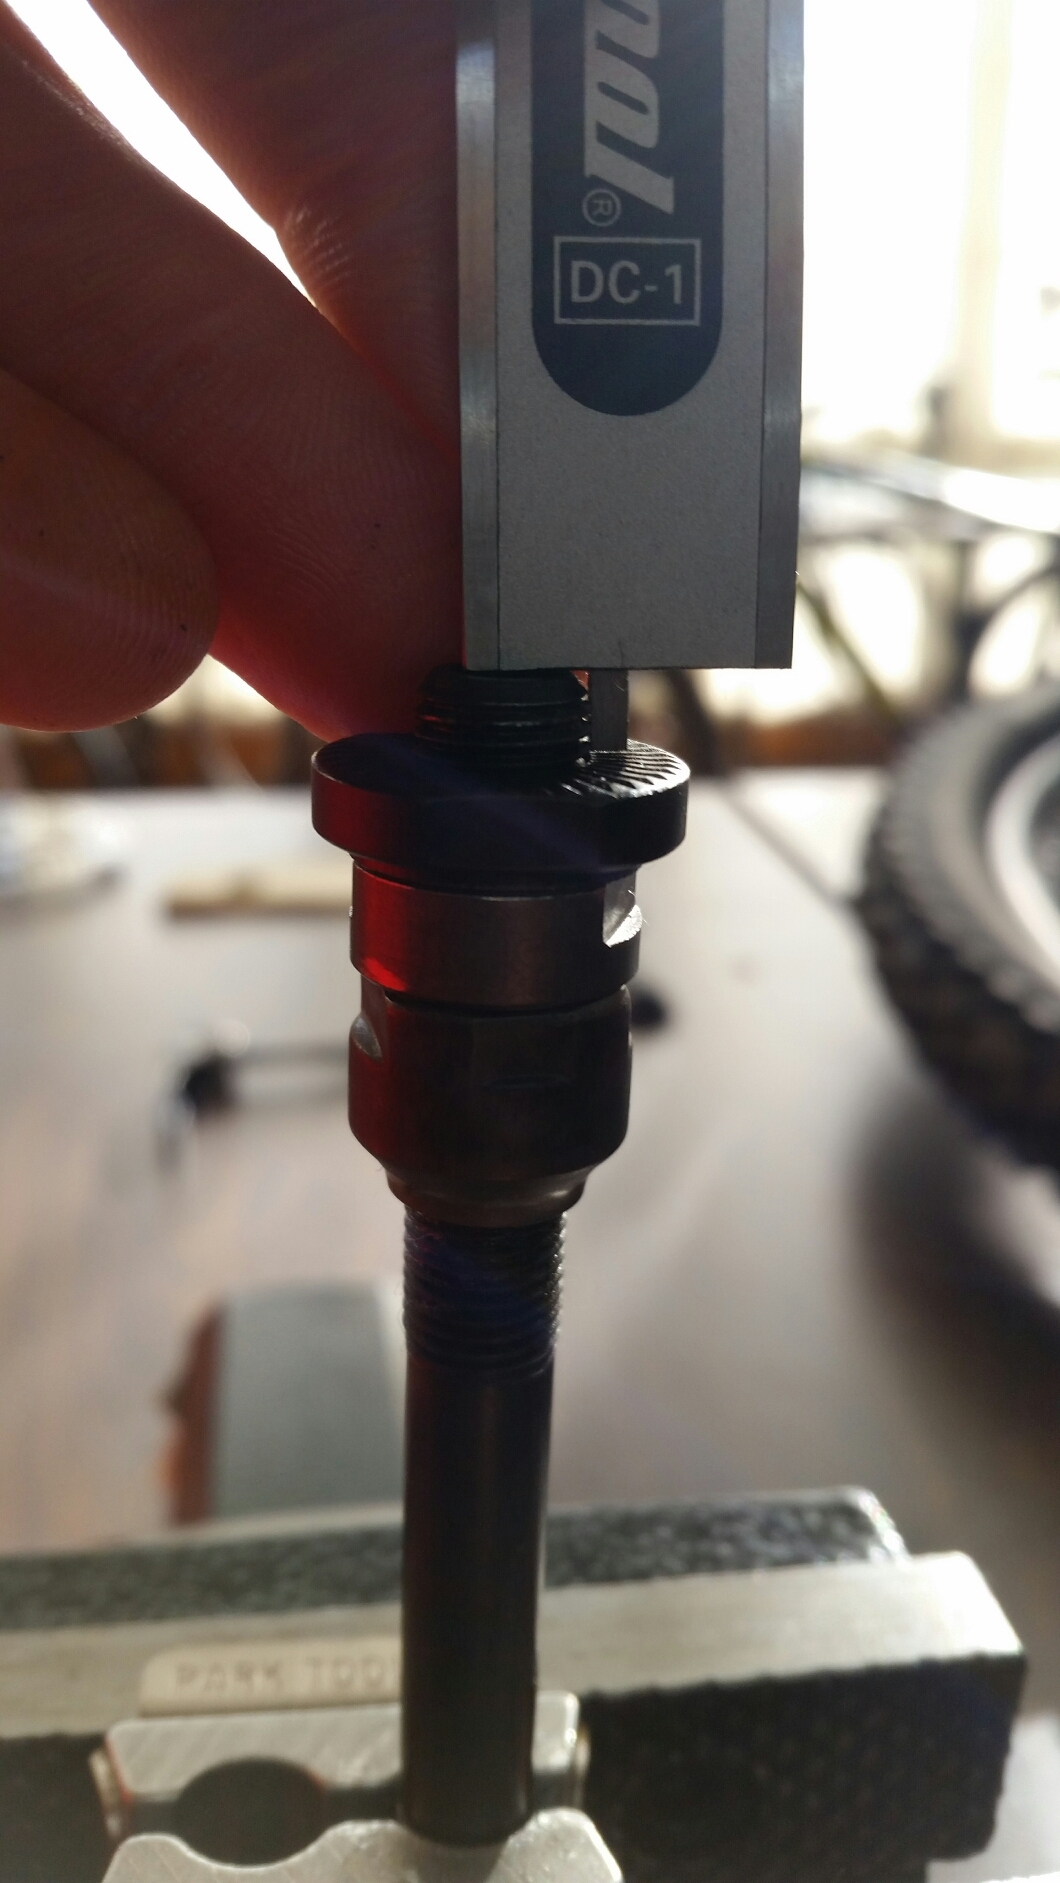
16. Measure and record the amount of axle protrusion beyond the locknut
17. Whilst holding the cone in place, loosen and then remove the locknut(s)
18. Remove the washer and spacer(s) (if applicable)
19. Remove the cone
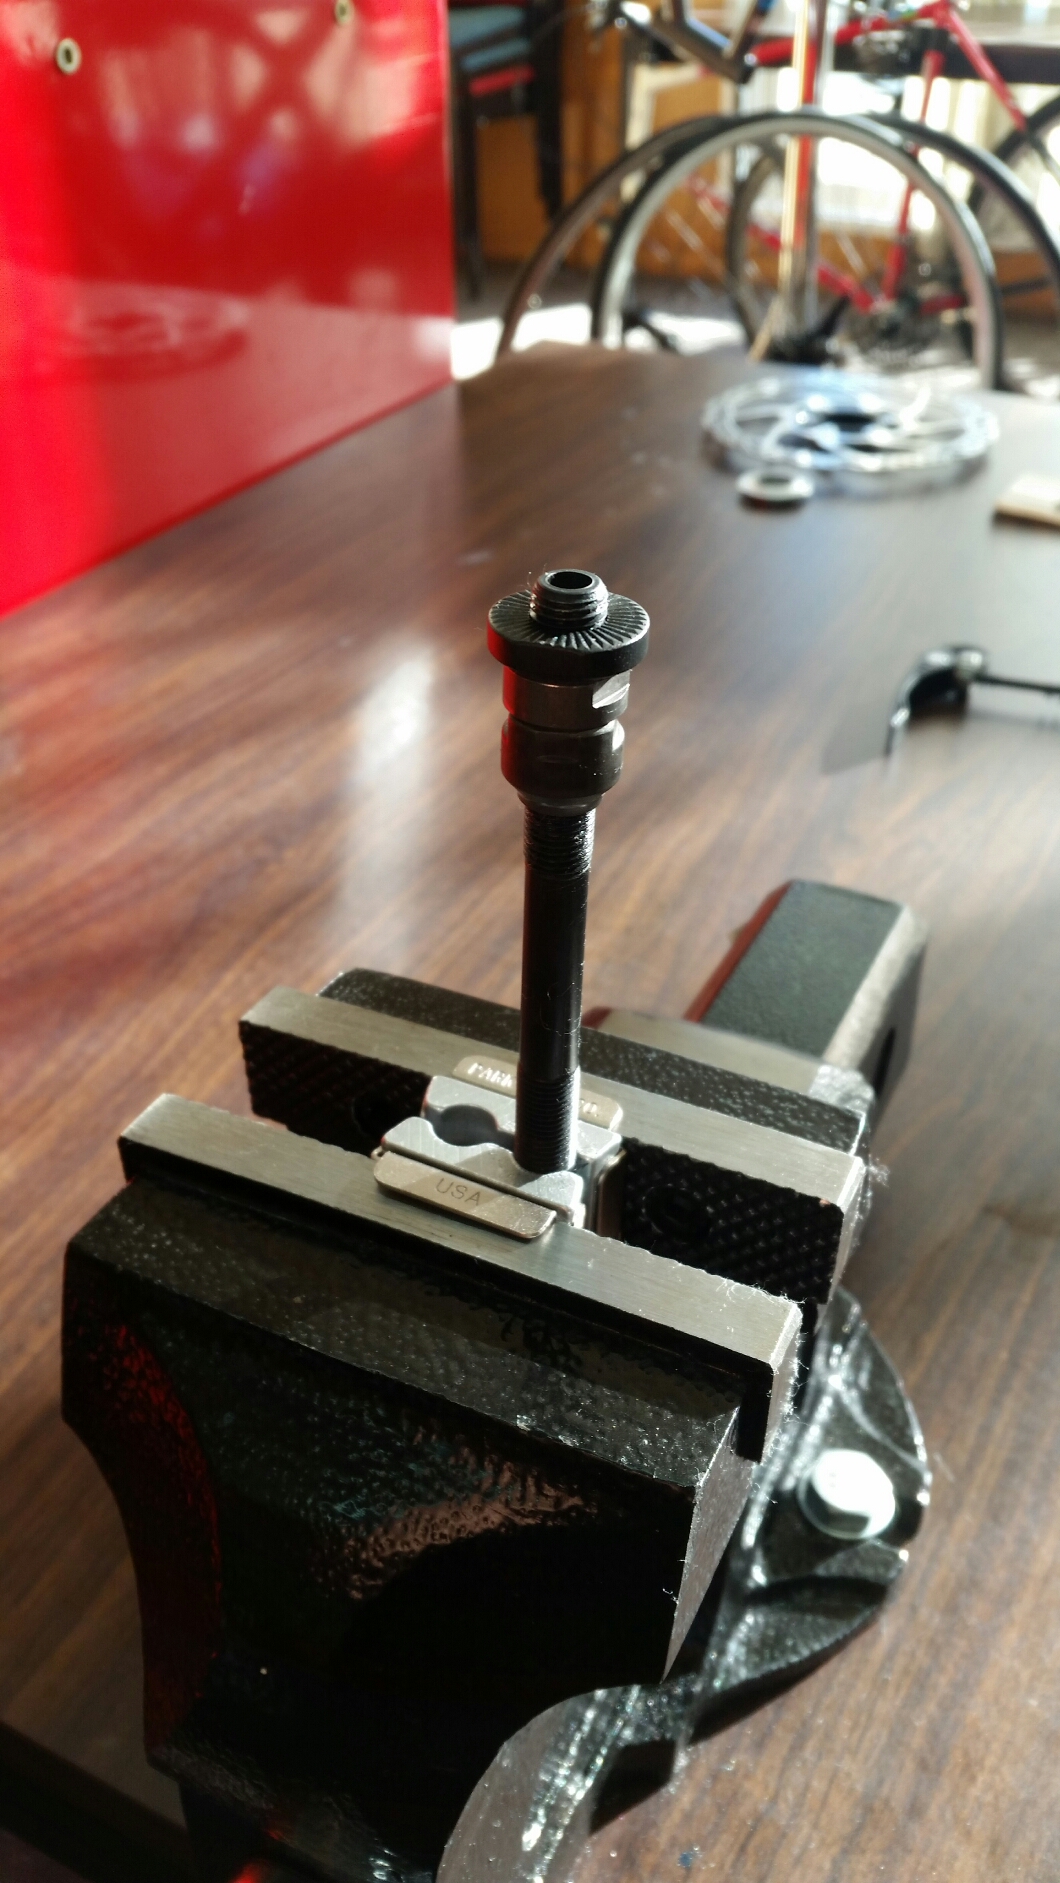
20. Thoroughly clean and inspect all parts for wear or damage. In particular, you should check the races of the cups and cones for pitting, the surface of the balls for corrosion or damage, and the axle for straightness. The axle can be checked by rolling it across a flat surface.
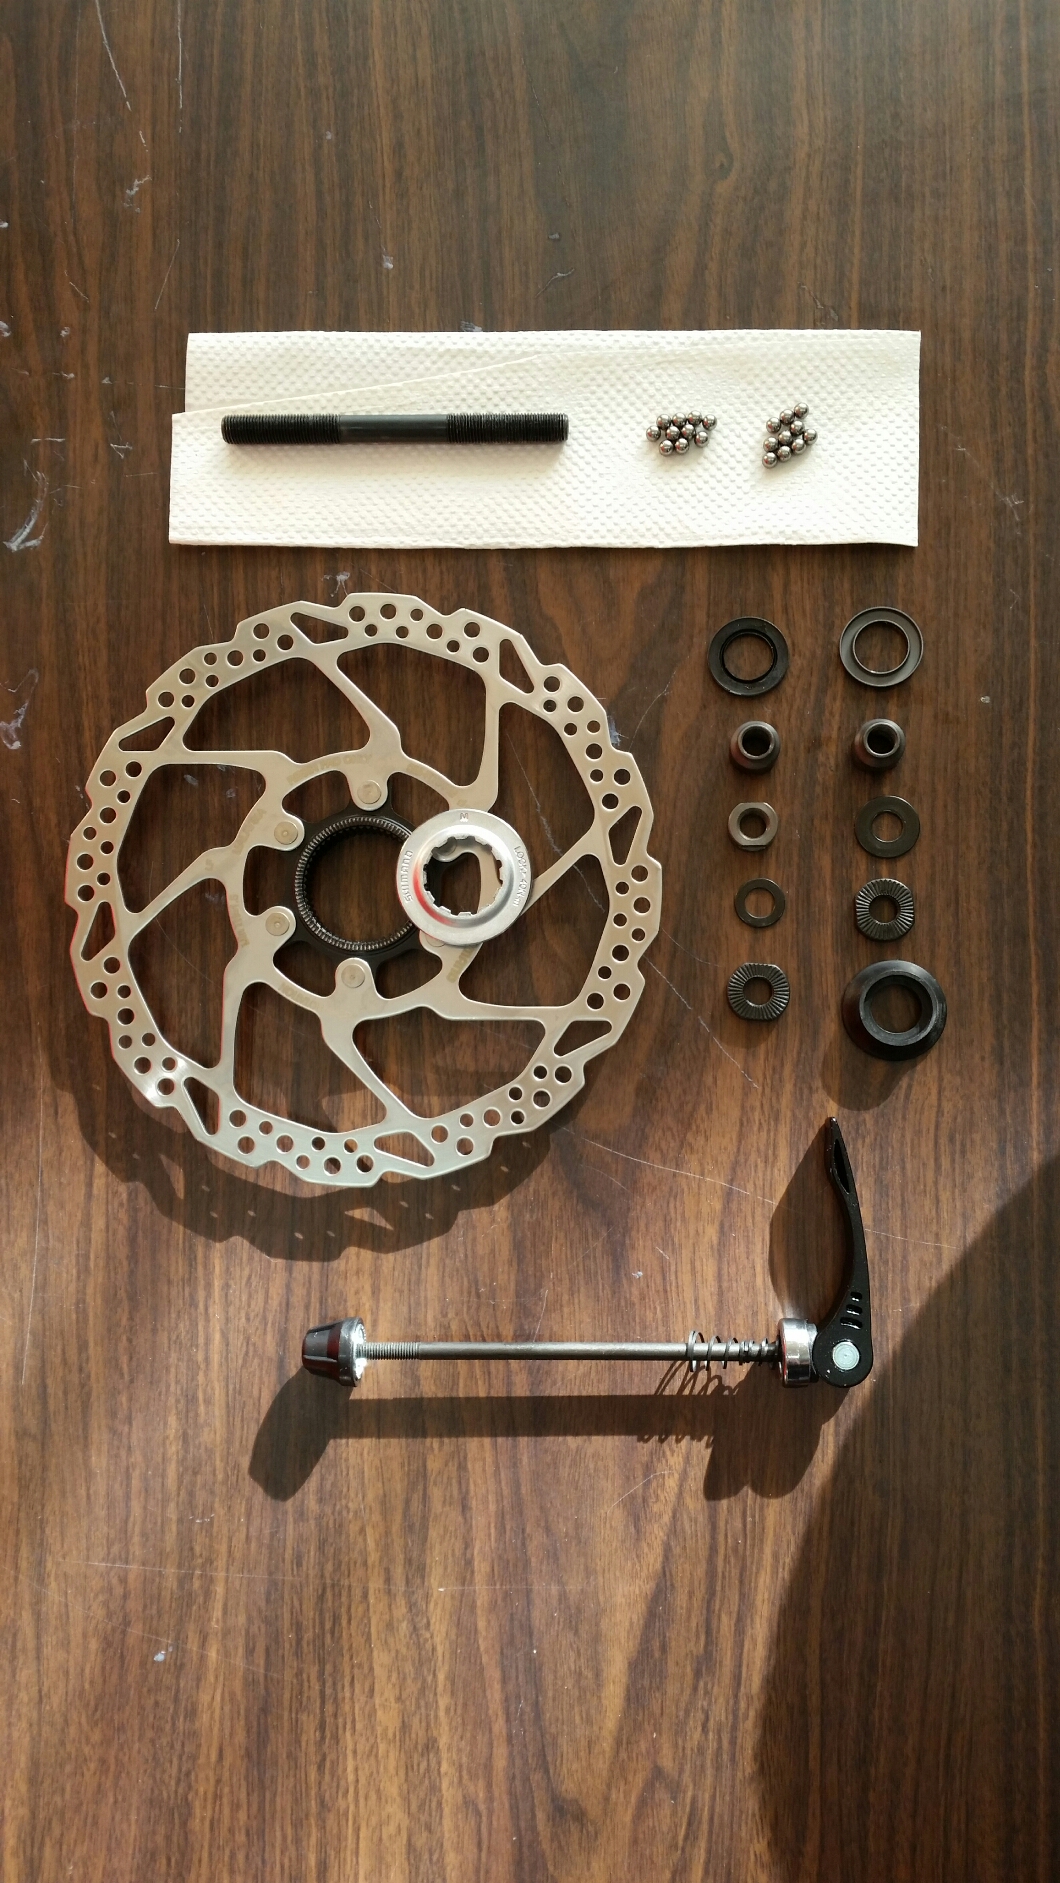
21. Acquire replacements for any damaged parts
22. Install the axle in the axle vice with side 2 facing up and grease the threads
23. Reinstall the drive side cone on the axle with the race facing down. Thread it a little past its approximate original location
24. Reinstall the drive side washer, spacer(s), and locknut(s). Set the outermost locknut in place with the amount of axle protrusion recorded earlier
25. Whilst holding the outermost locknut in place, tighten the remaining locknut (if applicable) and cone against it
26. Grease the race of the side 2 cup in the hub shell
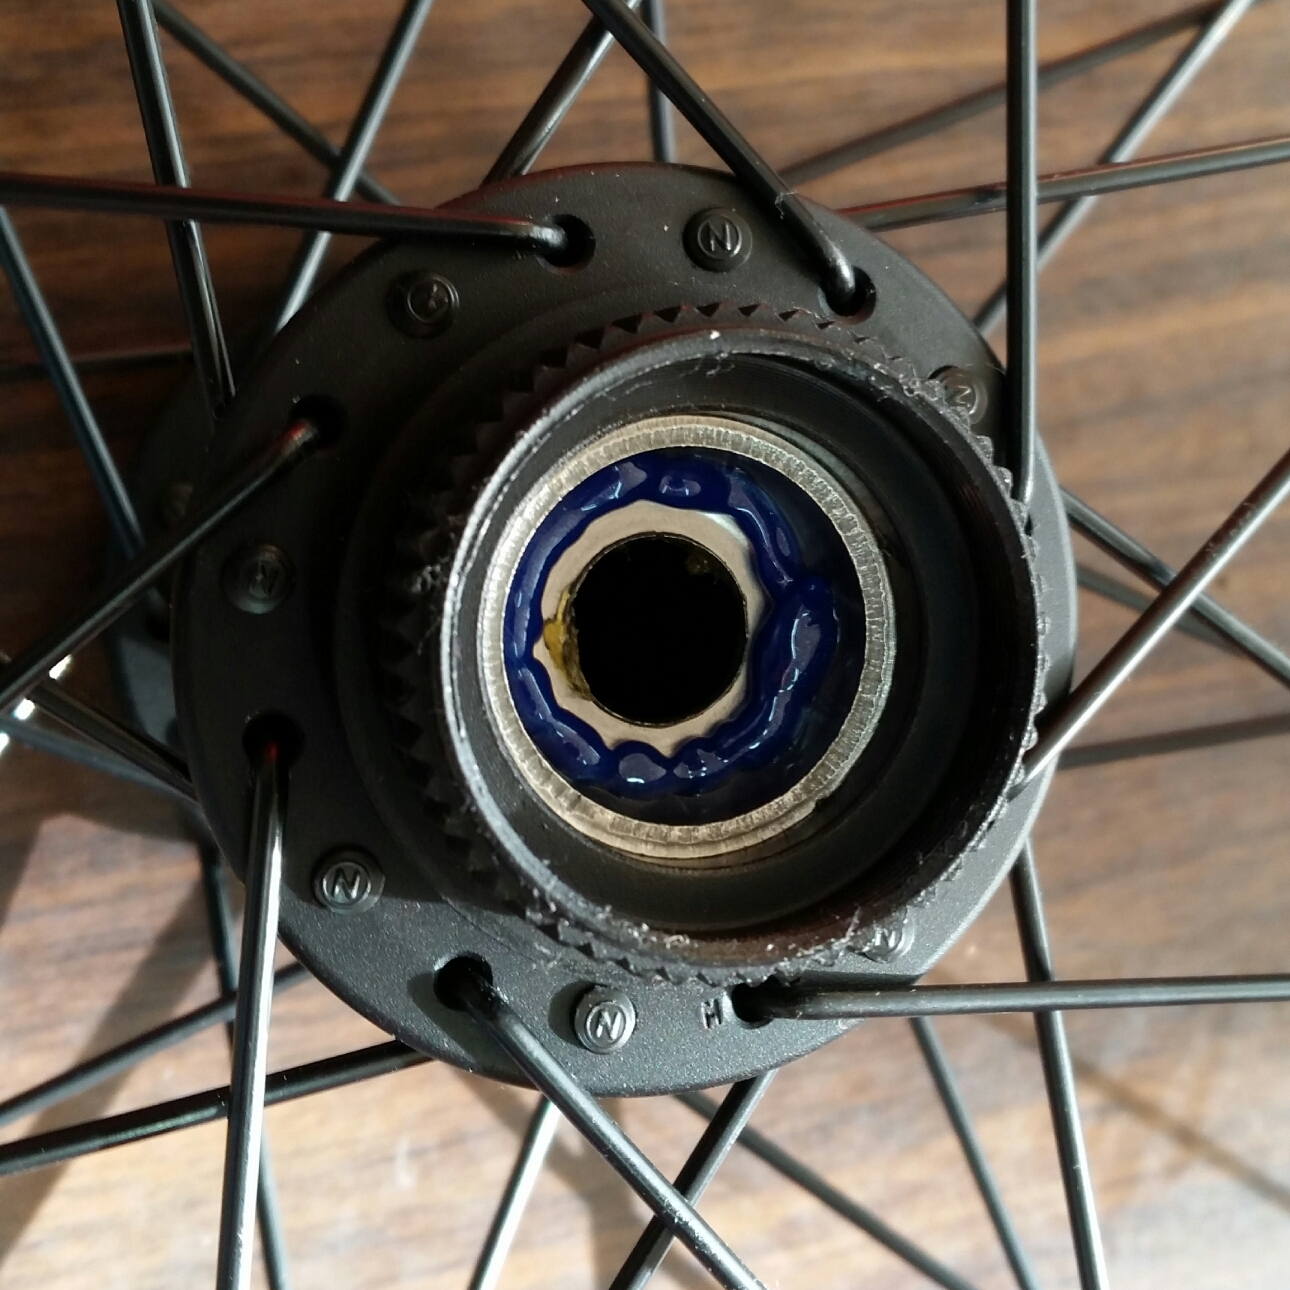
27. Reinstall the balls in the race and apply more grease on top
28. Press the side 2 dust cap back in place (if removed earlier)
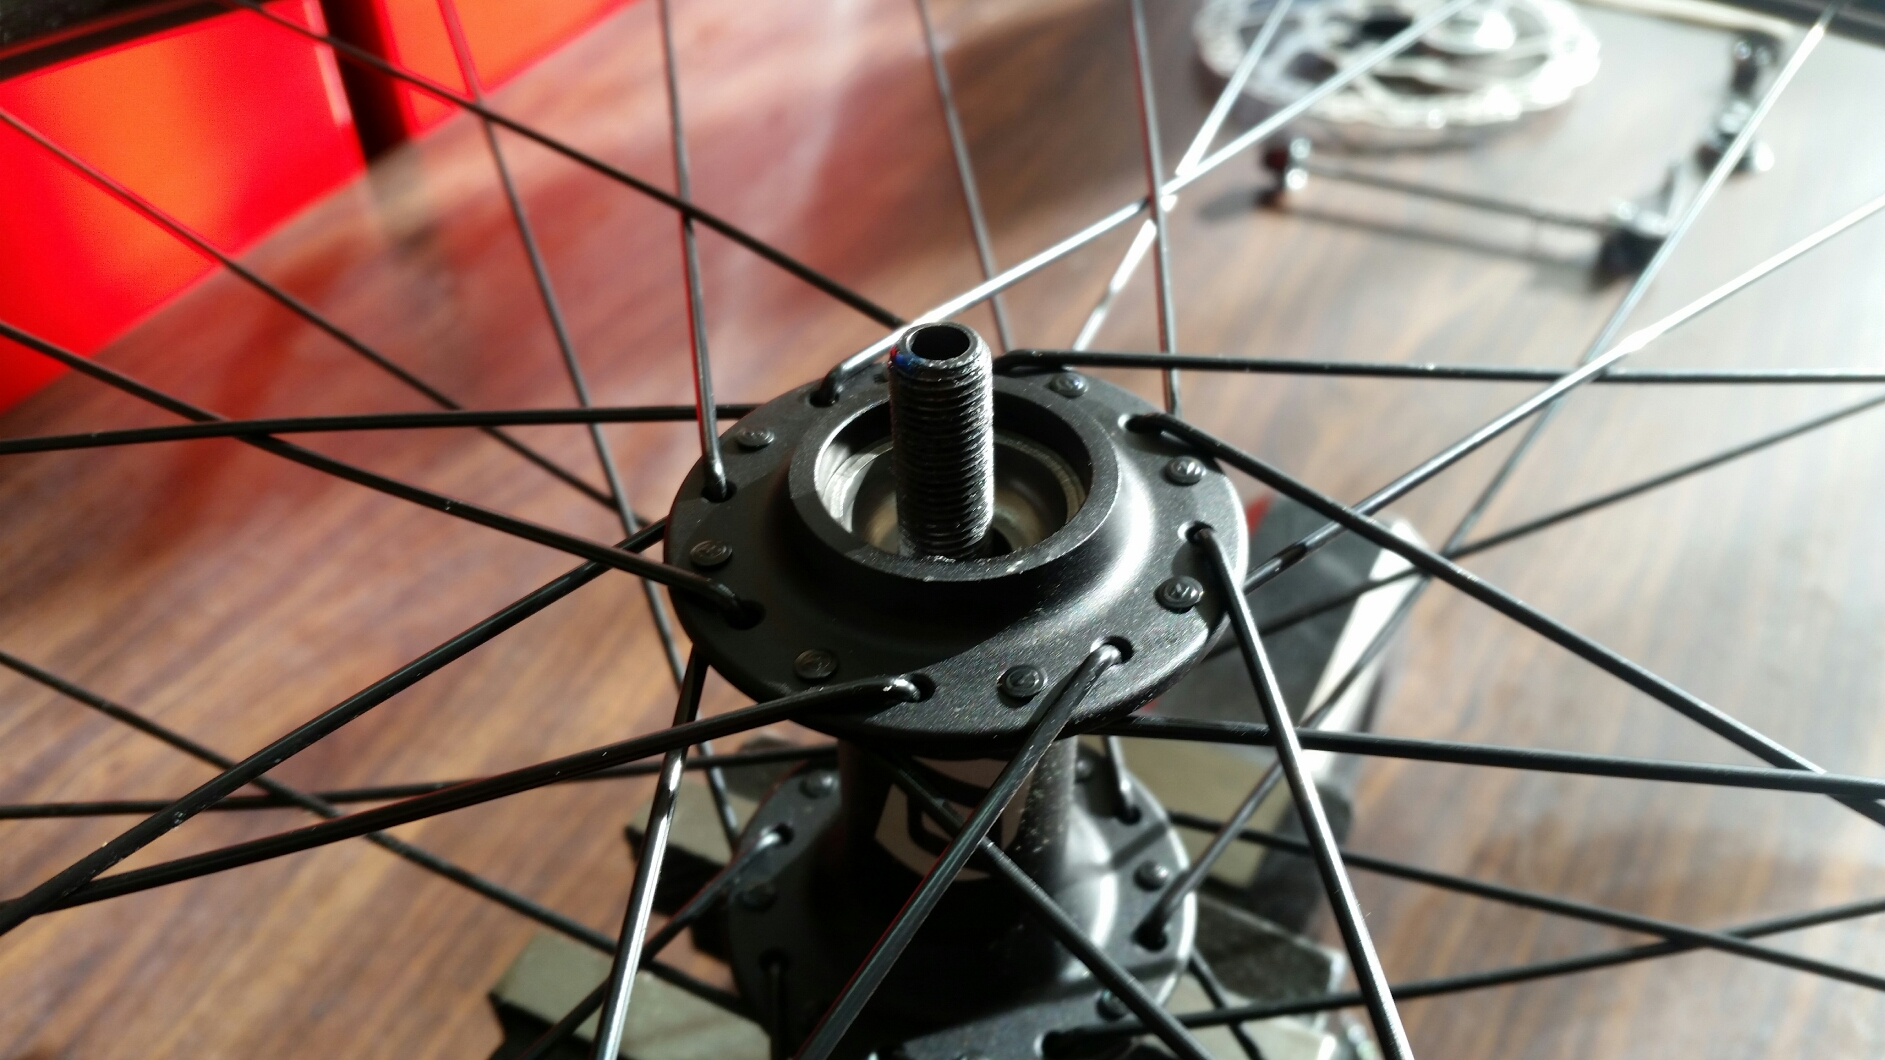
29. Remove the axle from the vice and insert it into the hub shell from above
30. Whilst holding the side 2 cone and balls together, flip the wheel over and mount in the axle vice with side 1 facing upwards
31. Grease the race of the side 1 cup in the hub shell
32. Reinstall the balls in the race and apply more grease on top
33. Press the side 1 dust cap back into the hub shell (if removed earlier)
34. Grease the side 1 axle threads and reinstall the cone with the race facing down. Thread it on until it lightly contacts the balls, and then thread it back half a turn
35. Reinstall the washer, spacer(s), and locknut(s). Do not thread the locknut(s) all the way on at this stage
36. Whilst holding the cone in place, tighten the locknut(s) against it. With the axle still secured in the axle vice, test the hub for play. At this point there should be some play in the hub
37. Whilst holding the cone in place, loosen the locknut(s) 1/4 of a turn
38. Tighten the cone 1/16 of a turn. Hold the cone in place and tighten the locknut(s) against it
39. Test the hub for play
40. a. If you are working with a hollow axle – repeat steps 37-39 until there is only a very small amount play in the hub when mounted in the axle vice. This play should then be removed when the wheel is reinstalled in the frame and secured with the quick release skewer.
b. If you are working with a solid axle – repeat steps 37-39 until the play is only just removed from the hub when it is mounted in the axle vice
41. Reinstall the rubber seal (if applicable)
42. Reinstall the disc rotor (if applicable)
43. Reinstall the quick-release skewer (if the hub has a hollow axle), or the outer locknuts and washers (if the hub has a solid axle)
44. Reinstall the wheel in the frame and ride!


