


Bikes are built tough these days, but they do require a little bit of attention and some basic maintenance between services to keep them operating at peak performance. When you think about it, it's little to ask considering how much enjoyment they give you back out on the roads and trails. Worn or damaged bike parts can reduce your bike's lifespan and may compromise your safety. The more you ride, the more frequently you should check and maintain your bike. We've put together our top 7 bike maintenance tips, which you can perform yourself from home with a few basic tools.
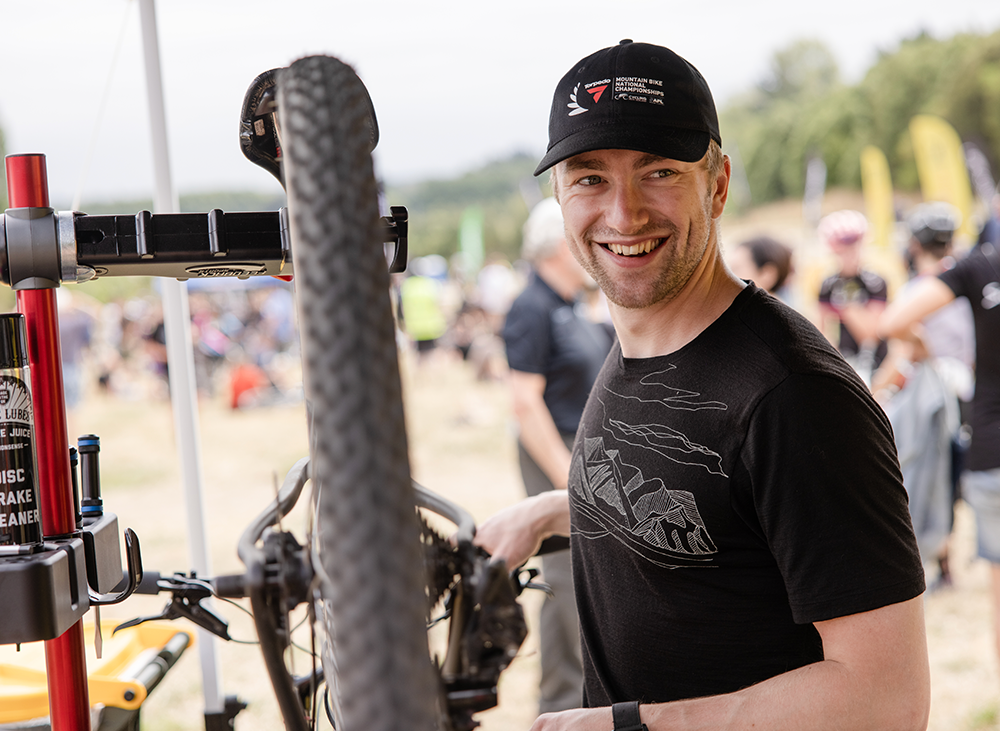
Tip #1 - Keep it clean and lubed
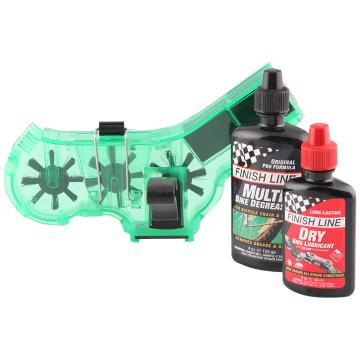
One of the easiest ways to keep your bike running smoothly and clocking up trouble free km's - is to keep it clean and lubed. Grime, dirt and dust can be a constant nuisance to your bike's core components, causing premature and even irreparable damage to parts. Once grit and dirt gets in there, it acts like sandpaper wearing parts out faster than normal. How often you need to do this depends on how often you ride and where you are riding. If you ride regularly, clean and lube your chain at least once a month. If you are hitting the trails regularly and getting down and dirty, you'll need to do it more than that.
Top tip - listen for little creaks and squeaks in your chain, hearing anything like this usually means it's ready for a clean and lube.
Here's how to clean and lube your bike
- Use a soft brush to remove the majority of the dirt and grime from your bike.
- Gently wash your bike over with water to get any remaining dirt off. Don't use high pressure water as you don't want water getting into any bearing seals or hubs.
- With the bike wet, use a biodegradable drivetrain cleaner and apply to the cassette, chain and chainring. Now use a clean soft brush to work the cleaner into the components, getting all the dirt you possibly can off the chains, sprockets and chainwheels. Leave to sit for a few minutes.
- Even easier for chain cleaning is a dedicated chain-cleaner tool. Fill it with your bike-specific degreaser and wrap the tool around your chain according to the directions. Then, use your free hand to back-pedal. The brushes in your chain cleaner will clean the chain while collecting the degreaser.
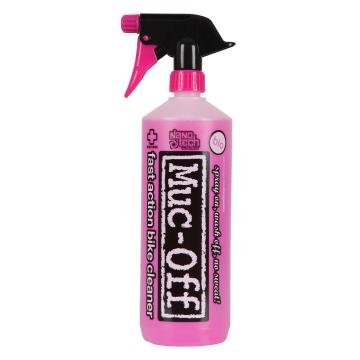
- Now is a good time to apply bike wash to the rest of the bike including tyres, frame and drivetrain. Leave to sit for a few minutes.
- Remove any remaining stubborn grit with a soft cloth, or soft brush where required on the bike. Pay special attention to dirt traps - the areas around your pivots, chain guides, brakes and underside of the saddle.
- Now rinse your bike off completely, removing the bike wash and any remaining grime.
- Dry off your bike with a microfiber cloth or soft clean cloth.
- Time to lube. Match lube to the conditions you'll be riding in. Selecting your lube - if you're riding in dry conditions, go for a dry lube. In wet conditions, use a wet lube. Definitely do not use CRC or WD40 as these are solvents which will actually strip away any existing lubricant, leaving your chain, and drivetrain dryer than before.
- Shake your lube up, then apply to the inside of your chain by turning the cranks slowly backwards and simultaneously applying a drop of lube to every link on your chain. Make sure to aim the lube right into your rollers. Lubing the outside of the chain will just pick up more dirt.
- If you have an e-bike, you're going to want to use a home work stand to get the back wheel safely off the ground so you can have your hands free to pedal with one hand and put lube on the chain with your other hand.
- Leave the lube on for at least 10 minutes, then wipe off any excess lube lightly with a clean cloth. Now you're ready to go!
For more info on how to clean and lube your drivetrain, here's a video from one of our Torpedo7 live workshops showing you how it's done.
Tip #2 - Check everything's tight
Giving your bike a quick pre or post ride once over helps locate any replacements, adjustments or tightening that is needed. Run over all the linkages and parts of your bike making sure nothing is loose or damaged. You'll usually only need a set of allen keys and a torque wrench for this. Loose or improperly tightened parts can cause serious damage to your bike, reduce it's performance and possibly cause safety concerns. When tightening bolts on your bike, be sure to consult the manufacturers guidelines for the proper torque specs - overtightening can also lead to damage.
An easy and quick way to check if anything is loose is just to pick the bike up about 100mm off the ground, then put it back down fast. If there's something loose, you'll hear or feel it clunking or reverberating. As you go over the bike with an allen key, just check to see if there's anything loose. If you do find a loose bolt, it will need threadlocker to stop it coming out again once you have tightened it.
Here is a checklist to run through
- Handlebar stem faceplate bolts
- Stem binder bolts
- Grips (if relevant)
- Crankset bolts
- Pedals
- Seat rail clamp
- Seat post collar
- Chain guide (if relevant)
- Rear derailleur mounting bolt
- Rear suspension bolts/nuts (if relevant)
- Wheel axles (both)
- Brake calipers
- Leaking oil (brakes, suspensions)
- Cables and hose conditions
- Wheel truing
- Tyre condition
When checking your bike over, a good tip is to record any new or unknown noises and then communicate these with your local bike mechanic. Early identification and remedy of these may help avoid any long term or costly damage to your bike.
Tip #3 - Review brake performance
Good brake performance and reliability really helps your confidence when riding. They are one of the most important components on your bike - so both the brake pads and braking surface need to be kept clean from contaminants. Dirty brake pads wear out much faster, affecting performance (less stopping power, longer response time and reduced bike control). If you're hearing squeaky brakes, or something isn't quite feeling right, it's time to check your brakes. Here's some basic maintenance tips for the 2 most common types of brakes - rim brakes and disc brakes. You'll only need a set of allen keys for this.
Note - full 'brake adjustments and brake bleeds' are not covered in this bike maintenance guide.
To visually check your disc brakes
- Firstly, look down into your brake calipers. You'll see a few parts; the brake piston that pushes the pads out, metal backing, the brake pad material itself and a spring in the middle which pushes the pads back out.
- Now we want to check how much of the brake pad material is left. If there are only a few millimeters between the braking pad surface and the backing or less, it is time to replace your brake pads. Check this every few weeks.
- When your brake pads get worn out, the metal spring in the middle will start rubbing against the disc brake itself and that's going to cause damage. You'll know this is happening because you'll hear it and your brakes won't work as well. You want to replace your brake pads before this starts happening though.
- Now check your discs, they may need a wipe with a clean cloth after a ride in dirty or wet conditions. Mud and grit can negatively impact the effectiveness of your brakes and cause squeaking.
- If you have hydraulic brakes, give them a squeeze and ask yourself, do these feel squishy and pull further to the bar than they used too? If they do, you may need to give them a bleed or bring your bike into your local Torpedo7 for a brake service.
To visually check and adjust your rim brakes
- It's important to check these 3 things before commencing any adjustments. Pad clearance with rim, tyre clearance and pad alignment. Check nothing is rubbing or out of alignment.
- Now clean the entire caliper and surrounding housing. Make sure to clean the brake pads themselves, often road debris or metallic flakes from the rim make their way into the soft rubber pads.
- Clean the rim braking surface and finish off with an alcohol swab. You don't want any dirt on the pads or the braking surface.
- Now center your brakes. Are the brake pads sitting an equal distance from the rim? If not, straighten the brake by loosening the bolt at the back, realign the brake and firmly retighten.
- Now align the brake pads. These should be positioned so that they are centered on the braking surface. They should never make contact with the sidewall of the tire, and should never be lower than the braking surface. Spin the wheel and check that the brake pads are aligned with the braking track all the way around.
- Lastly, fine-tune the cable tension down the track with the barrel adjuster. Turn this barrel clockwise to move the pads out from the rim, and counter-clockwise to move them closer. You shouldn't have to fiddle with this too much though.
Other watchouts: - always make sure you avoid getting anything but water on your brakes. If you've released the front wheel out on your bike for travel, make sure that you have a disc brake spacer and that it goes back in place when you put your wheel back in - to stop the pistons coming out.
In addition to these basic bike maintenance tips and checks, it's important to get your bike inspected and serviced regularly by an experienced bike mechanic every 6 months or so (depending on how often you're riding) to make sure you're not missing anything.

Tip #4 - Check those tyres
Tyres are what makes constant contact to the road or trail, so they need to be regularly checked for any possible damage or wear issues. To check your tyres over look for any splits, cuts, foreign objects, fraying, holes or damage to side walls. Inspect your tread to make sure it's not too worn. Some tyres have built-in wear marks - when the tread is worn down to those marks, it's time to replace the tyre.
Regularly check your tyre pressure. Having the right pressure enables better grip and handling. Too low a pressure and you're going to risk flats, you'll also experience greater resistance and quicker wear on your tyres. Too high, and you're potentially in for a bumpy, harder ride with less traction under the wheel. The higher the volume of the tyre, the lower the pressure you'll need to run. Also, run a slightly lower pressure in cooler, wetter conditions vs dry, warm conditions over summer. Check the suggested pressure on the side of your tyres, but put a slightly higher pressure in the back tyre as this takes more of your weight.
Practice changing out an inner tube using only your on-ride tool kit, it pays to have done it at home before trying on the trails or road for the first time. If you're running tubeless, check and top up the sealant regularly (approx every 3 months) as the sealant does dry up over time and become less effective at preventing leaks.
Tip #5 - Check your drivetrain
Bike chains do actually wear out. The more frequently you change your chain, the longer life you'll get out of your cassette and chainrings. The most accurate way to check your chain is with a chain checker. You can also manually check your chain by lifting the chain from a section of the chainring and checking how many teeth it exposes. Three or four suggests excessive wear and time for a replacement. Remember, the easiest way to extend the lifespan of your drivetrain is to keep it clean and lubricated, see Tip #1.
Tip #6 - Check and adjust your derailleurs
Your bike's derailleurs are the mechanism that moves your chain, allowing you to shift gears. When your derailleurs are adjusted correctly, you can shift smoothly and avoid chain rub. When they're misaligned, you'll find shifting more difficult, especially uphill. This can happen for all kinds of reasons. A relatively minor crash, or regular wear and tear can bump the derailleurs out of alignment. Adjusting the cable tension to pull upward on the front and rear derailleurs can make all the difference.
Adjusting after a bigger crash: - if the bike falls on the right side (drive side), shift the gears to the higher gear (smallest cog) and make sure the pulley wheels are aligned with the smallest cog. If it is out of alignment and you don't know how to bend it back, ride home making sure you don't use the lower gears. The derailleur can get caught by the spoke and break the derailleur, hanger, spokes and even possibly the frame. If the gears are not working properly and you don't know what to do, don't try and change any adjustments as you could easily make it worse! It's time to book your bike in for a service at your local Torpedo7.
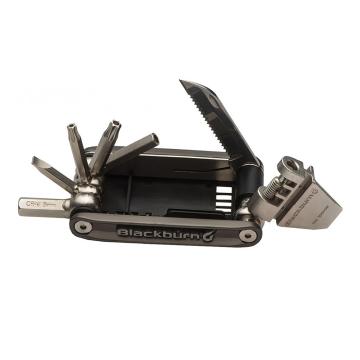
Tip #7 - Have the right tools
Knowing and carrying the right tools for bike maintenance at home or on the go, can really help you out. Your on-ride repair kit will vary depending on where and how far you're riding but here are a few essentials that will help you out on the trail or road for quick repairs:
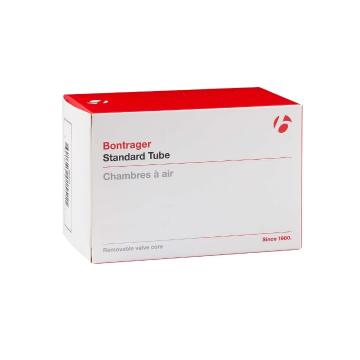
- A spare tube - two is better, two punctures is more common than you think
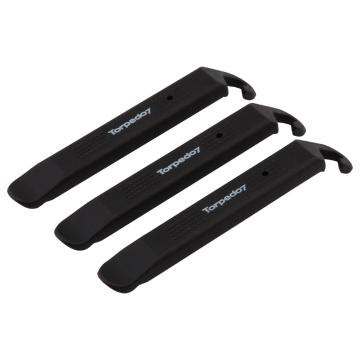
- 2 or 3 tyre levers
- A handpump or a some CO2 cartridges with adaptor
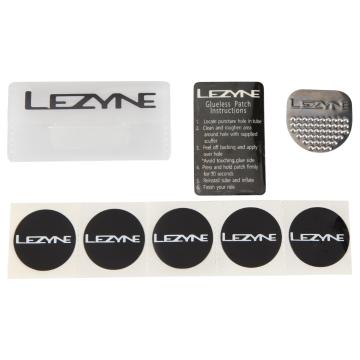
- Tyre repair patch kit
- Multi-tool including allen keys and screwdrivers
- Zip ties
- Spare chain or Quick Link
- Phone
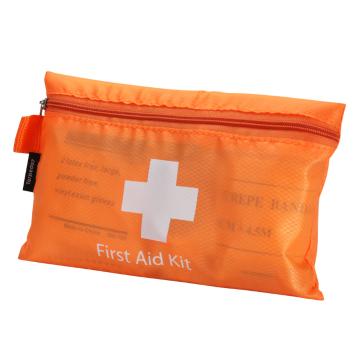
- First aid kit
These 7 simple bike maintenance tips will help you keep your bike running smoothly between it's regular services. With a little home maintenance, some cleaning and a lube, your bike will not only be more enjoyable to ride, it will be safer too. If you have any doubts about your competence and skills to keep your bike maintained, take advantage of your free bike safety check which you receive as a Torpedo7 Club Member. Remember your local Torpedo7 bike mechanic is always there to help you out. See you out there!
recommended