


Now your engine is running smoothly (read moto maintenance blog #1) we need to get the air flowing in to the engine plentiful and clean. Likely one of the most loathed processes of maintaining your dirt bike, changing and cleaning air filters is often far more difficult than it should be. Dealing with sticky oil and cleaning that out with petrol is a recipe for disaster – often resulting in killing your lawn, melting the rubber off your shoes, or inhaling dangerous fumes.
Thankfully for us some really smart people got together and all thought the same! The no-toil air filter system completely replaces any and all solvent based air filter products you once used, and with biodegradable, shoe friendly oils and cleaners.
Often when purchasing a bike the air filter will be well past its best before date. Harsh chemicals are used in most air filter oils and can cause the glue in the filters to degrade and fall apart. No-Toil air filters and oil come highly recommended. The oil is biodegradable and washes out using No-Toil cleaner, and this can all be done in the garage sink or washing machine. The biodegradable oil won’t break down the air filter glue and will help to increase the life span of your filter.
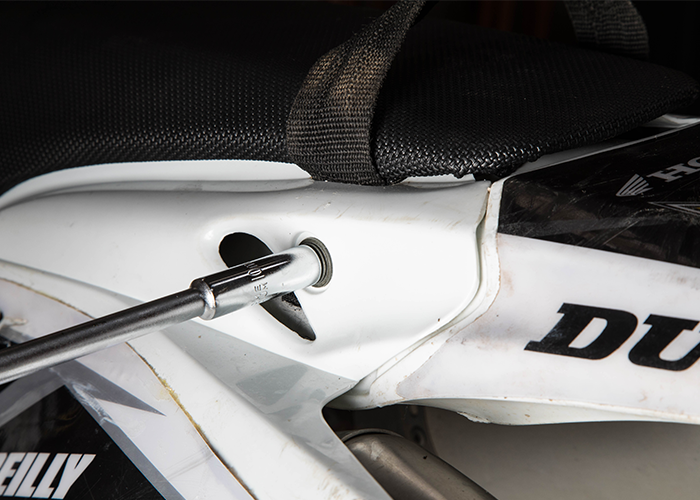
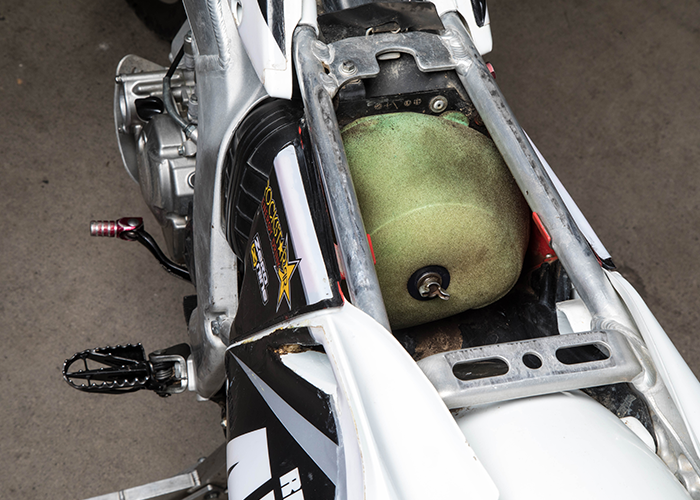
1. You’ll need access to your air box, on most Motocross bikes this will be under the seat. Enduro and Cross Country models may have a side access door.
2. Before removing your filter make sure the air box is clean. Wipe away any dust and dirt as this will likely fall into the engine if left when removing the air filter.
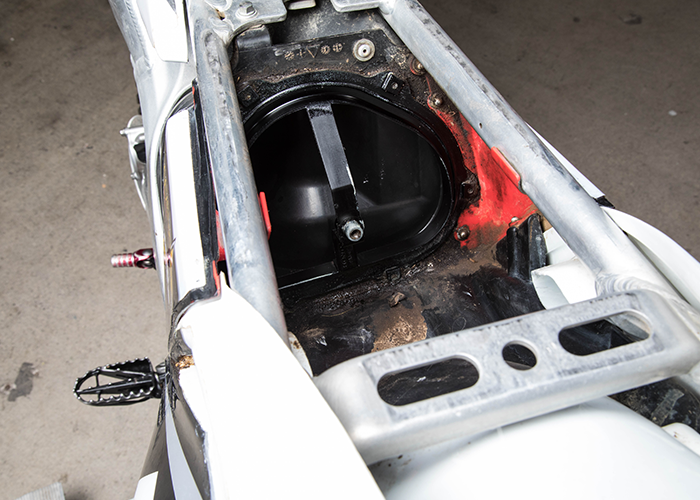
3. Once the air box is clean unscrew the air filter bolt and remove the filter with cage and bolt.
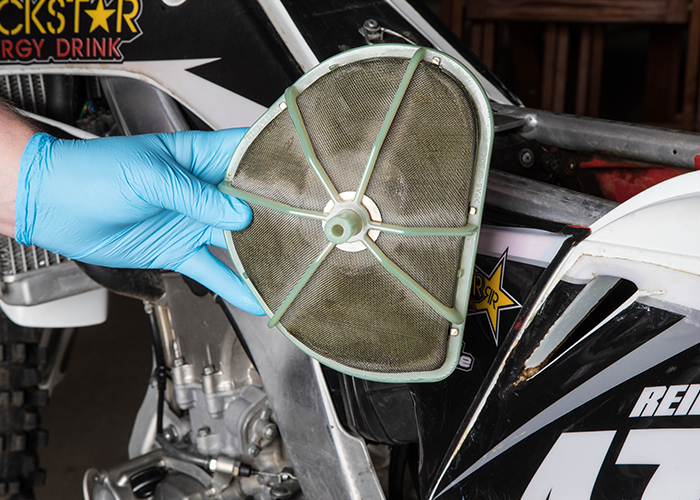
4. Keep one hand clean to remove the air filter cage, once removed place on a clean rag or newspaper.
5. Dispose of your old air filter.*
6. Wipe any other dirt away with a rag and some spray on cleaner. Do not hose as water may enter the engine and cause damage.
7. Clean all dirt from your air filter cage and bolt.
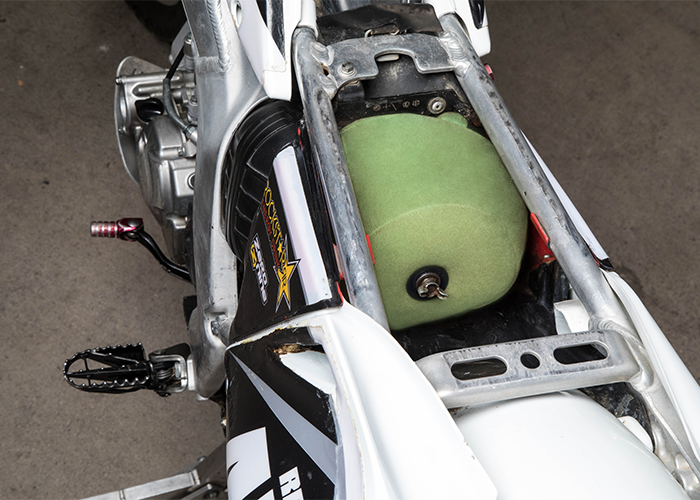
8. Place your cage into the new filter.
9. Apply rim grease to the rim of the filter, this assures a snug fit against the air box and prevents dirt from passing around the filter.
10. Install the new filter into the bike assuring that the filter doesn’t move off the cage and a snug fit is all the way around the edge, you can check this by running a finger around the edge where you cannot see.
11. Reinstall your seat/close your access door.
*This step by step process is in relation to replacing a damaged or solvent based air filter with a new No-Toil solvent free air filter, when cleaning air filters using No-Toil you do not have to bin it, you can clean out the old oil using No-Toil cleaner and reuse the filter. Be sure to bin any filters with holes in them.
Tips and Tricks: It is recommended to have a spare air filter that is clean and oiled, this way you can put that straight into the bike, reducing the time you have an open air box and therefore reducing the possibility of dust and dirt entering your engine. Keep your No-Toil rim grease in the hot water cupboard, this keeps the grease warm and makes applying it easier as it keeps the grease in a runny texture.
The gear you’ll need:
*The bike pictured and worked on in this tutorial is a 2009 CRF250R, bolt locations, torque specifications and processes can alter between makes and models. The best addition for your workshop is a workshop manual, this best describes all processes and torque specifications relevant to your bike.
Author: Matthew Reilly – Torpedo7 Team Member
Cover Photo: Torpedo7 Athlete, Cohen Chase