


We’re excited to partner up with the Otago Polytechnic Central Campus to bring you a range of bike tuning and repair tips and advice. With a number of topics covered over the coming weeks, be sure to check back soon!
Turn your passion for cycling into a career! Study the Certificate in Bicycle Mechanics (Level 3) and (Level 4) at Central Campus, in the heart of Central Otago.
Installing and Adjusting Dual Pivot Road Brakes – step by step
Brakes are a key component on any bike and it’s important to ensure that they’re working properly. Learn how to get your bike running like a pro with these top tips from Otago Polytechnic Central Campus.
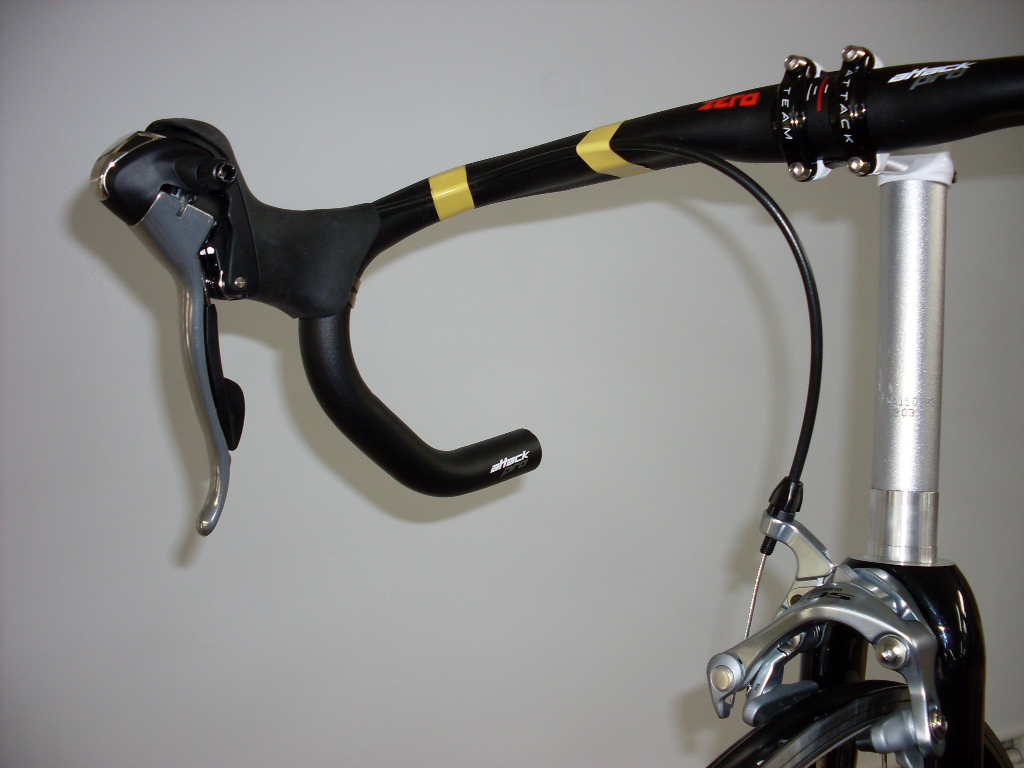
1. Install the lever on the bar using the following method
- a. Roll back the rubber hood on the lever (if required) and locate the bolt that tightens the securing band.
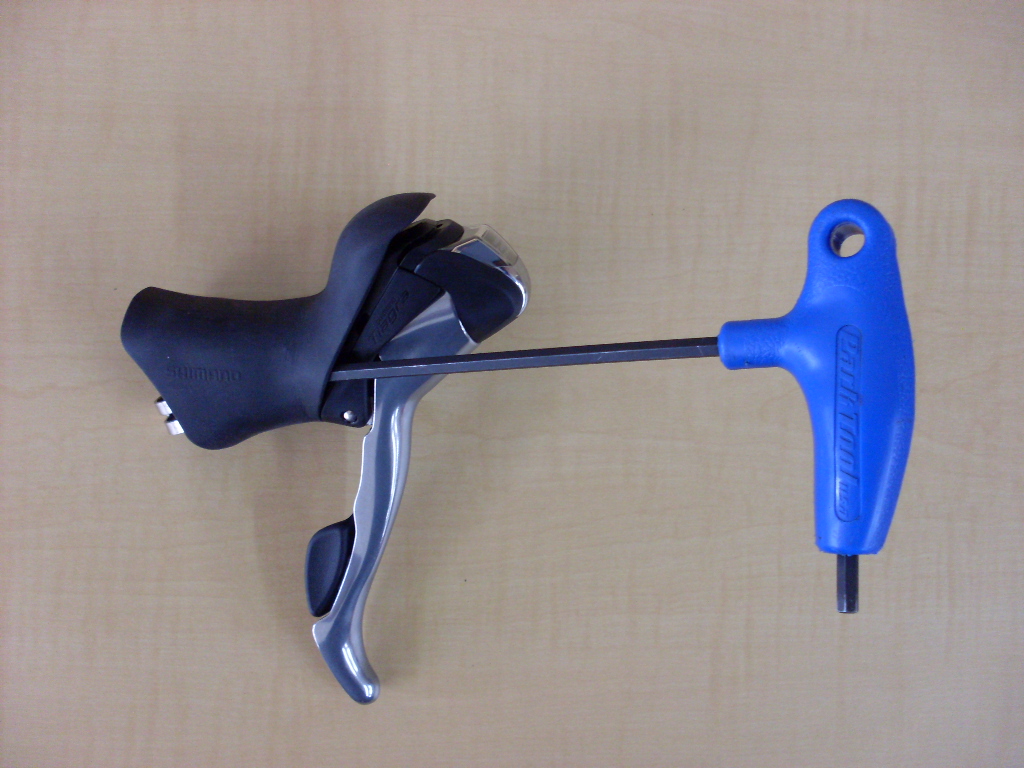
- b. Loosen the bolt and slide the lever on to the bar.
- c. Position the lever in a position that is comfortable and allows braking and shifting when riding on both the dropped section of the bar and the lever hoods.
- d. Secure the lever by tightening the bolt on the securing band.
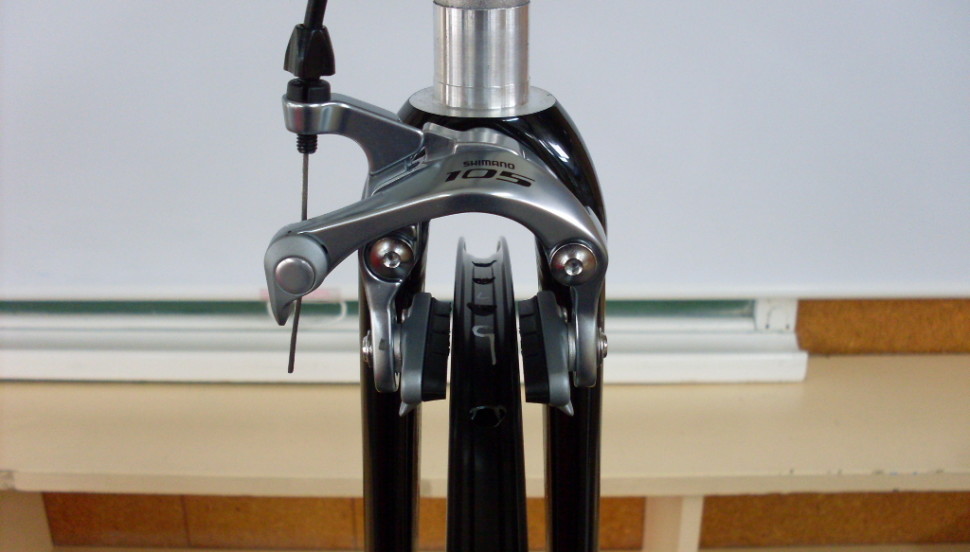
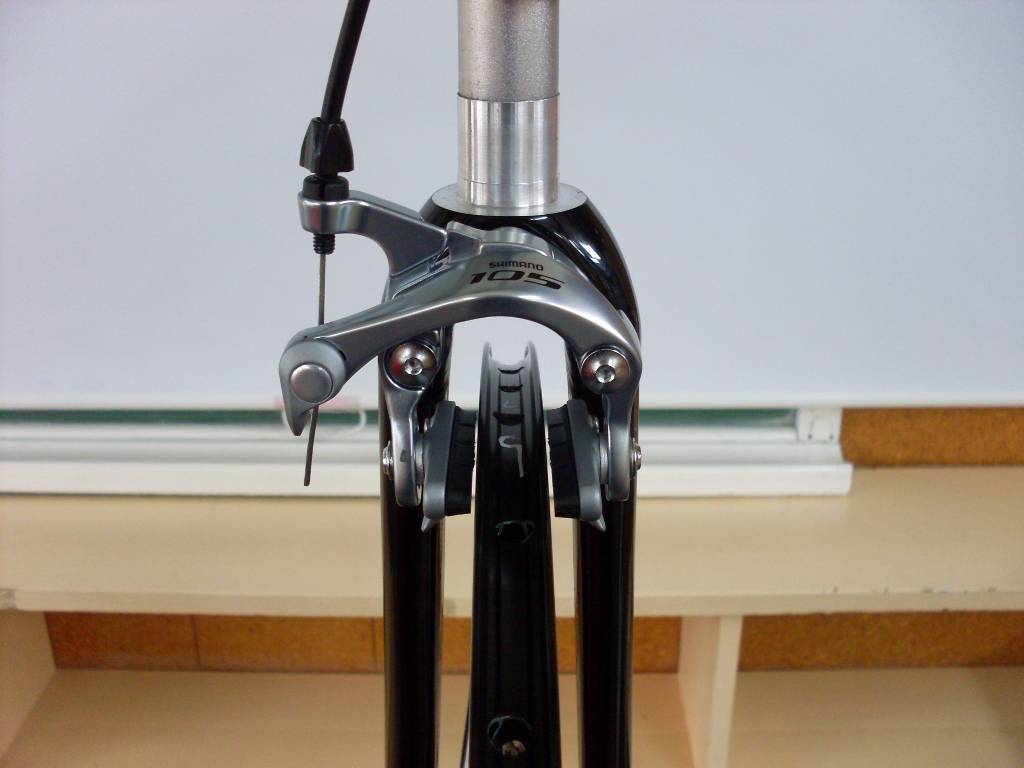
2. Install the brake calliper on the fork using the following method
- a. Remove the nut from the brake-mounting bolt.
- b. Insert the brake-mounting bolt through the mounting hole on the frame.
- c. Thread the nut onto the brake-mounting bolt from the opposite side of the mounting hole (do not tighten yet).
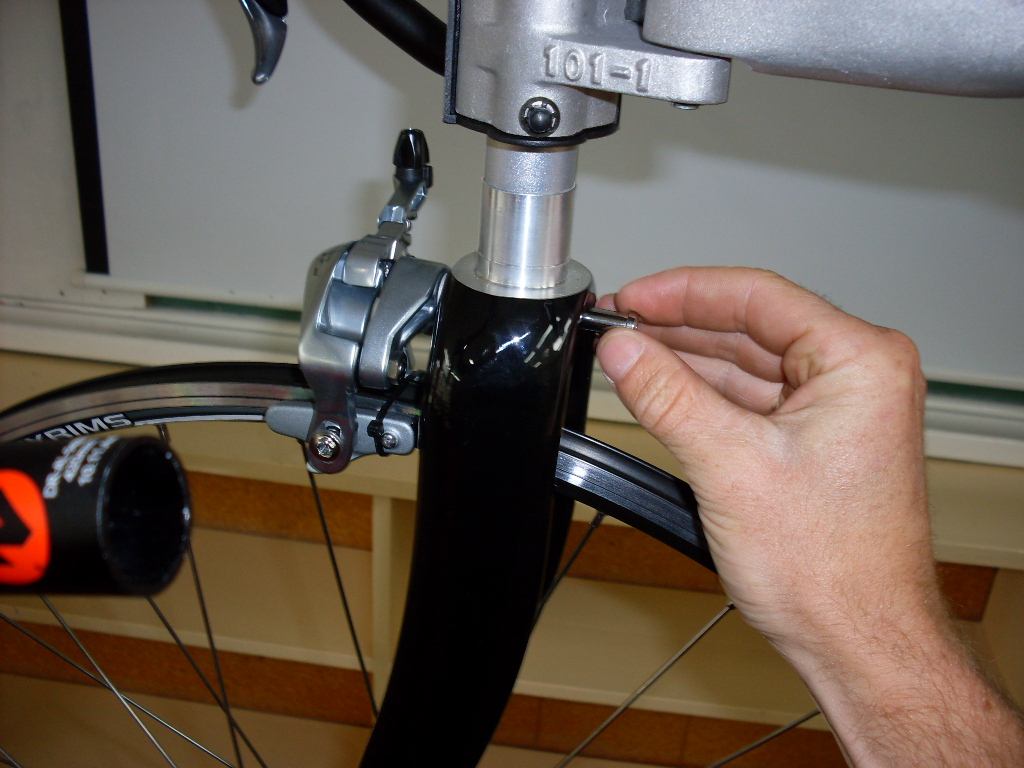
- d. Install the wheel.
- e. Hold the calliper so it is centred about the rim and tighten the nut
3. Install the cable system using the following method
- a. Cut an appropriate length of cable housing. The length should allow the housing to be routed under the bar tape, to enter the calliper in a straight line, and to not restrict the steering.
- b. Insert a brake cable from the front of the lever.
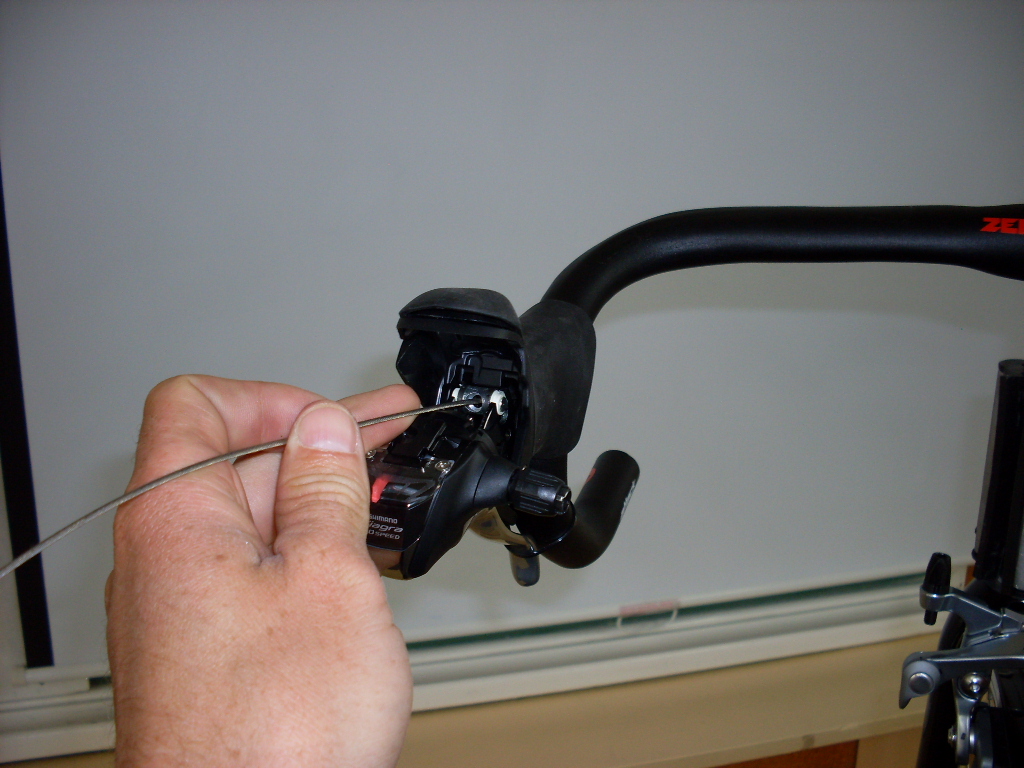
- c. Thread the brake cable through the housing (with end caps if compatible/required).
- d. Thread the brake cable through the housing stop and pinch bolt on the calliper.
- e. Position the cable housing so it is fully seated against the housing stops on both the lever and calliper, taping the section that runs under the bar tape in place.
- f. Check the quick release mechanism is closed.
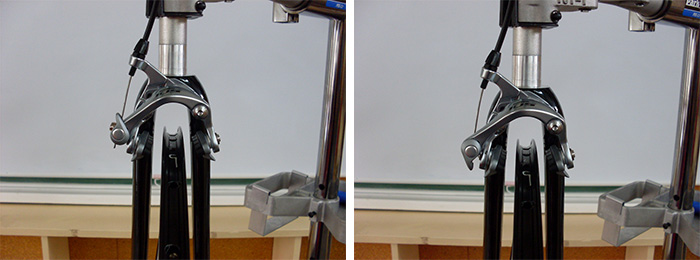
Open quick release (left) vs closed quick release (right)
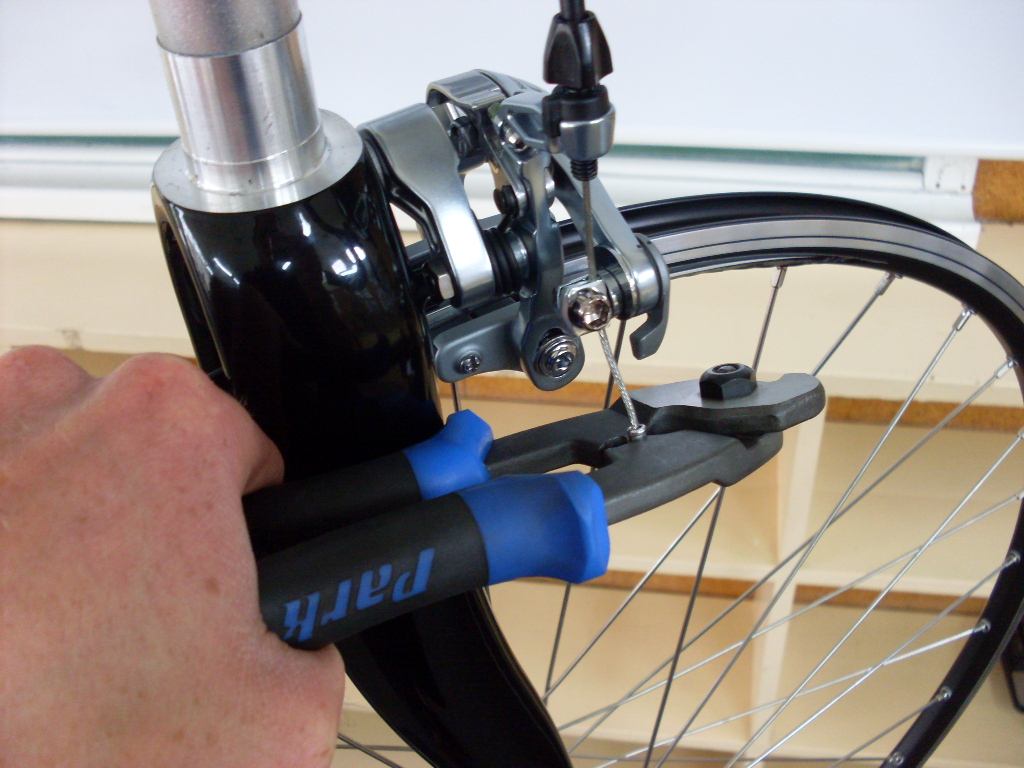
- g. Hold the calliper partially closed so the brake pads are about 2mm from the rim.
- h. Whilst still holding, pull any slack from the cable and secure with the pinch bolt.
4. Adjust the brake system using the following method
- a. Loosen brake pads and lubricate the bolts/nuts
- b. Hold the pads against the rim by squeezing the lever and align them with the braking surface (checking the vertical height, tangential alignment, vertical face alignment, and toe).
- c. Tighten the pad-fixing bolts.
- d. Fine tune the pad centering using the pad centering screw/bolt (Shimano type) or cone wrench and Allen key (SRAM type).
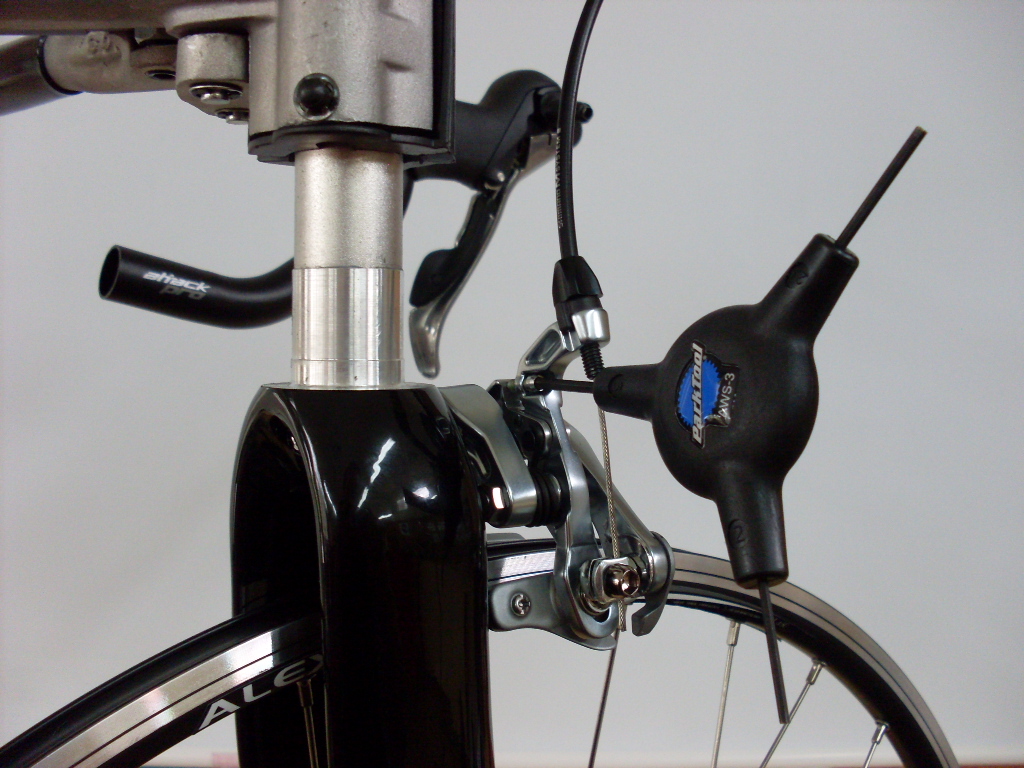
- e. Adjust the pad clearance using the barrel adjuster so the pads are about 1.5mm from the rim on either side. Some slack may need to be removed from the system using the cable pinch bolt (see step 3g).
- f. Cut any excess cable, leaving 30mm past the pinch bolt remaining.
- g. Crimp an end cap onto the end of the cable.
5. Make sure you test the brakes at a slow speed before riding!


