


Waxing your skis or snowboard is something that most people have a relaxed attitude about at best. In many instances it’s a case of out of sight, out of mind right? While it’s easy to be lax about keeping on top of your ski/board tuning, waxing on a regular basis makes you go faster, turn easier, ride more smoothly and predictably as well as protect your base from drying out and becoming full of contaminants. With just a little practice you can master waxing in your own home, save time and money on workshop costs, outrun your buddies on the flats and hold speed for that high traverse allowing you to score those last pow turns while everyone is having to make do with chop.
Choosing your wax
There are a number of different waxing options available depending on your intended use. Classic cross-country (Nordic) skiers might look to use a grip wax that is designed to provide traction for forward movement but also break loose and glide after a certain speed is reached, whereas for most alpine uses, a glide wax is used to promote speed and reduce resistance while gliding along the snow. A glide wax works by momentarily creating a very thin layer of water between your base and the snow surface and ensuring you’re using the right wax for the temperature of the snow is important for achieving the optimal results.
While there are some glide waxes that are rub on, for the purposes of this article we will be referring to a hot wax application, the best and most effective way to wax your gear for both performance and longevity. Rub-on wax is great for a quick fix but will never offer the performance of a hot wax.
Start with a clean and tuned surface
If your skis have brakes, retract them before you start working by pulling them up manually and looping a strong rubber band around the brake arms and over the heel piece. This will hold the brakes in “ski” position so they don’t extend below the base and get in the road of your iron. It’s also advisable to loosen off the screws on your snowboard bindings to prevent wax from pooling in the dimples these cause on your base. Ideally when performing maintenance on your snow gear you’ll set yourself up with a proper vice that keeps your skis or board level and supports the tip and tail. While a vice is the ideal tool in a perfect world, blocks of wood can also be used to keep the bindings above the work surface and your gear nice and stable for the next step. Bear in mind that hot wax drips and wax shavings have a habit of making a mess of any workshop so if you’re waxing inside, remember to cover up!
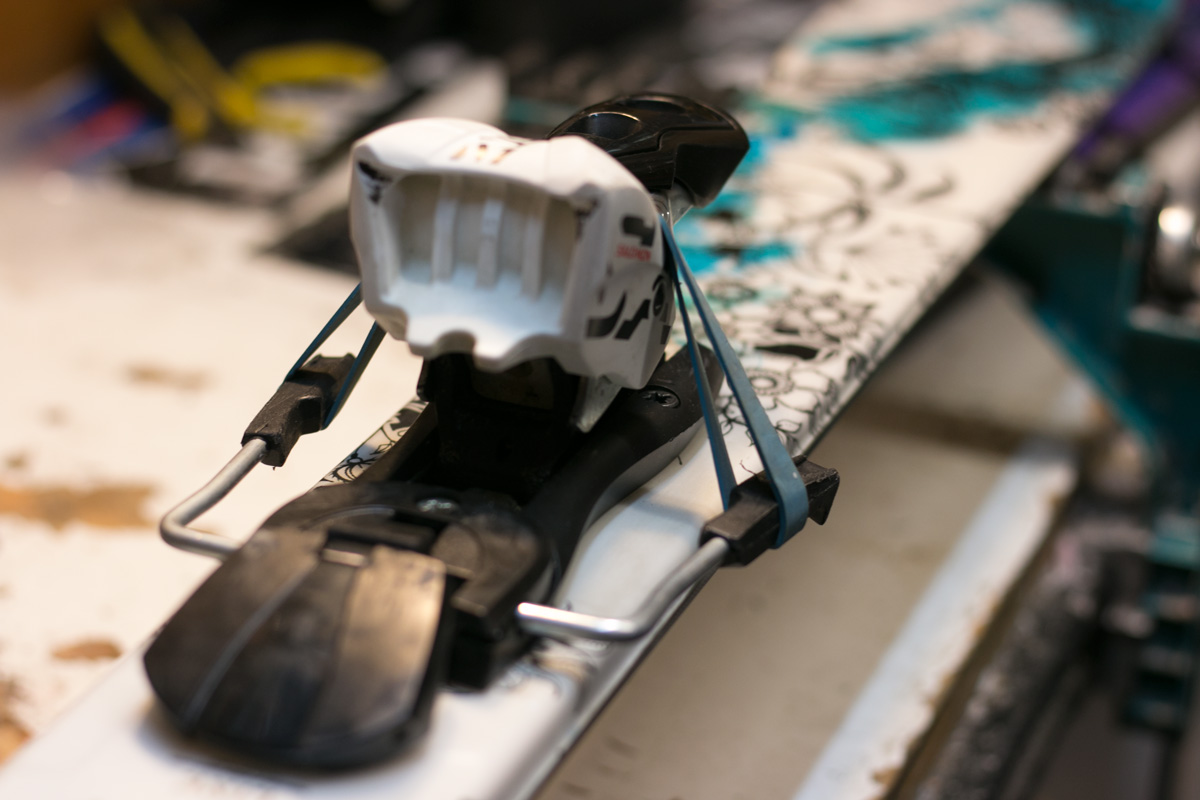
Use a strong rubber band to lift the brake out of the way when waxing your skis
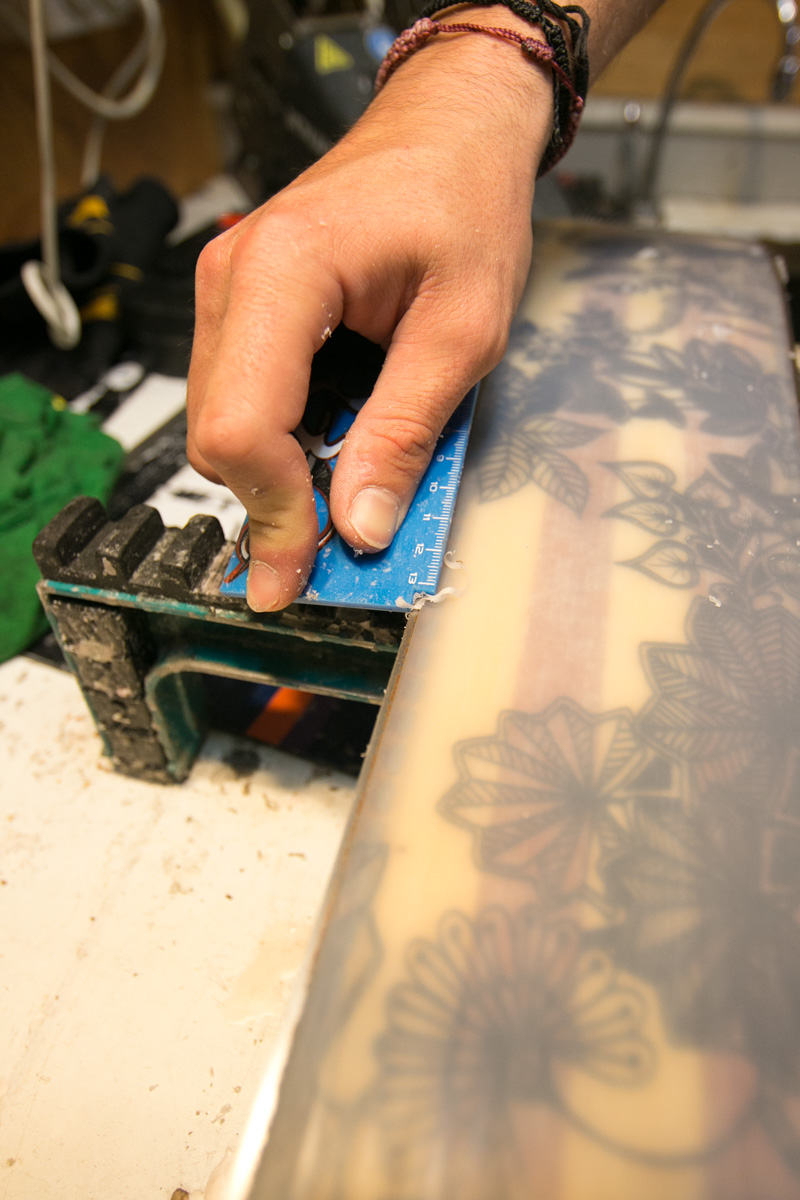
Before applying your wax, ensure that the base of your skis or board is clean and properly structured. Check too that the edges are in good condition and that they’re not lifted above the base surface. If your edges or base need maintenance, this must be done before you start to wax. Make sure that if you do, no metal filings or excess p-tex is stuck in/on the base.
Snow can be surprisingly dirty so before you wax, use a base cleaner or citrus solvent to remove grime and oil. Just a small splash on a cloth is usually plenty but be careful as base cleaners and solvents tend to remove all residual wax left in your base and can dry it out meaning more work trying to get the wax back in!
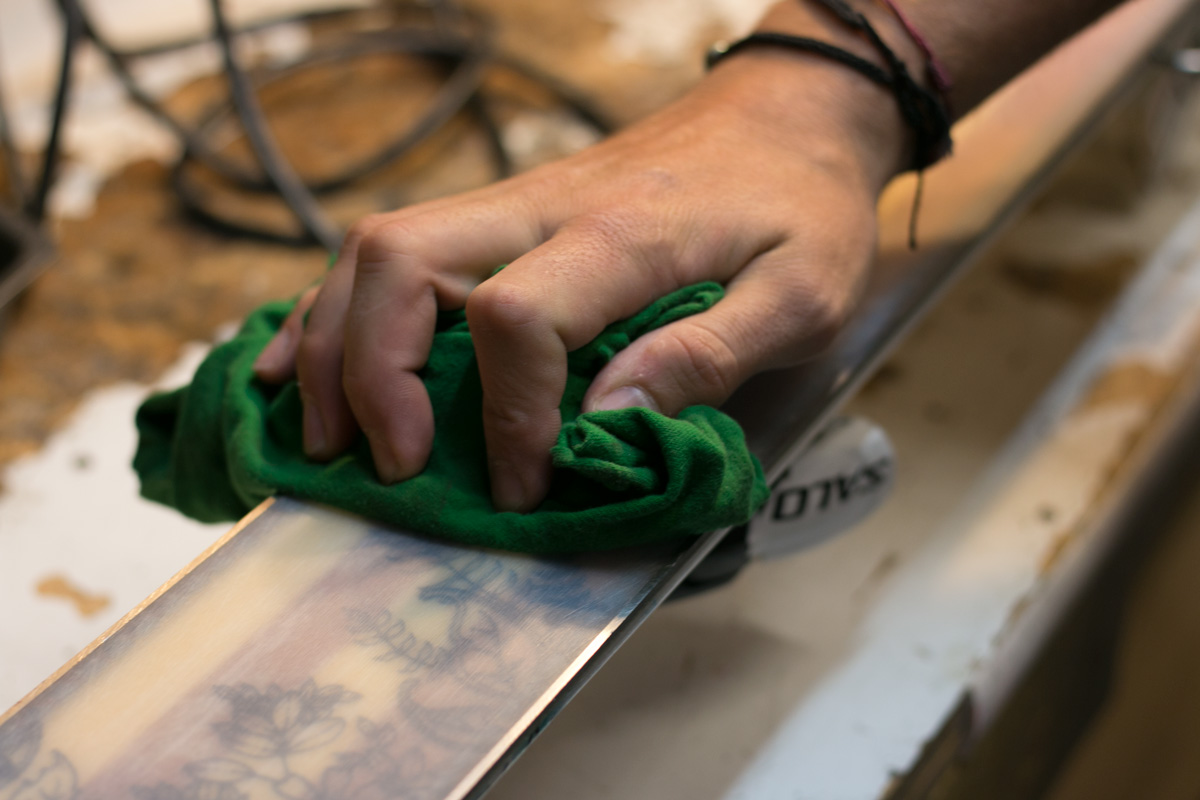
Starting with a clean base will ensure that you don’t embed in any dirt and oil that might be lurking on the base of your skis or board
A dry base with visible white areas or obvious “hairs” showing in the P-Tex are sure signs that you need to wax NOW.
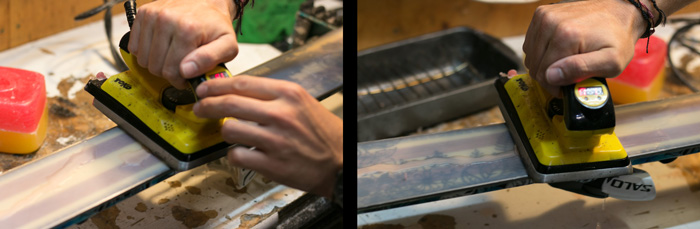
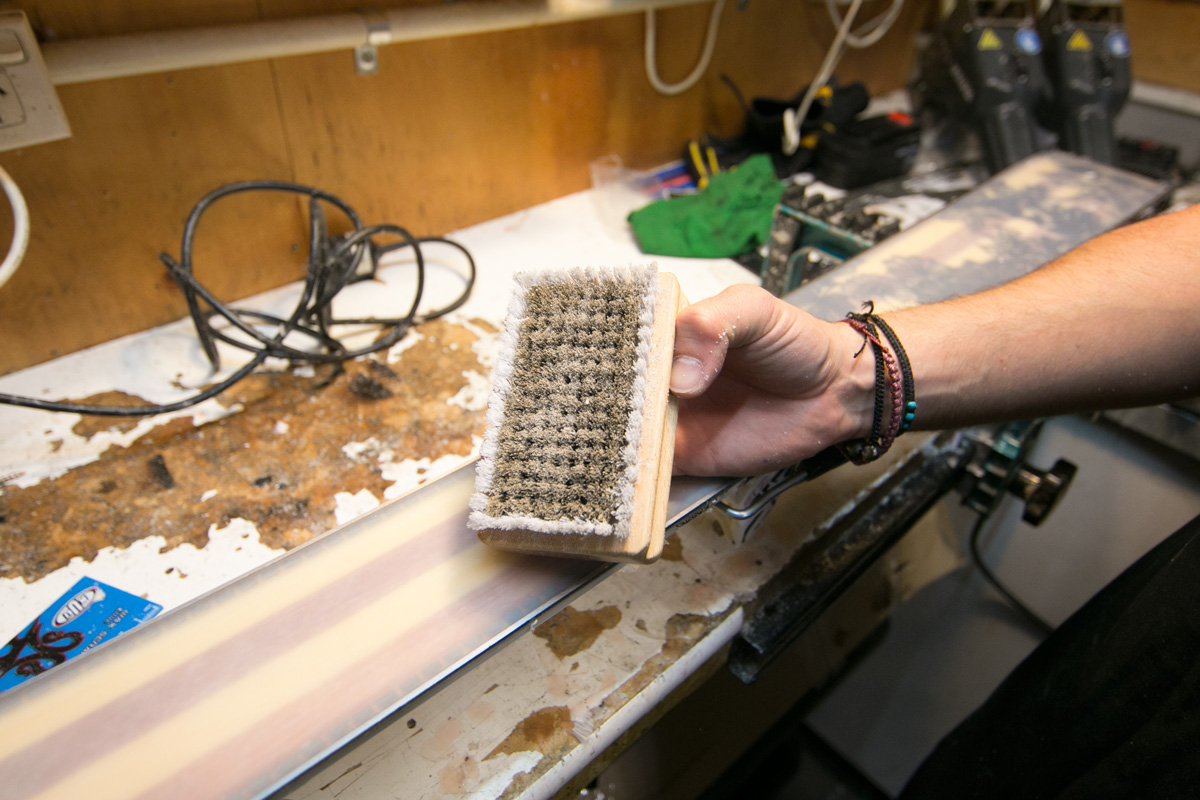
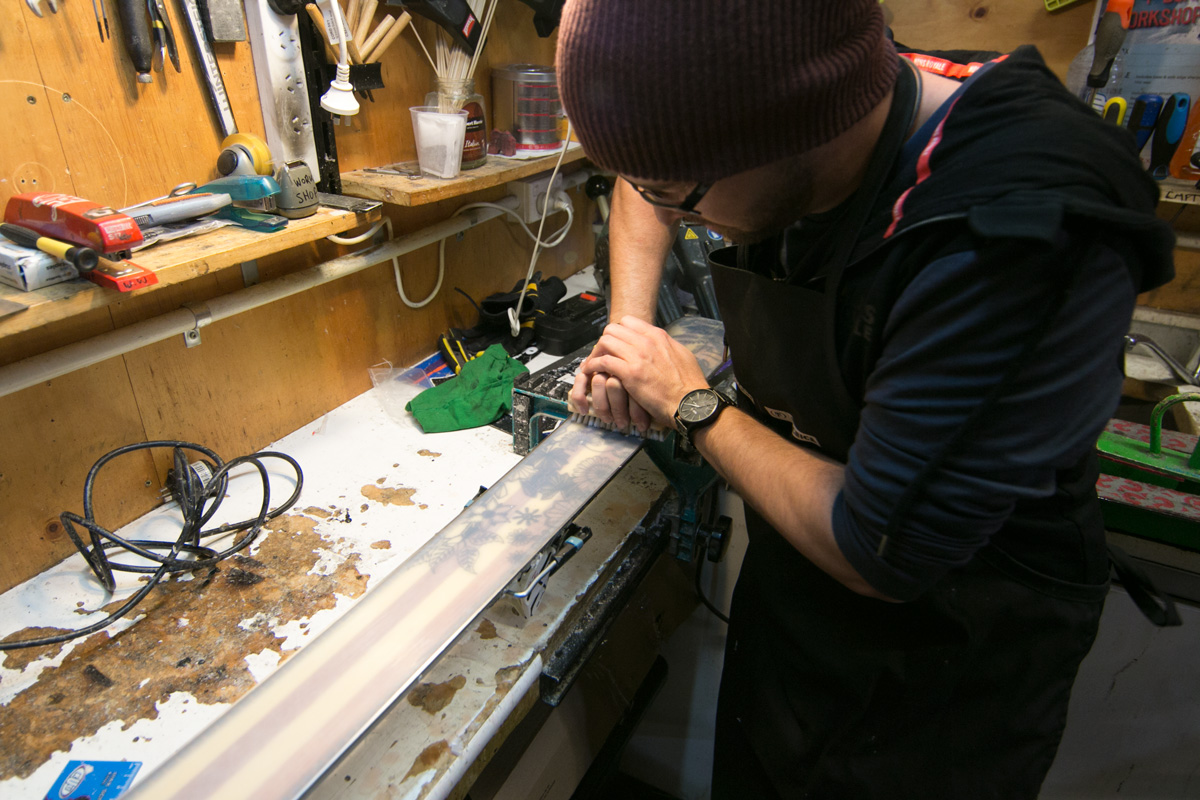
If you don’t have any cleaner available, a Scotch-Brite can be used to remove old wax and surface dirt. If the base looks very smooth, you can “open up” the structure (create a rougher surface) by brushing it with a brass brush and moderate pressure so that it will absorb wax more readily.
Bear in mind that some base materials are better at absorbing wax than others. Less expensive skis and boards and those meant to endure abuse such as ‘park’ or ‘jib’ boards usually use bases made of extruded P-Tex, a very dense form of Polyethylene that’s durable but doesn’t adhere too well to wax. Higher end skis and snowboards use sintered P-Tex bases, which have a more porous structure and are better at retaining wax.
Applying your wax
What wax should I use?
Ski wax comes as either an “all-temperature” or “temperature specific.”
All-Temperature Wax – All-temp or universal wax is designed to work well in any temperature or snow conditions. It may be a good choice if the temperature varies a lot where you ride or if you ski in different geographical locations during your season and can’t predict what the weather will be like.
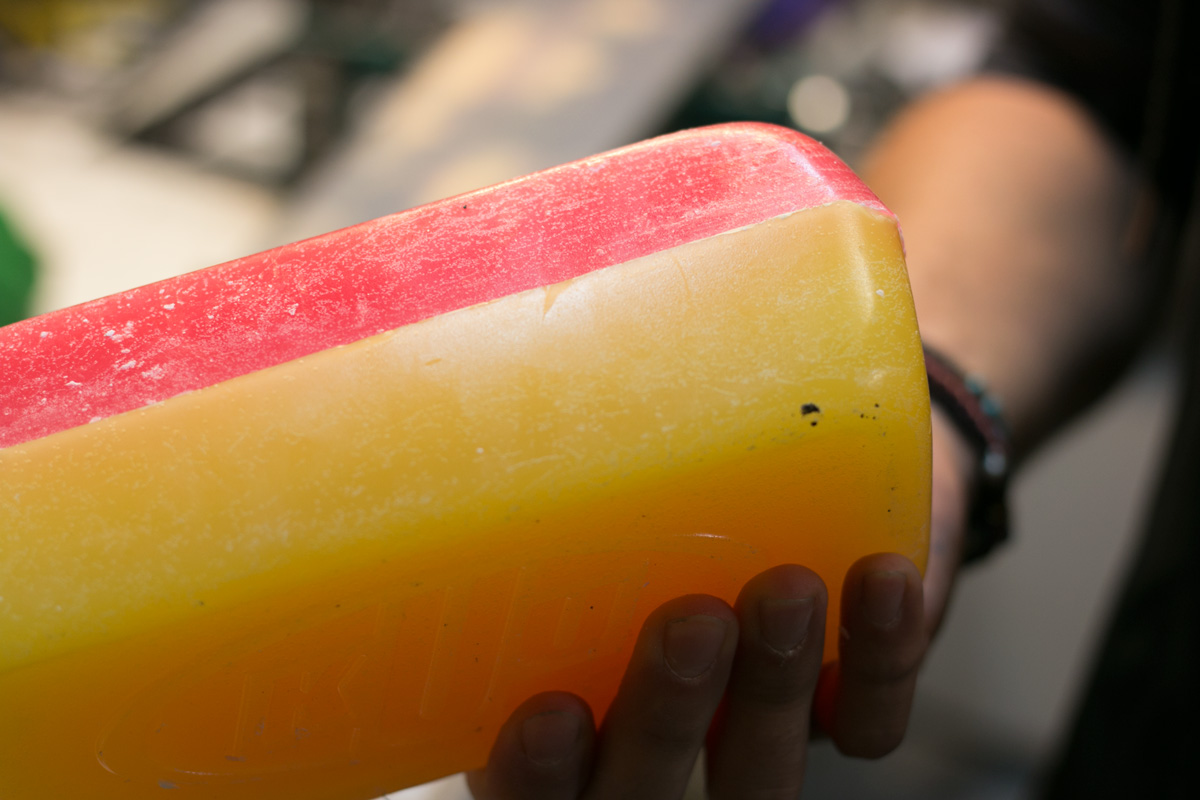
Temperature Specific Waxes – Similar to surfboard waxes, temperature specific snow wax is designed to work best within a certain range of temperatures. As a general rule the waxes are sorted by colour with yellow and red versions being the most suitable for New Zealand and Australian conditions.
- Yellow – Yellow is a warm temperature wax for snow temperatures between 0 degrees Celsius and minus-4 degrees Celsius (32 degrees Fahrenheit and 25 degrees Fahrenheit). Yellow waxes are ideal for spring skiing and skiing in wet, heavy snow, because they help to push the melt layer of water out of the way and leave a thin layer of water for the ski to glide on.
- Red – Red wax is for snow temperatures of minus-4 degrees Celsius to minus-10 degrees Celsius (25 degrees Fahrenheit and 18 degrees Fahrenheit). Red wax is a good utility wax for most conditions that skiers and snowboarders will find on the hill.
Choose the wax that best suits your conditions or combine them for the best of both worlds!
Temperature specific waxes will still work better than no wax in temperatures outside of their “ideal” range, and it’s possible to combine two temperature specific waxes if you anticipate borderline temperatures. Using temperature specific waxes requires that you follow the weather and anticipate the temperatures you’ll be riding in, and you might find yourself re-waxing if conditions change drastically.
NOTE: Candle wax is NOT appropriate for waxing snow equipment!
What kind of iron should I use?

A proper waxing iron will be a lot more stable than an old clothes iron
Ski and board wax is applied with a hot iron and a good wax iron is a great investment if you plan on waxing your gear regularly. Wax irons have a fairly narrow temperature band, don’t get as hot as a clothes iron and are better at maintaining a consistent temperature. For best results ski wax should be applied at temperatures between 120˚C and 140˚C. For those on a budget, it’s possible to use an old clothes iron (note OLD clothes iron – you’ll never be able to get all of the wax out once you’ve used it and you won’t like the results if you try and iron your good shirt afterwards!), be warned though, regular home irons can fluctuate widely in temperature resulting in burnt wax or worse, heat damage to your ski or board base. Be careful not to overheat the wax – find a temperature that melts the wax easily but doesn’t cause the wax to smoke when applied to the iron – usually around the lower end of the ‘wool’ setting or the higher end of the ‘synthetics’ setting.
Once you have your base clean, your iron heated and the right type of wax, your next step is to get ironing!
Ironing
Place your skis or board flat and base side up, securely supported at the tips and tails either in a vice or using blocks to hold the bindings off your work surface. Ideally they should be clamped or braced so that they won’t move while you work on them.
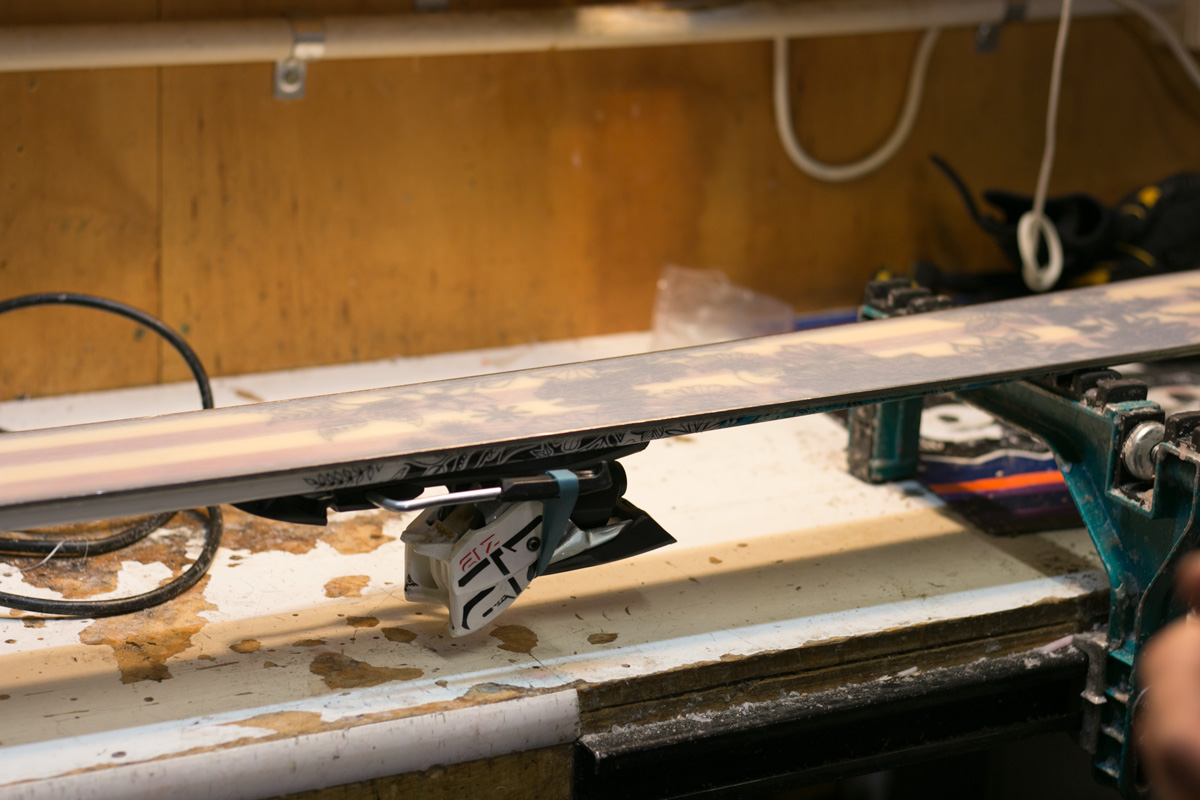
A good stable workspace is key when it comes to working on your gear
To apply the wax, hold the hot iron upright with the point/corner facing down. It’s ok for the iron to touch the surface being waxed but be careful not to hold it in one spot for too long. Press the wax into the iron and move it up and down the ski/board, allowing it to drip/run onto the base leaving a thin trail of melted wax. You may be able to apply enough wax to a thin ski in one pass but wider powder skis and snowboards it’s usually best to zigzag down the base to ensure that you get enough wax to cover the entire base. Ensure that the wax isn’t smoking when you apply it to the iron, a sure sign that it’s too hot. Practice makes perfect when it comes to finding the right amount to apply; too much and you’ll just end up wasting it all by scraping it off at the end, too little and you won’t have enough to effectively cover the whole base. Either way you’re going to have some wastage come scraping time but the less the better!

Hold the wax against the iron with the point or corner facing down to ensure a steady stream of melted wax
Once you’ve melted the wax onto your base it’s time to spread it around. Place the iron on the ski base and move it down the ski/board to melt the bead of wax you’ve deposited so that it spreads out evenly and penetrates the entire base surface. The goal here is to get the melted wax to fill the small pores in the base structure of the board. Keep the iron moving at all times, usually 4-5cm per second is a good rule that will ensure a good spread of wax without overheating your skis/board. If there are areas that are lacking in wax you can apply a couple more drops by dabbing the wax block quickly on the iron.
Spread the wax evenly across the base. Don’t stay in one spot for too long though!
After the was has been applied, set your gear aside to cool thoroughly. It’s best to leave your gear at room temperature until the base is cool to touch, usually about 30 minutes. If in doubt leave it a little longer as scraping the wax before it has completely cooled can actually pull the wax out of the base leaving you right back at square one!
Scrape it real good – Getting rid of the excess wax
A good wax job effectively fills the base with wax rather than sitting on top of it. While many believe that a wax needs to be thick to be effective, in actual fact, the opposite is the case. The best wax job should be visible only as a thin film on the base and little to no wax should come off when you scrape it with your finger.
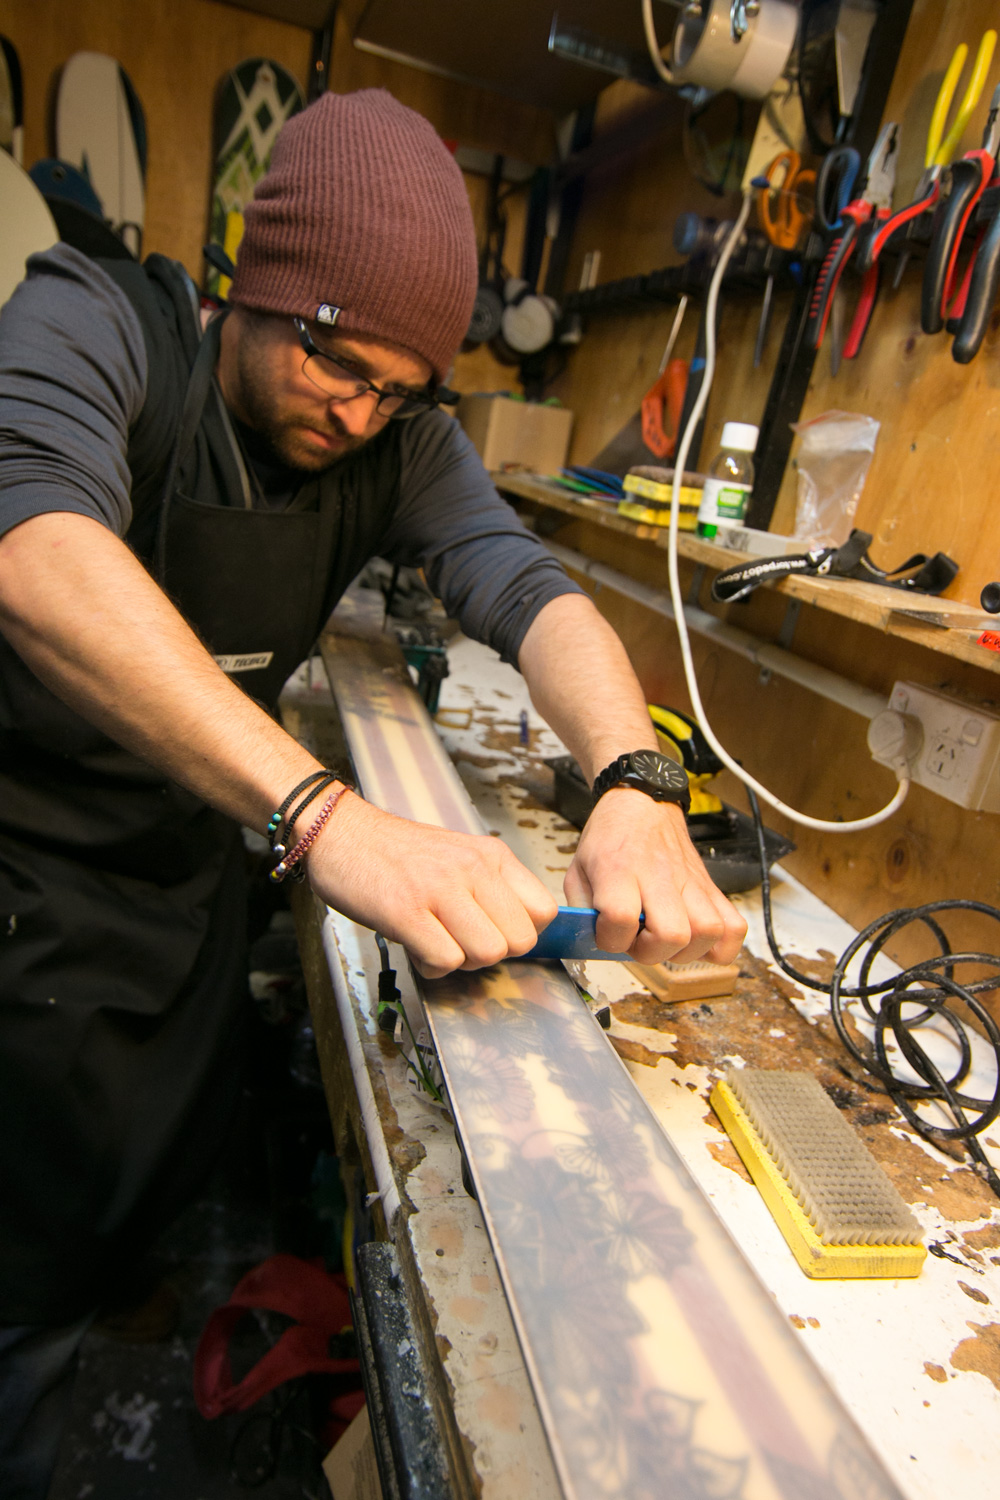
To ensure that you get the best performance from your wax, it’s important to scrape off the excess completely once it has cooled down after application. Both Perspex and steel scrapers can be used for wax removal but steel scrapers require a more deft hand and are best left to those experienced in tuning their own gear. If you’re just starting out we recommend a Perspex/plastic scraper as the most cost effective solution. Sharpen it regularly with a file or sharpener and it will easily remove the excess wax on the base of your board.
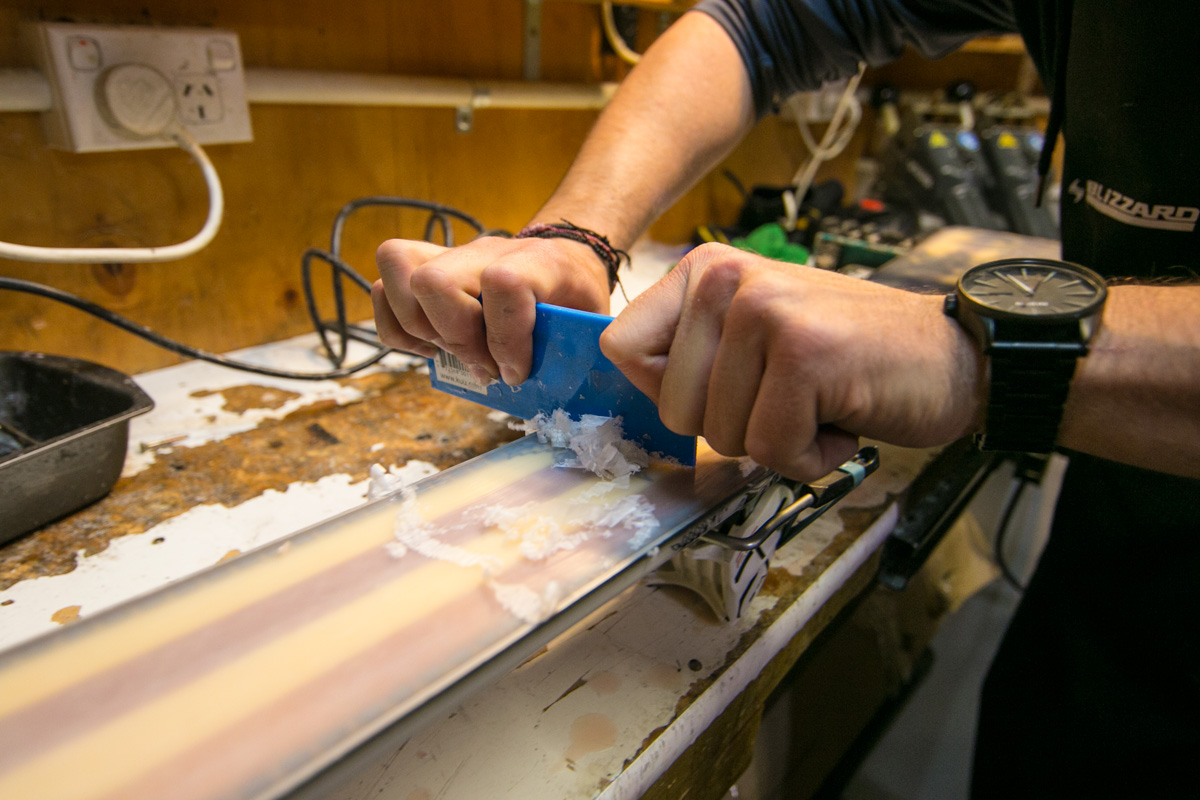
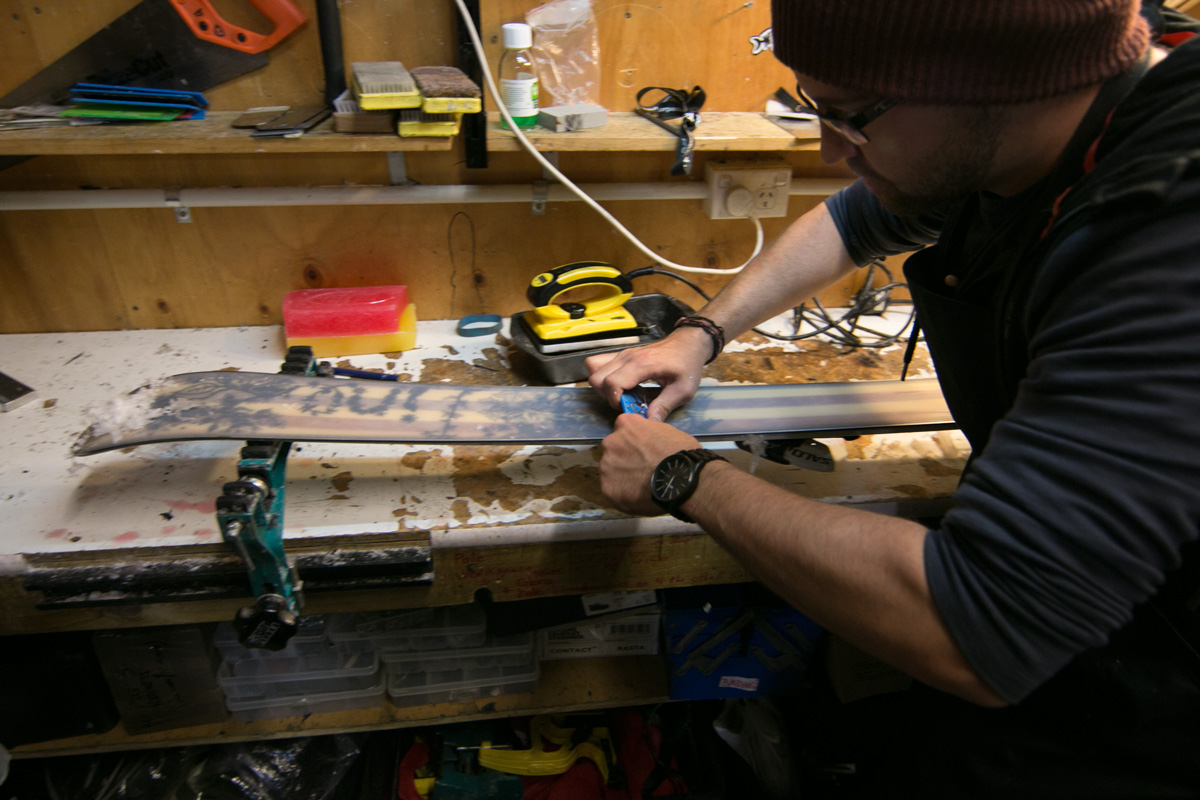
Angle the scraper in the direction of travel and hold it firmly in two hands using your thumbs to create a slight bow in the middle. Push your scraper from tip to tail removing the wax as you go. Don’t be afraid of removing too much wax, all the wax that you really need should have impregnated the pores on the base of the board with the excess being surplus to requirements. Your edges should be completely free of wax with just the tiniest amount visible on the base. Remember to scrape the side of your edges with the end of the scraper or the edge notch if your scraper has one.
That little notch in your scraper is there for a reason. Use it to clean the excess wax off of your edges
Prep your fresh wax for the snow!
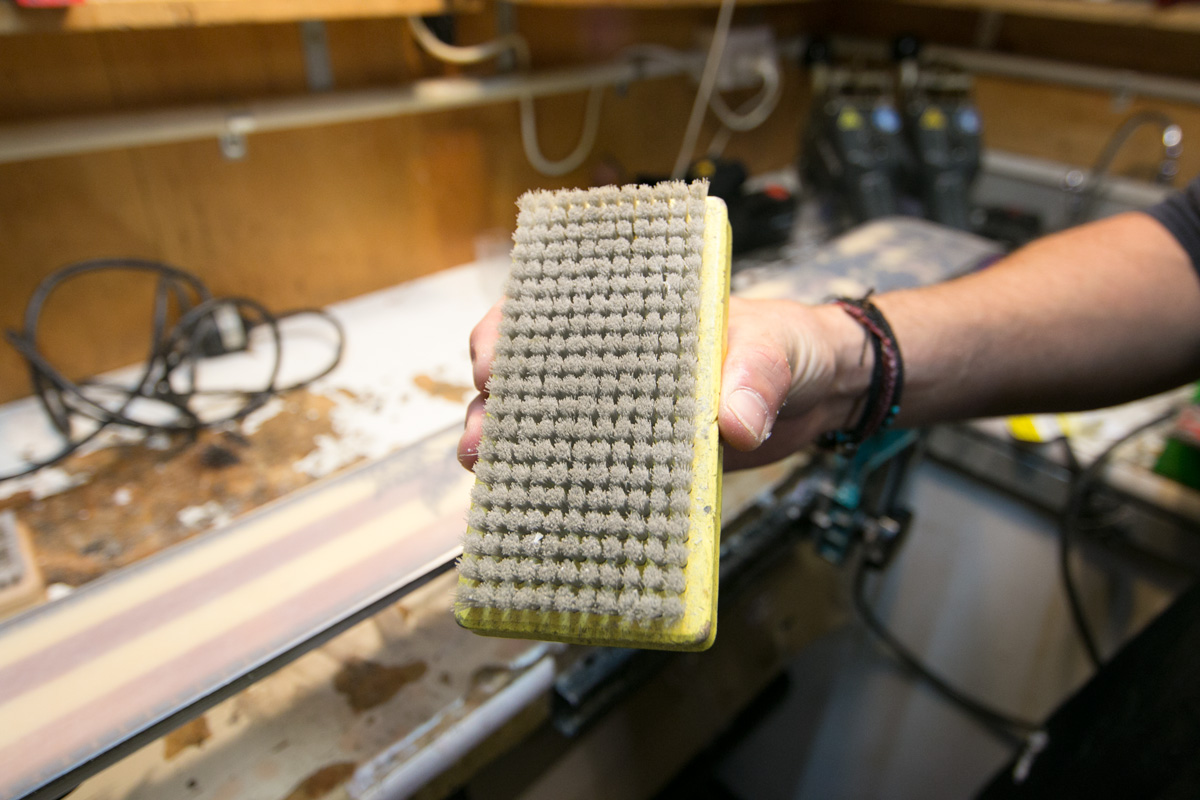
The final step before heading out on the snow is to brush your wax and bring out some structure in your base for the perfect finish. Using a soft nylon brush with short, fine bristles, brush off the remaining excess wax before finishing off with a fine horsehair brush. Progressing to a finer, softer brush ensures that you leave only the thinnest layer of wax on the surface of the base and allows the structure of the base (the fine grooves and divots) to show through. You can also adjust your brush use depending on conditions. Wet snow usually calls for a deeper structure (created by a stiff nylon brush) to help break suction while colder, dryer snow calls for a finer structure (done with a soft horsehair brush). Snow with a medium texture calls for a medium structure and can be attained with a medium nylon brush.
Use a medium bristled brush to clear excess wax off your base after scraping
Don’t be afraid to put in a bit of elbow grease so ensure the best finish for your base. Remember the wax should be in your base not on it!
Ensure that you brush from tip to tail with short to medium strokes, keeping at it until the surface has an even, uniform finish. As you brush you’ll notice small white flecks of wax being deposited at the end of each stroke, that’s the final bits of wax being pulled out that will ensure that you’re ready to engage Mach-10 next time you point it down the hill. Keep at the brushing for a couple of minutes and end it with several full-length, tip-to-tail strokes and you’re ready to shred!
The final step: use a fine brush to get the buff finish for max speed!
As much as it’s easy to overlook, you can never over-wax your skis or board and some wax is ALWAYS better than no wax. There’s no excuse not to have a fresh wax for the start of the season so bust out that gear and get practicing!!

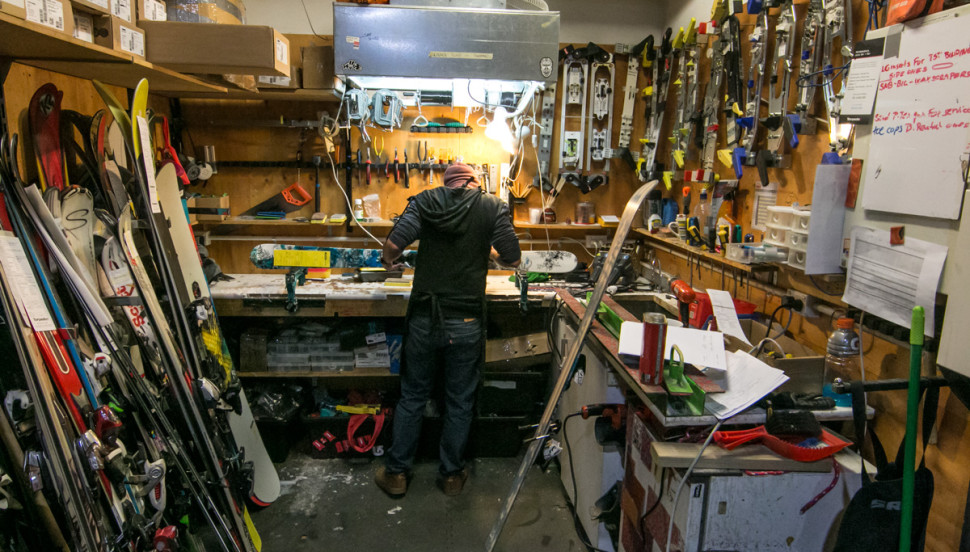
Just be thankful that you don’t work in a shop and have everyone else’s skis to do too!


